Paper Sunflowers

Paper Sunflowers
Celebrate sunflower season with this textural collage project! This project is best for ages 4+, but can be adapted for little ones too.
Materials for Paper Sunflowers
1 cardboard circle, 3-6” diameter recommended
1 cardboard rectangle, about 2” wide and 18” long
Green paint (mix blue + yellow!)
Black paint
Paintbrush
Black or brown tissue paper pieces
Yellow paper
Green paper
Pencil
Scissors
Glue stick
Let’s get started!
Steps for Paper Sunflowers
1. Trace a round object or use a compass to draw a circle on a piece of cardboard and cut it out.
2. Use a ruler or straight edge to draw a long rectangle and cut it out.

3. Paint the circle black and the rectangle green. HINT: Sometimes cardboard curls when it’s painted. To prevent this try painting both sides!

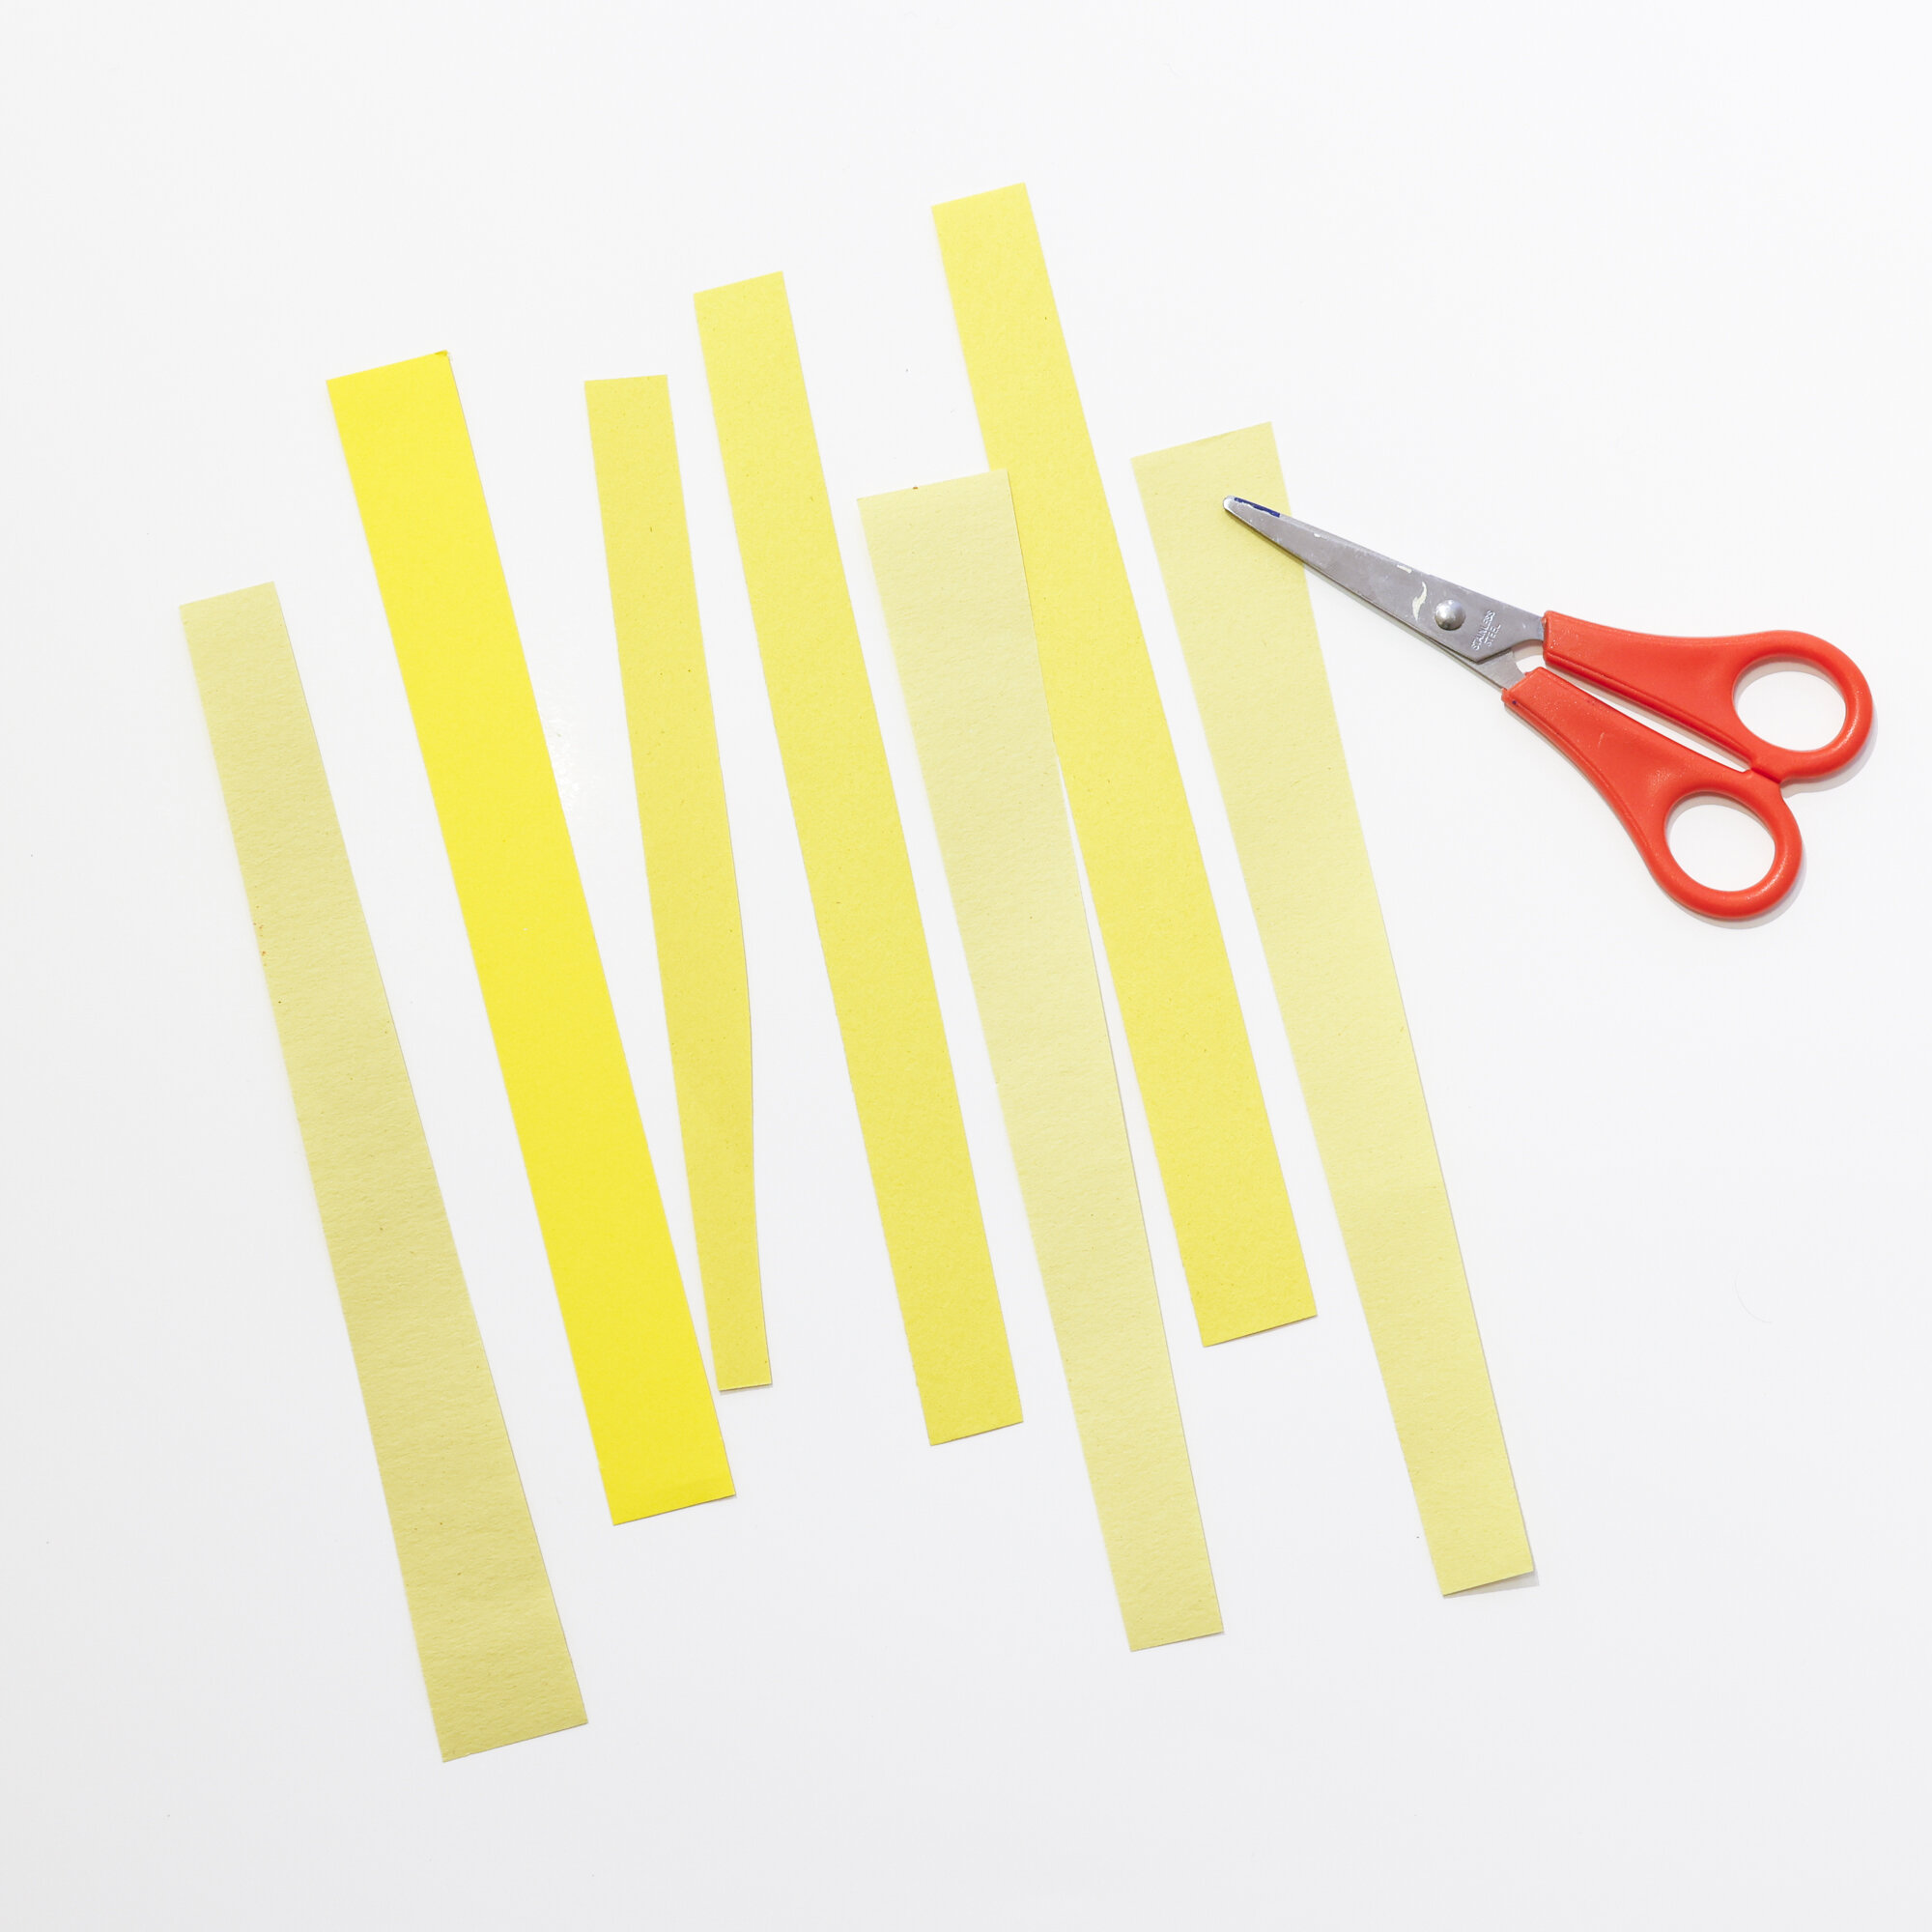
4.While the paint dries, use scissors to cut strips of yellow paper. These will be the sunflower’s petals!
5. Use a pencil to draw large leaf shapes on the green paper and cut them out.

6. Time to assemble! Use glue to attach the sunflower’s stem (the rectangle) to its center (the circle.)
7. Glue the yellow paper strips to the back of the flower center. Crumple tissue paper pieces and glue them to the front of the flower center. These are the seeds!

8. Glue the leaves to the stem. For an extra 3D pop, try curling the ends of the leaves by wrapping them around a pencil.
9. Display your sunflower in an empty flower vase or pot!

