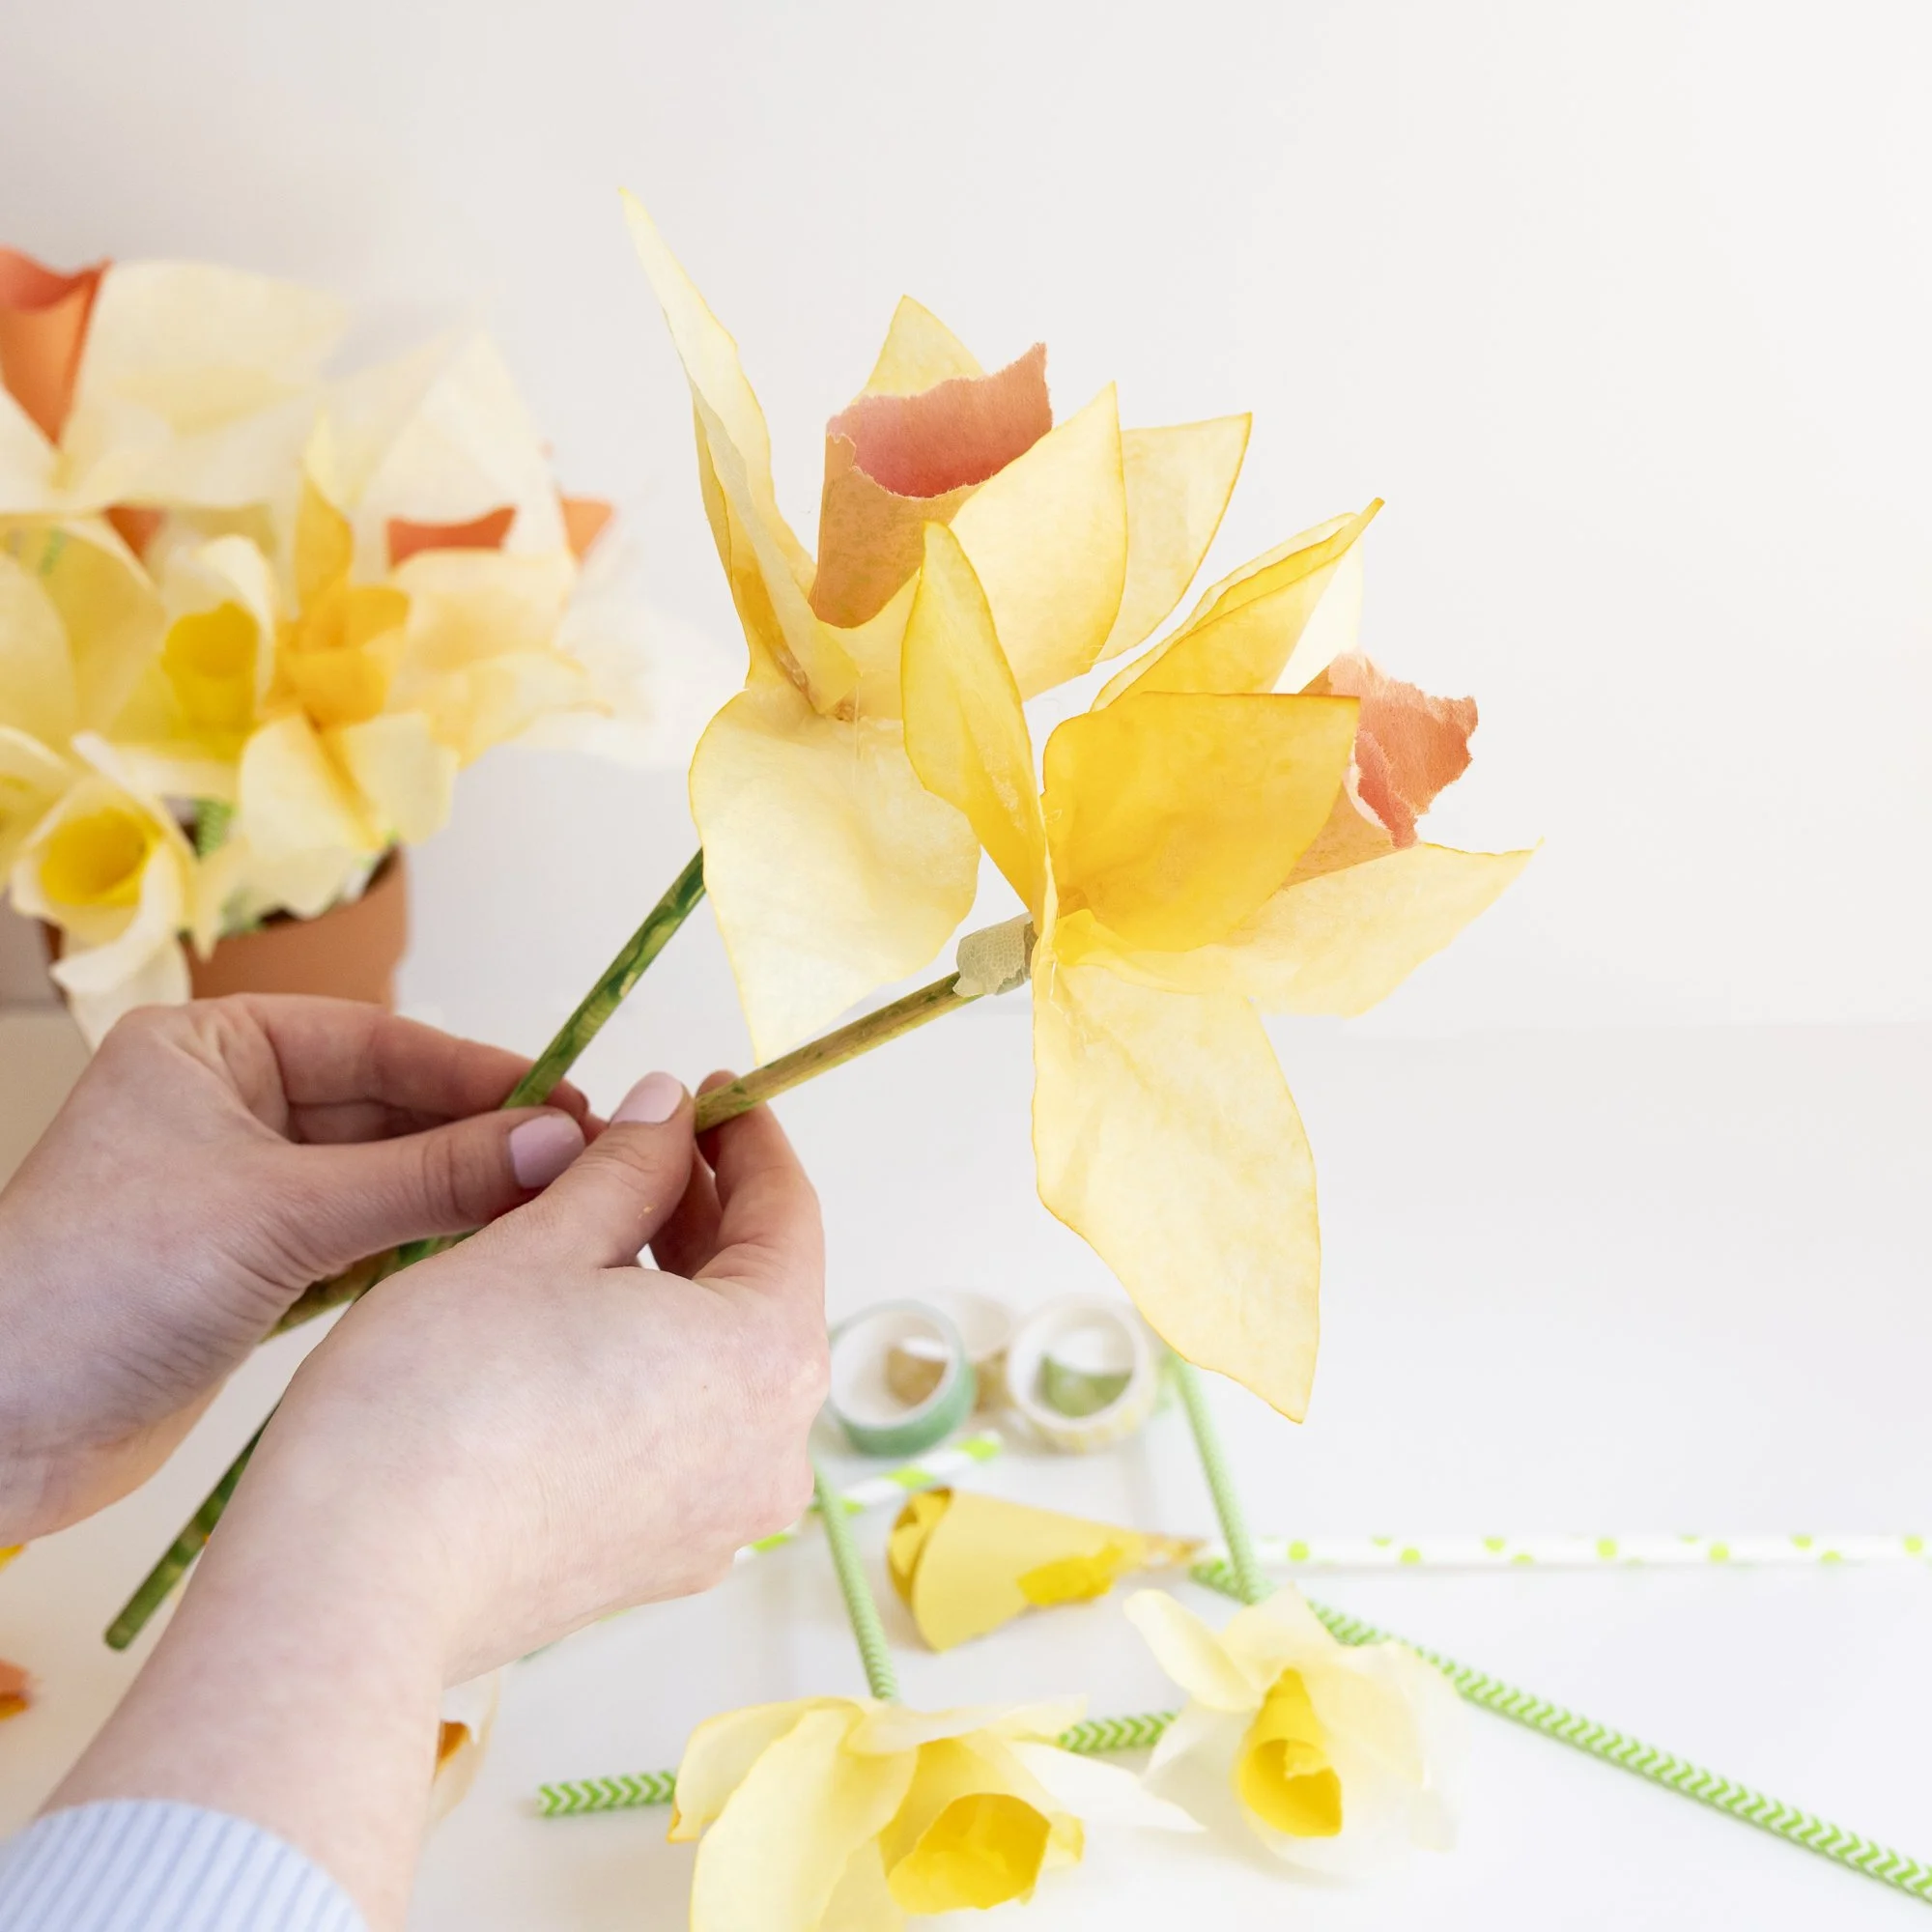
DIY Paper Daffodils 💐
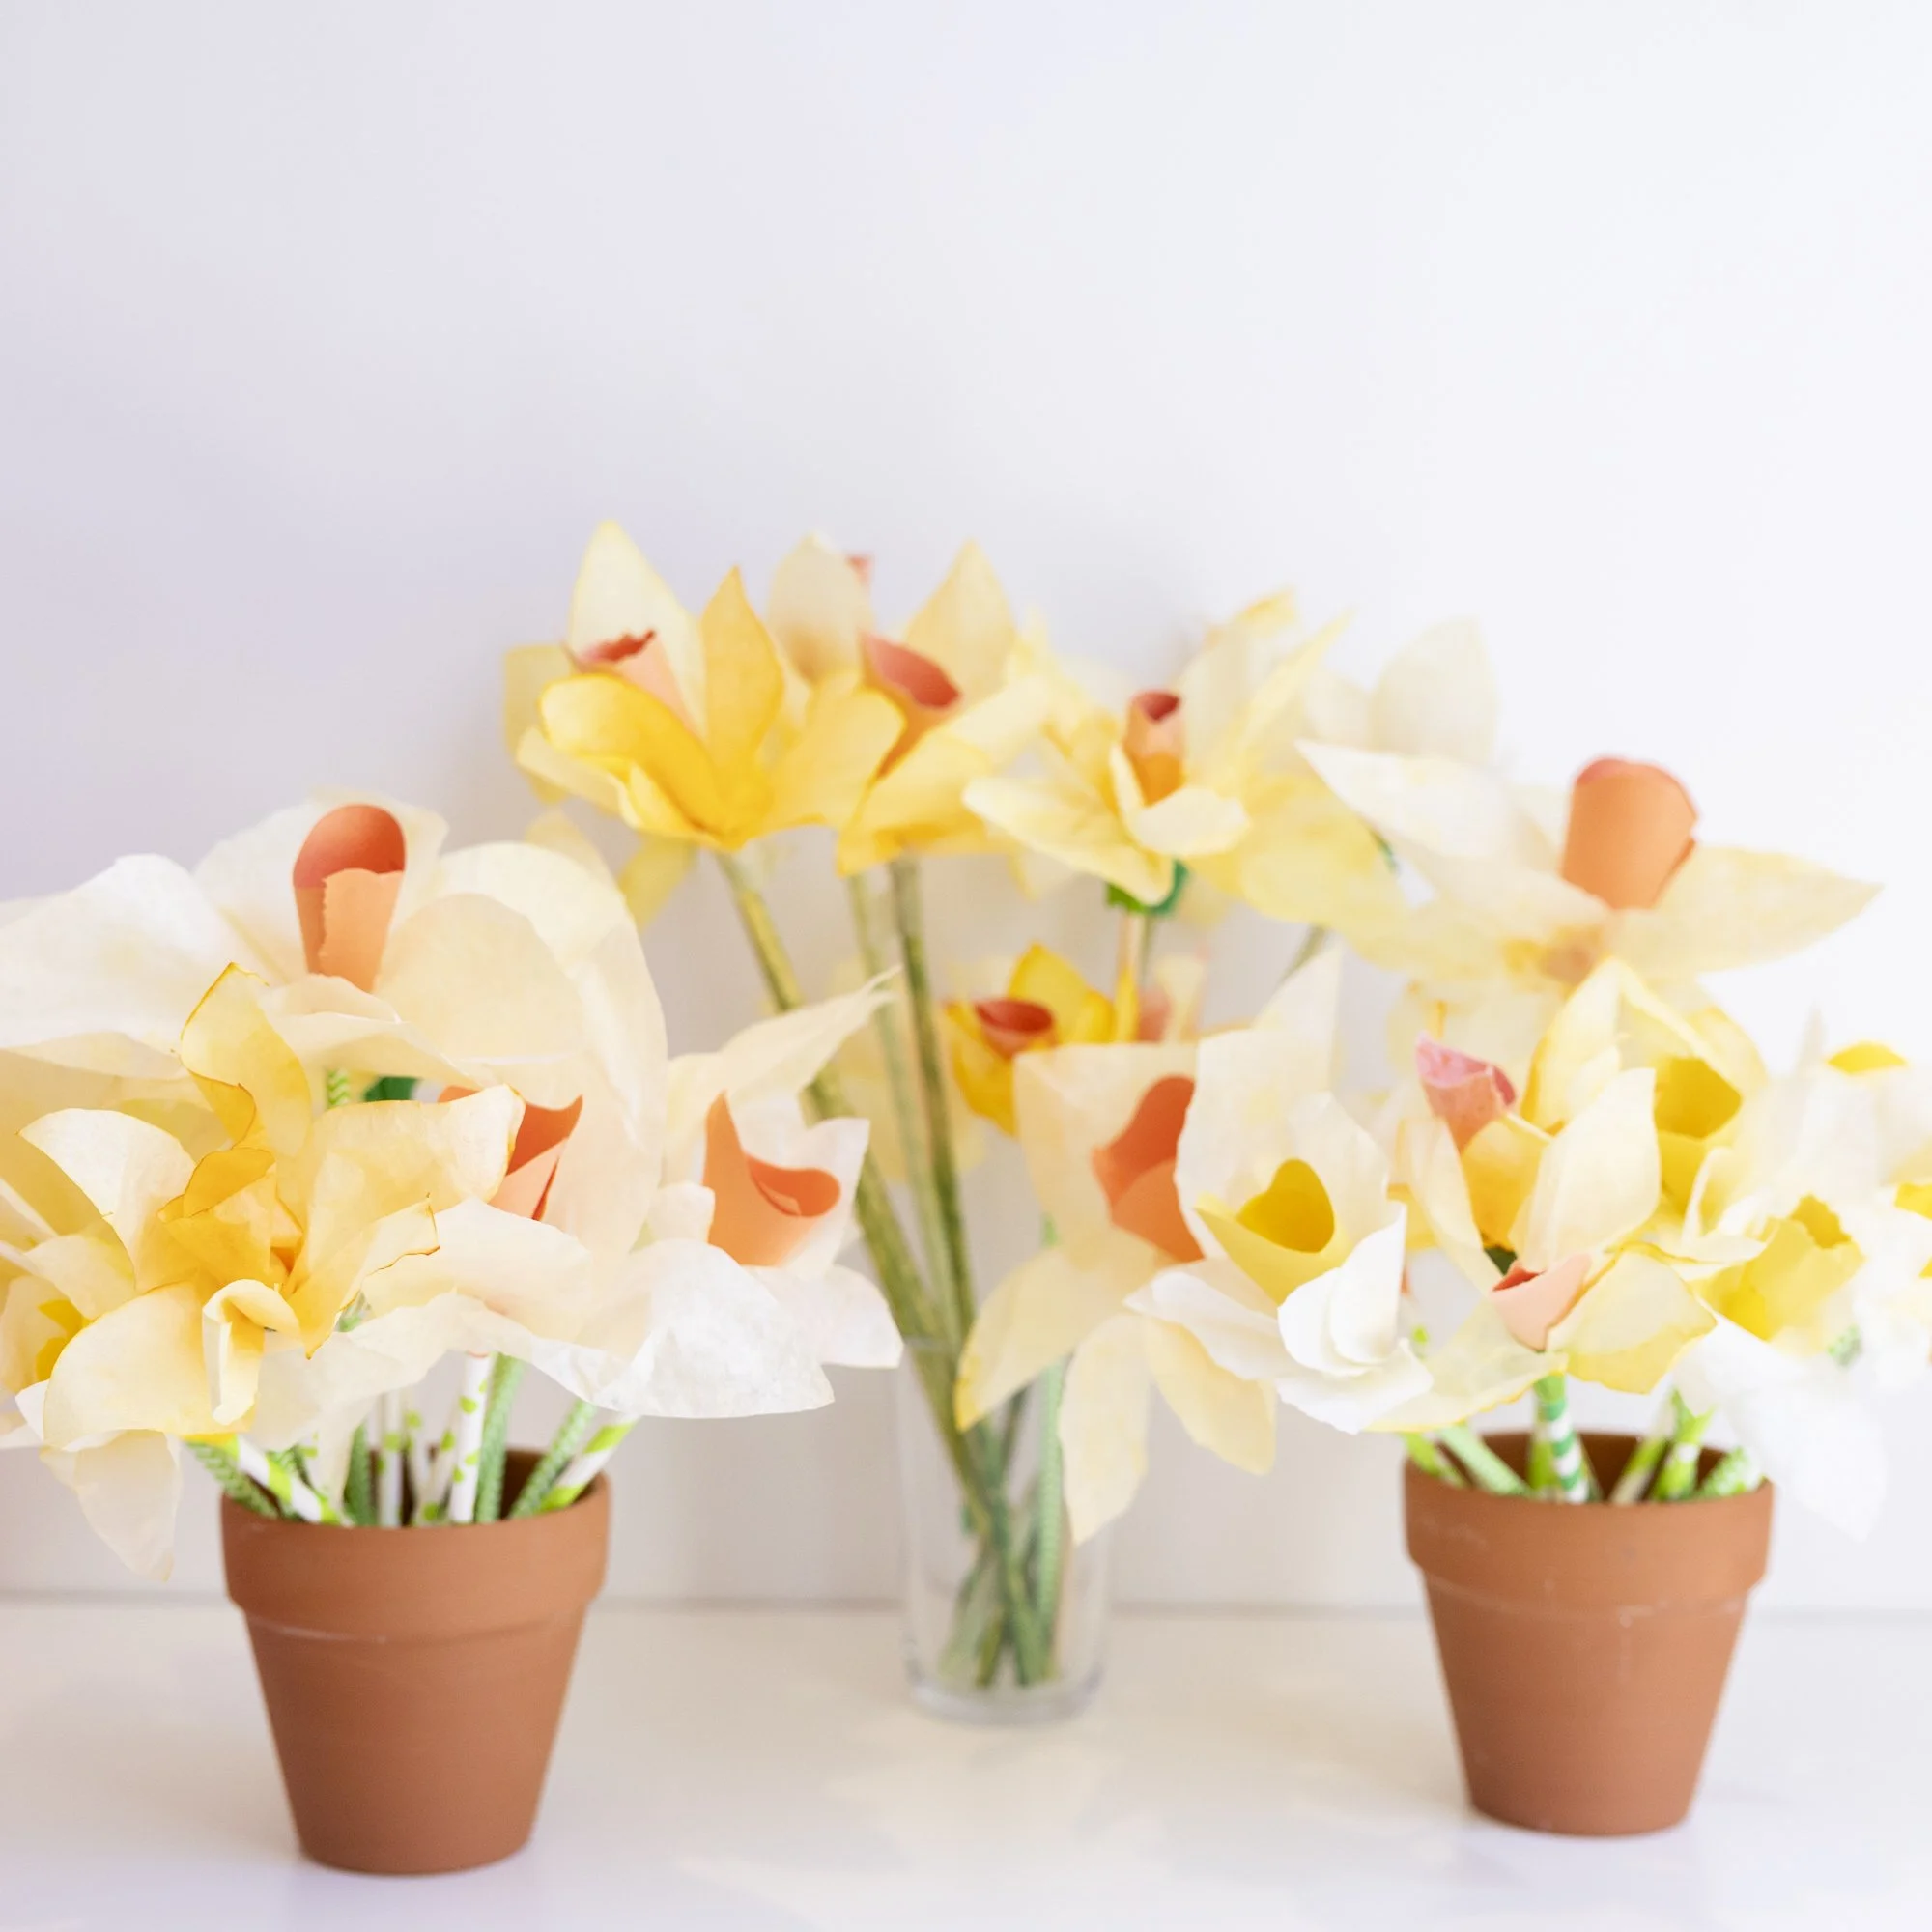
A Bright Bloom for Sunny Days
Bring a little color to your table, windowsill, or summer picnic setup with these easy DIY paper daffodils. Made with tissue paper, striped paper straws, and a few simple supplies, this craft is a playful way to celebrate the shift into warmer days, no gardening required!
These cheerful flowers are perfect for crafternoons at home, party decorations, or adding a handmade touch to your space. They come together quickly, making them a fun project for makers of all ages. Gather your materials below and start building your own bouquet of paper blooms!
Materials:
Scissors
Colored tissue paper
Scrap yellow and/or orange paper
Paper straws
Washi tape or tape
Let’s get started!
Steps
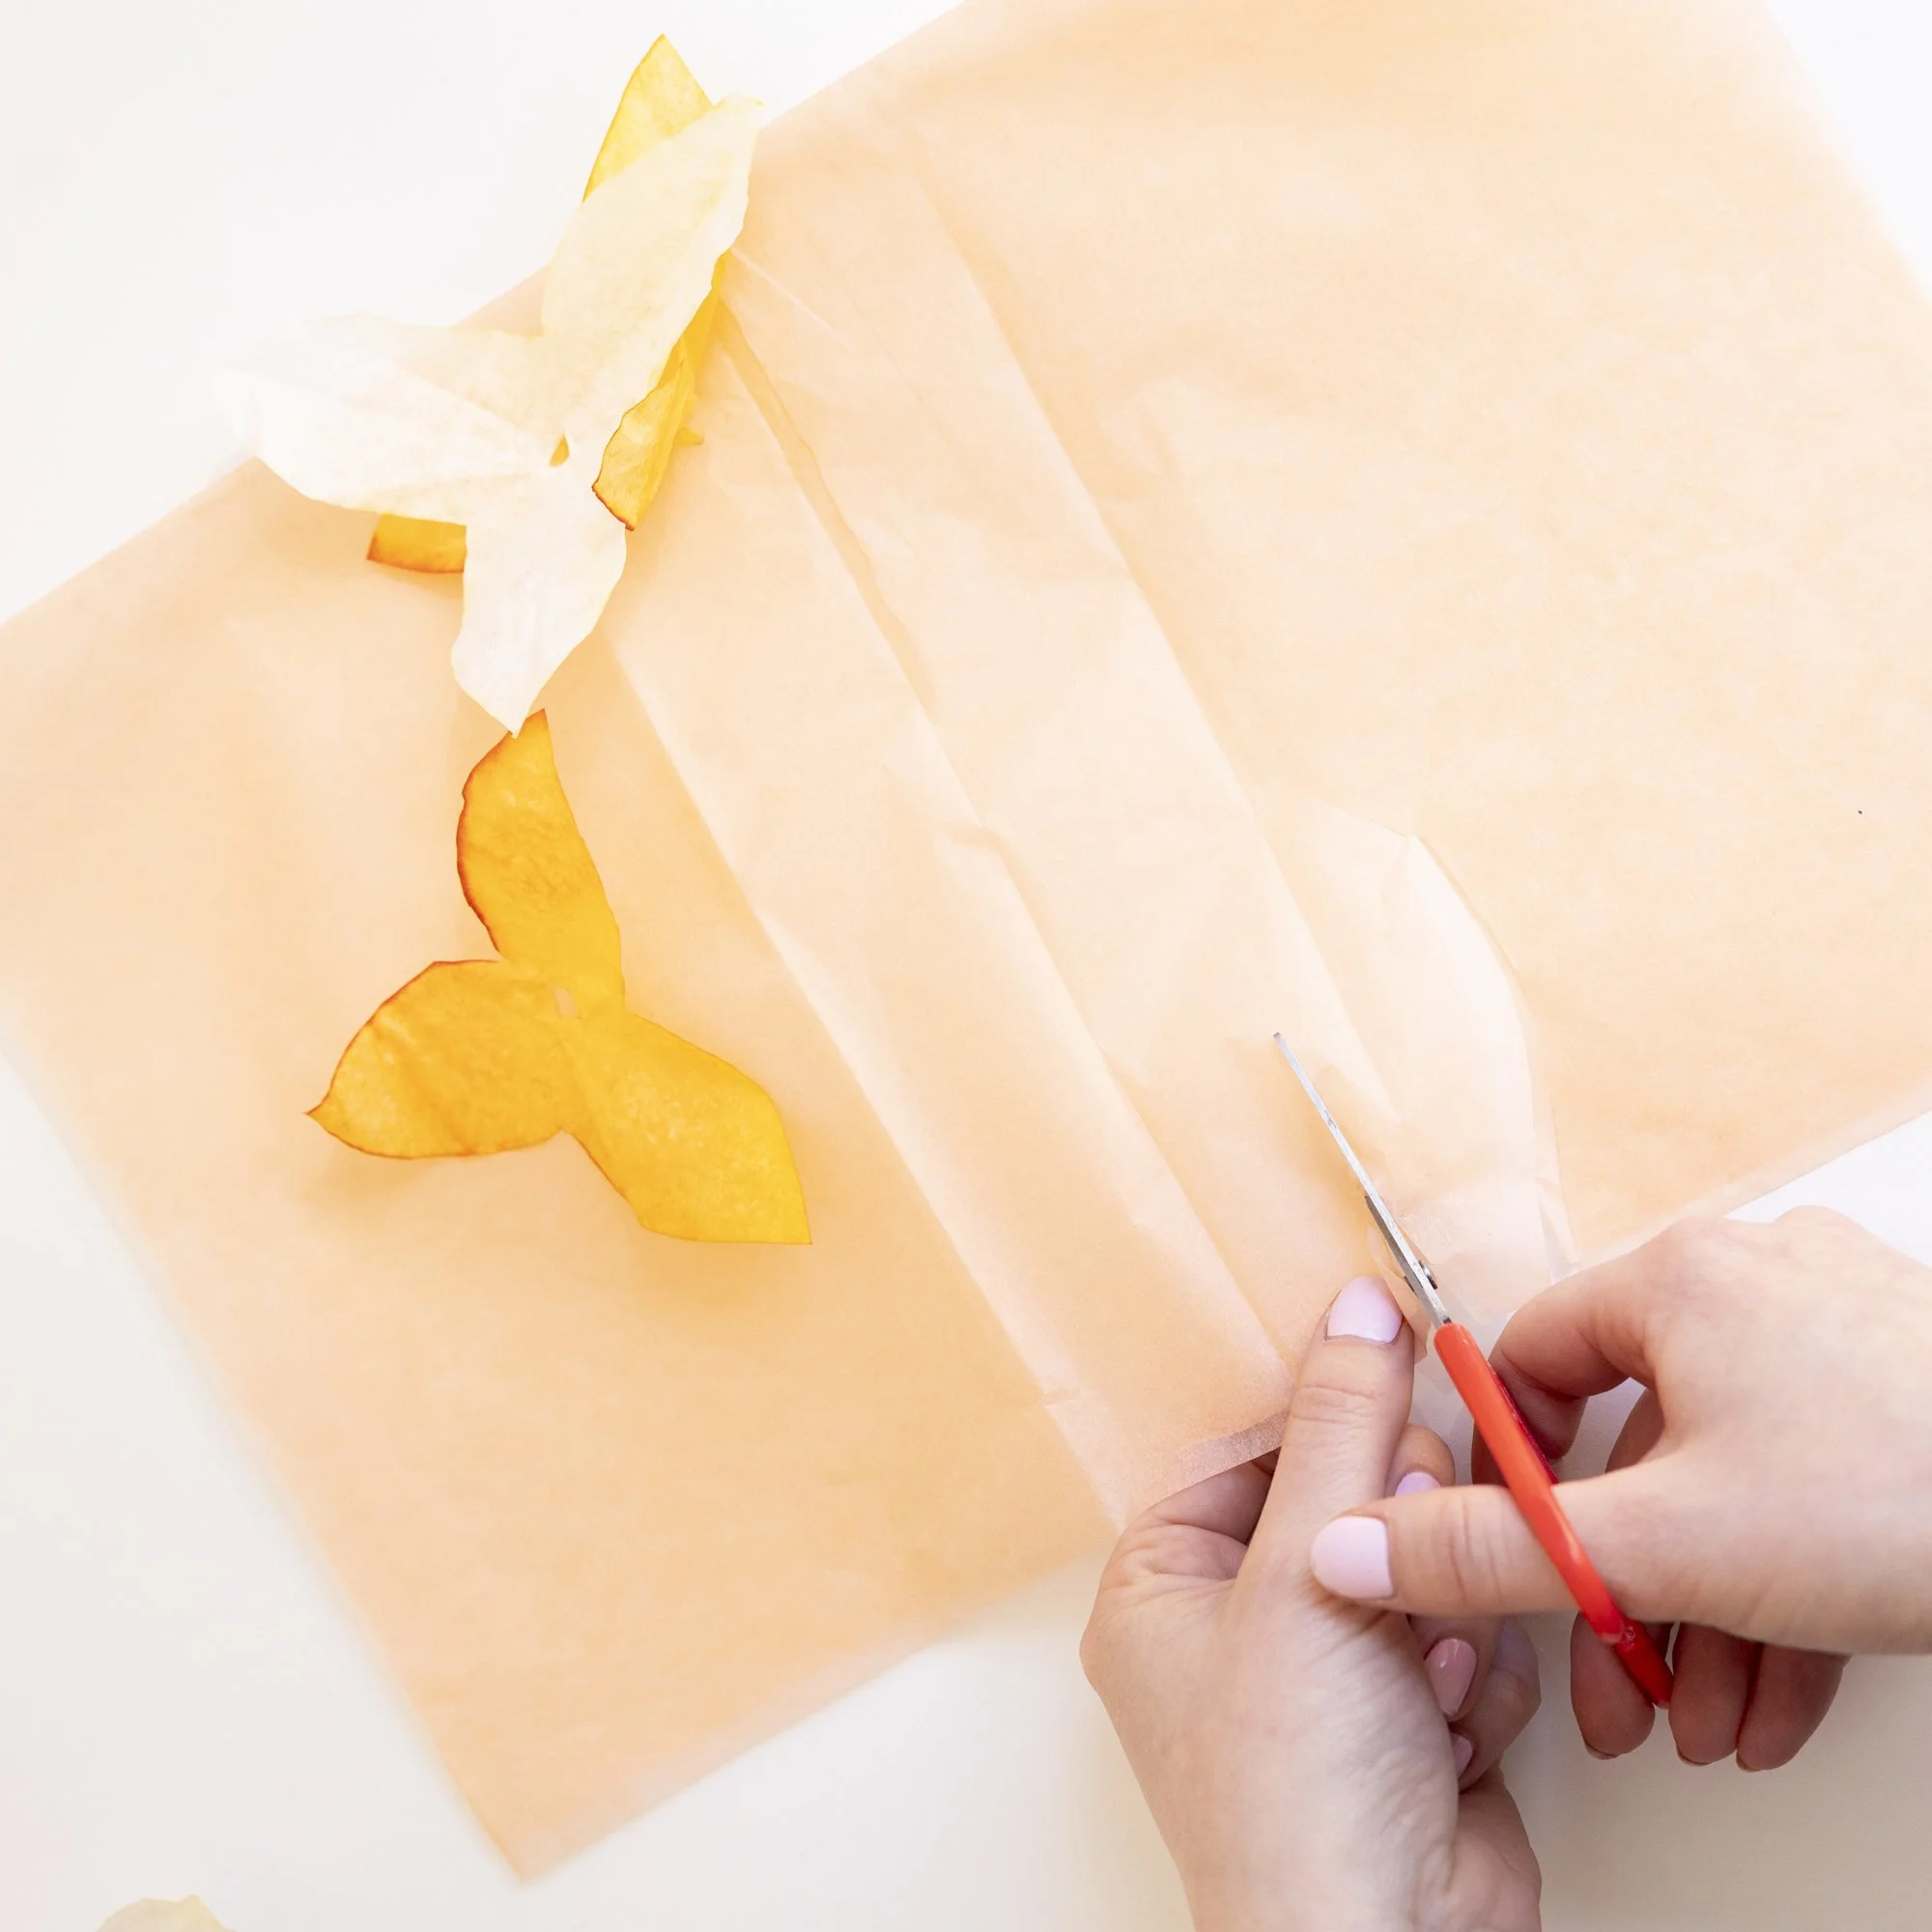
1. Cut your petals. Layer a few sheets of tissue paper together, then cut out large petal shapes in soft yellow, white, or orange tones. Don’t worry about making them perfectly even, the slightly organic shapes make the flowers feel more natural and handmade.
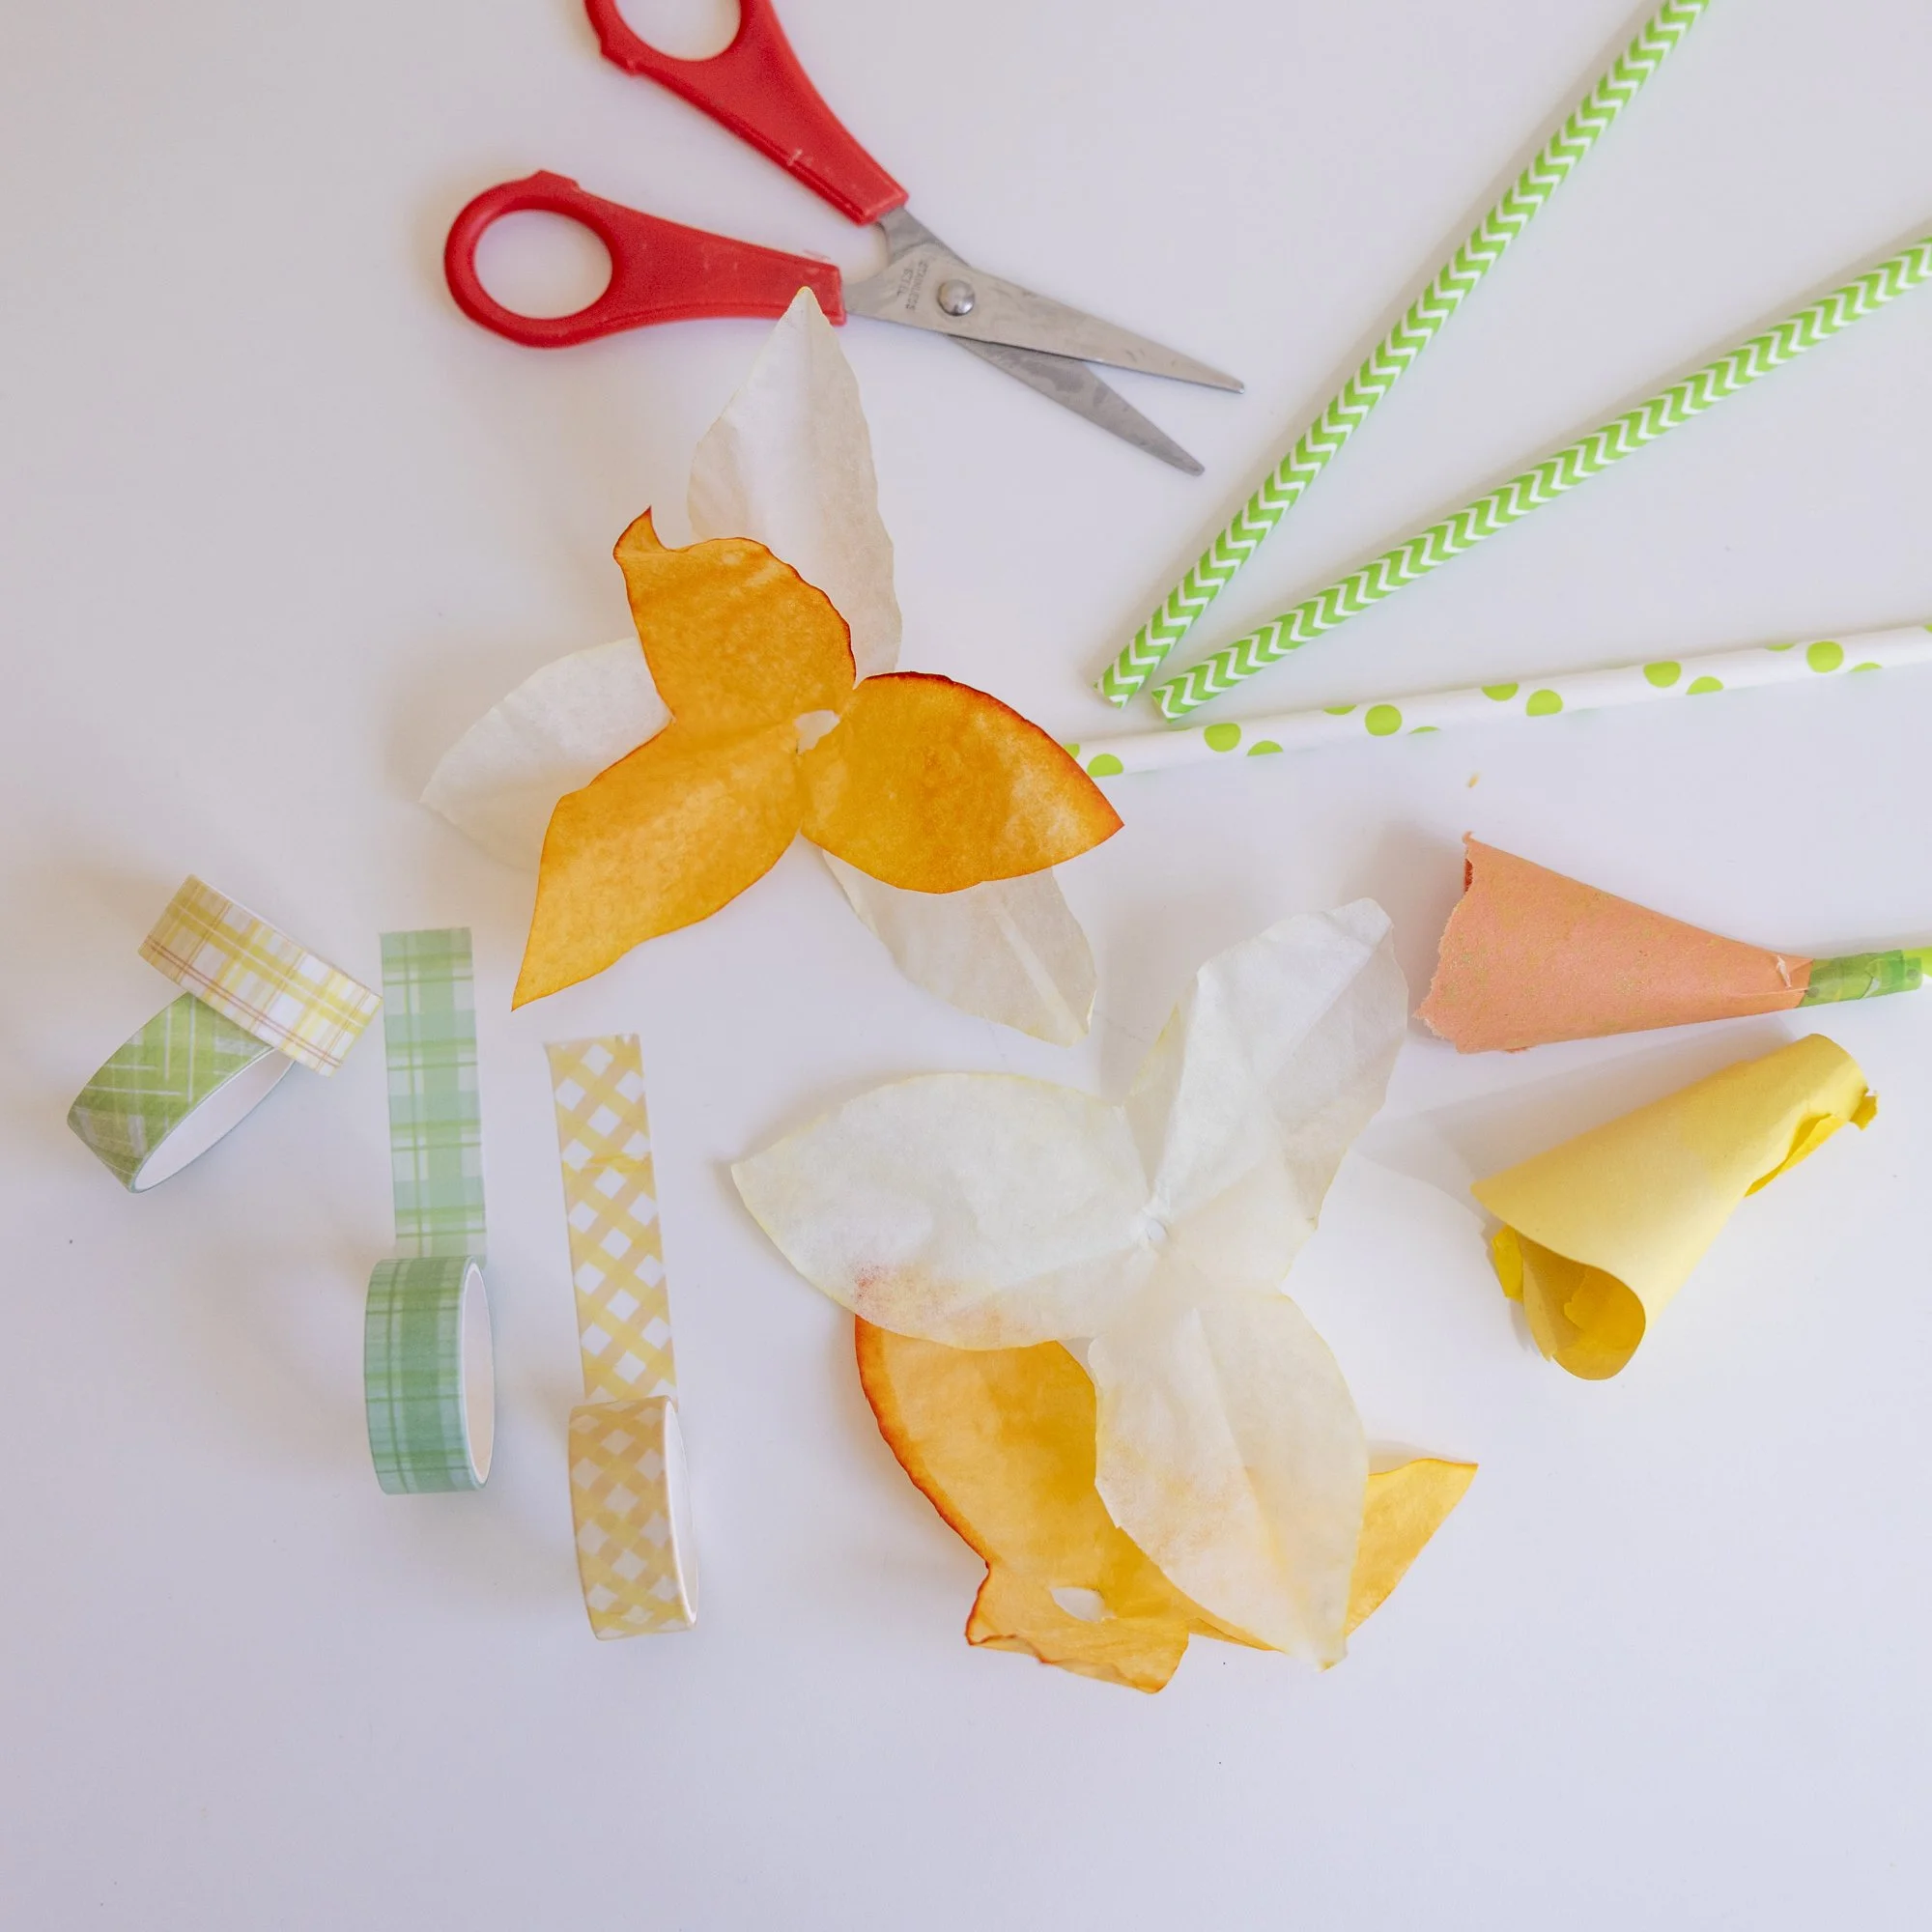
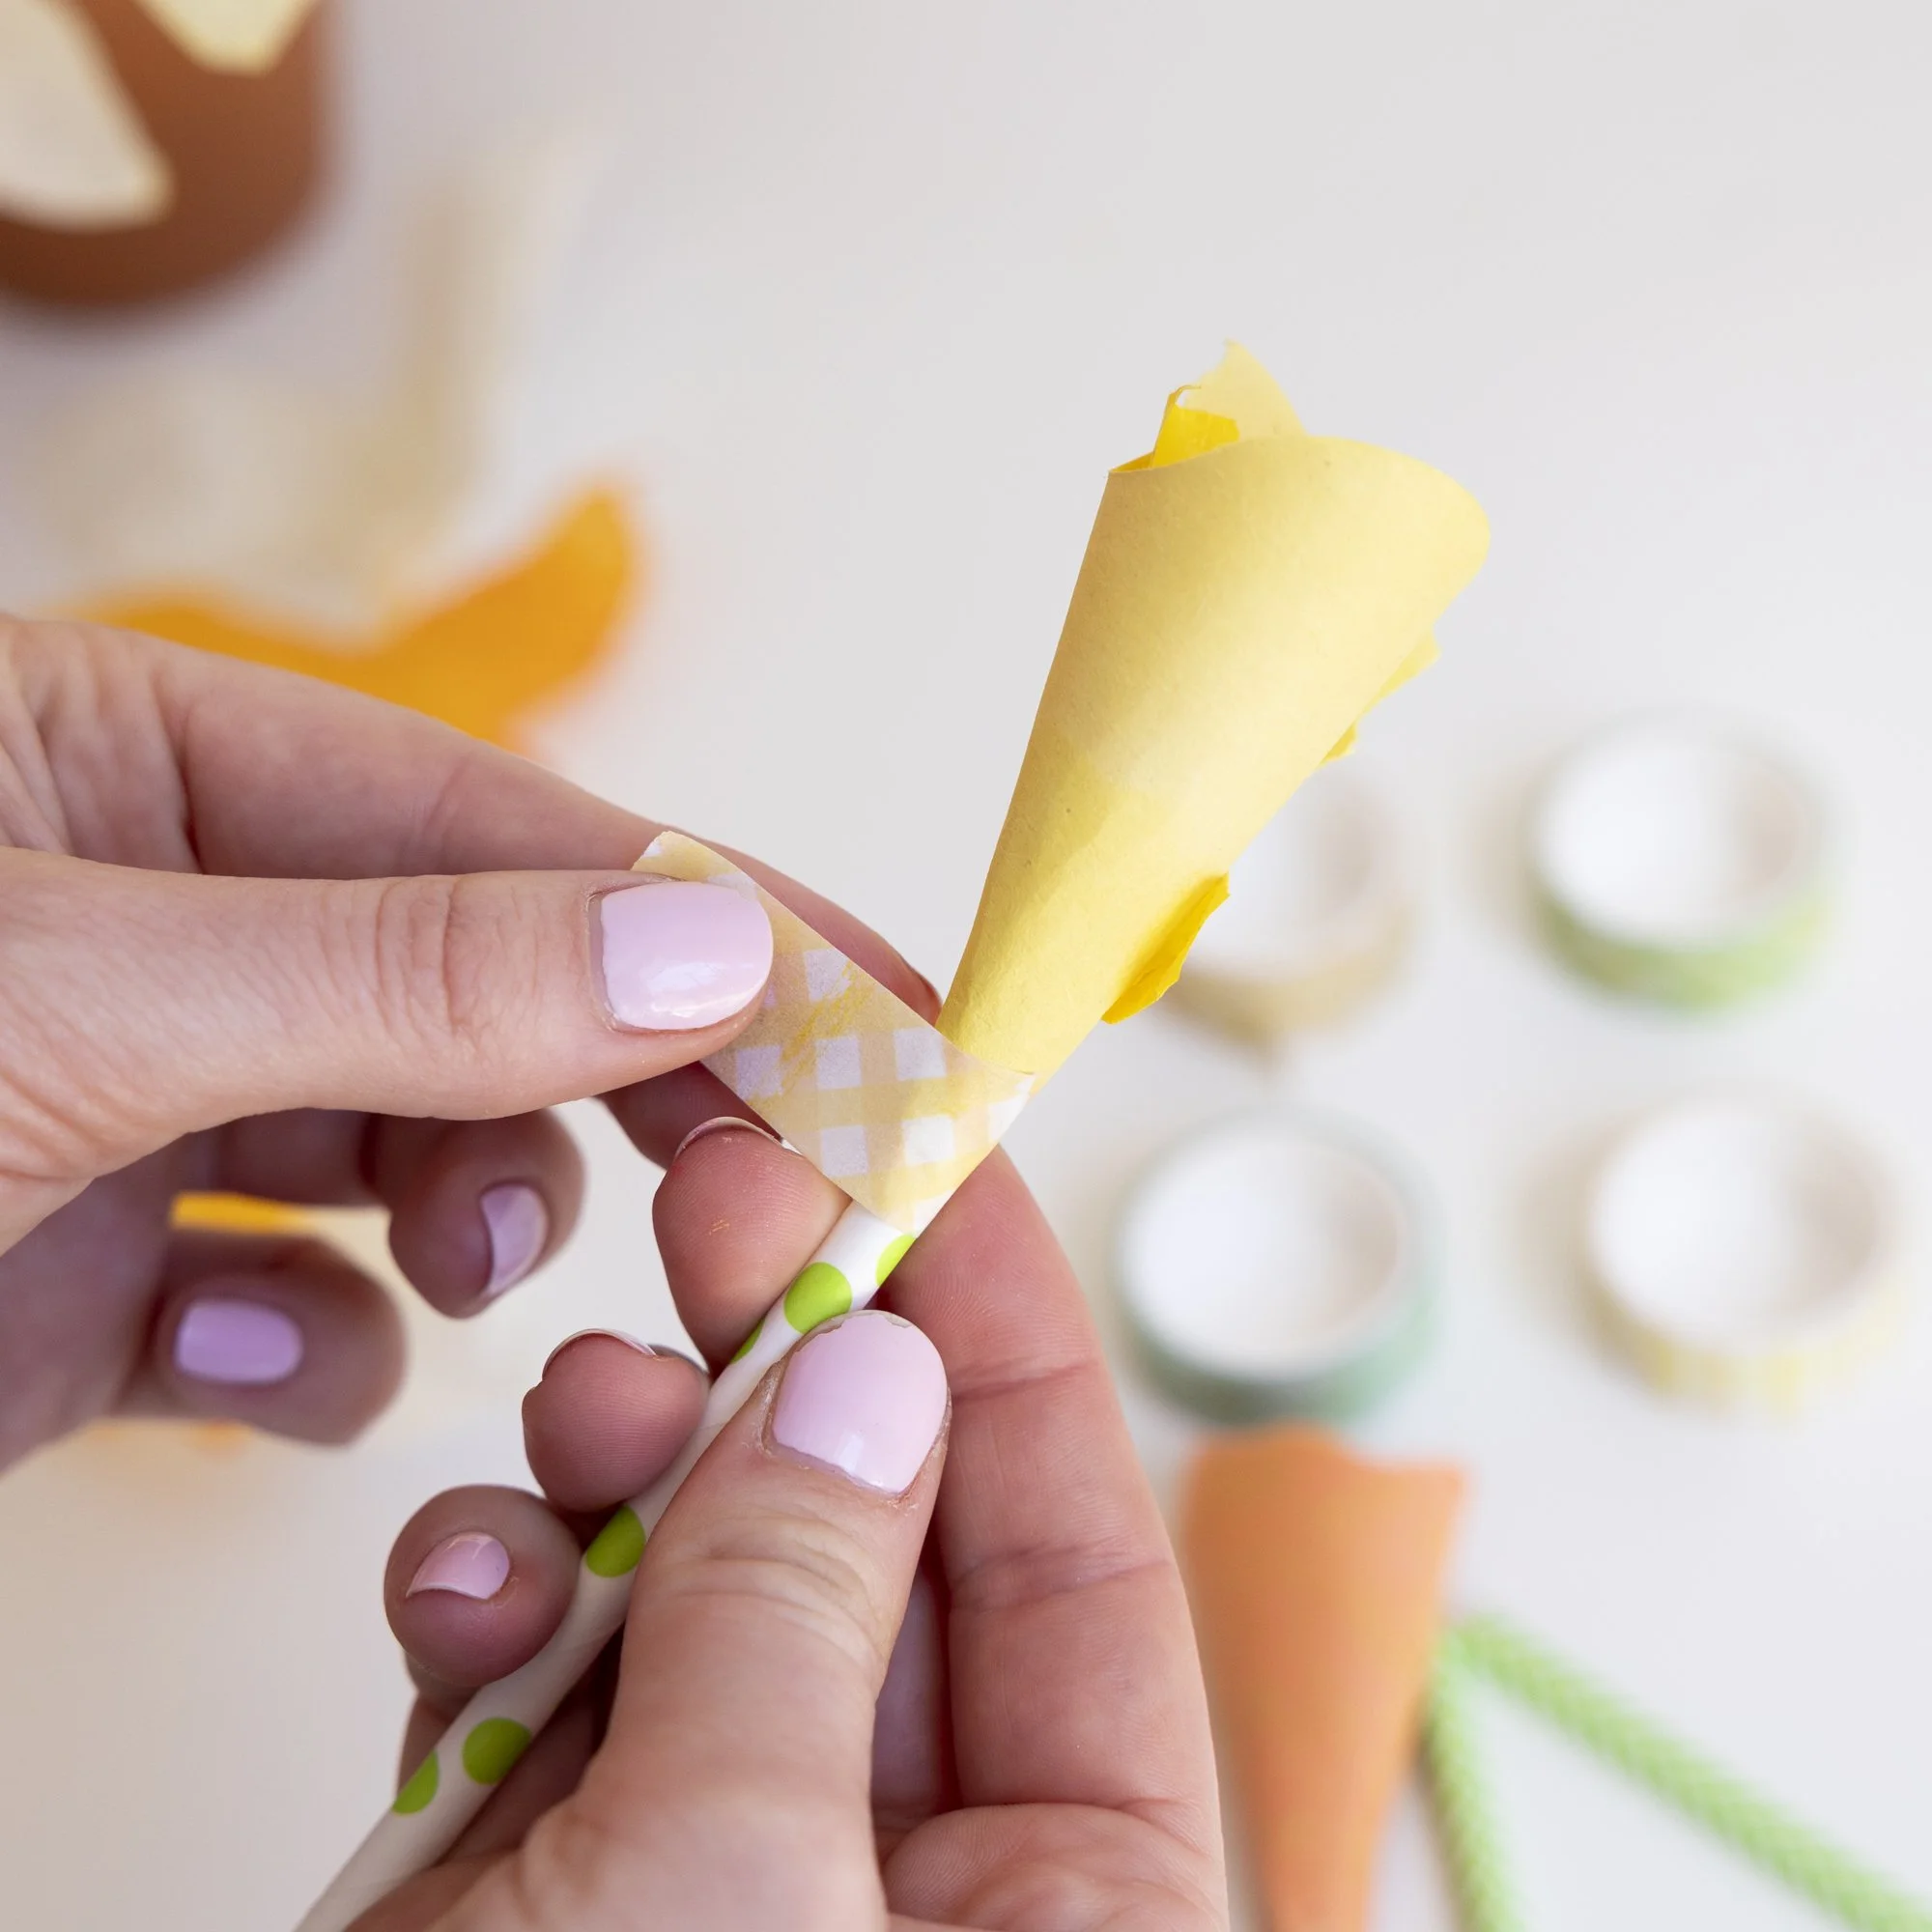
2. Now let’s rip some scrap paper up to form the daffodil centers. Once you have your ripped paper, roll the pieces to create a cone shape. Use a small piece of tape to secure the shape.
3. Next, tape the daffodil cone onto the paper straw with your washi tape.
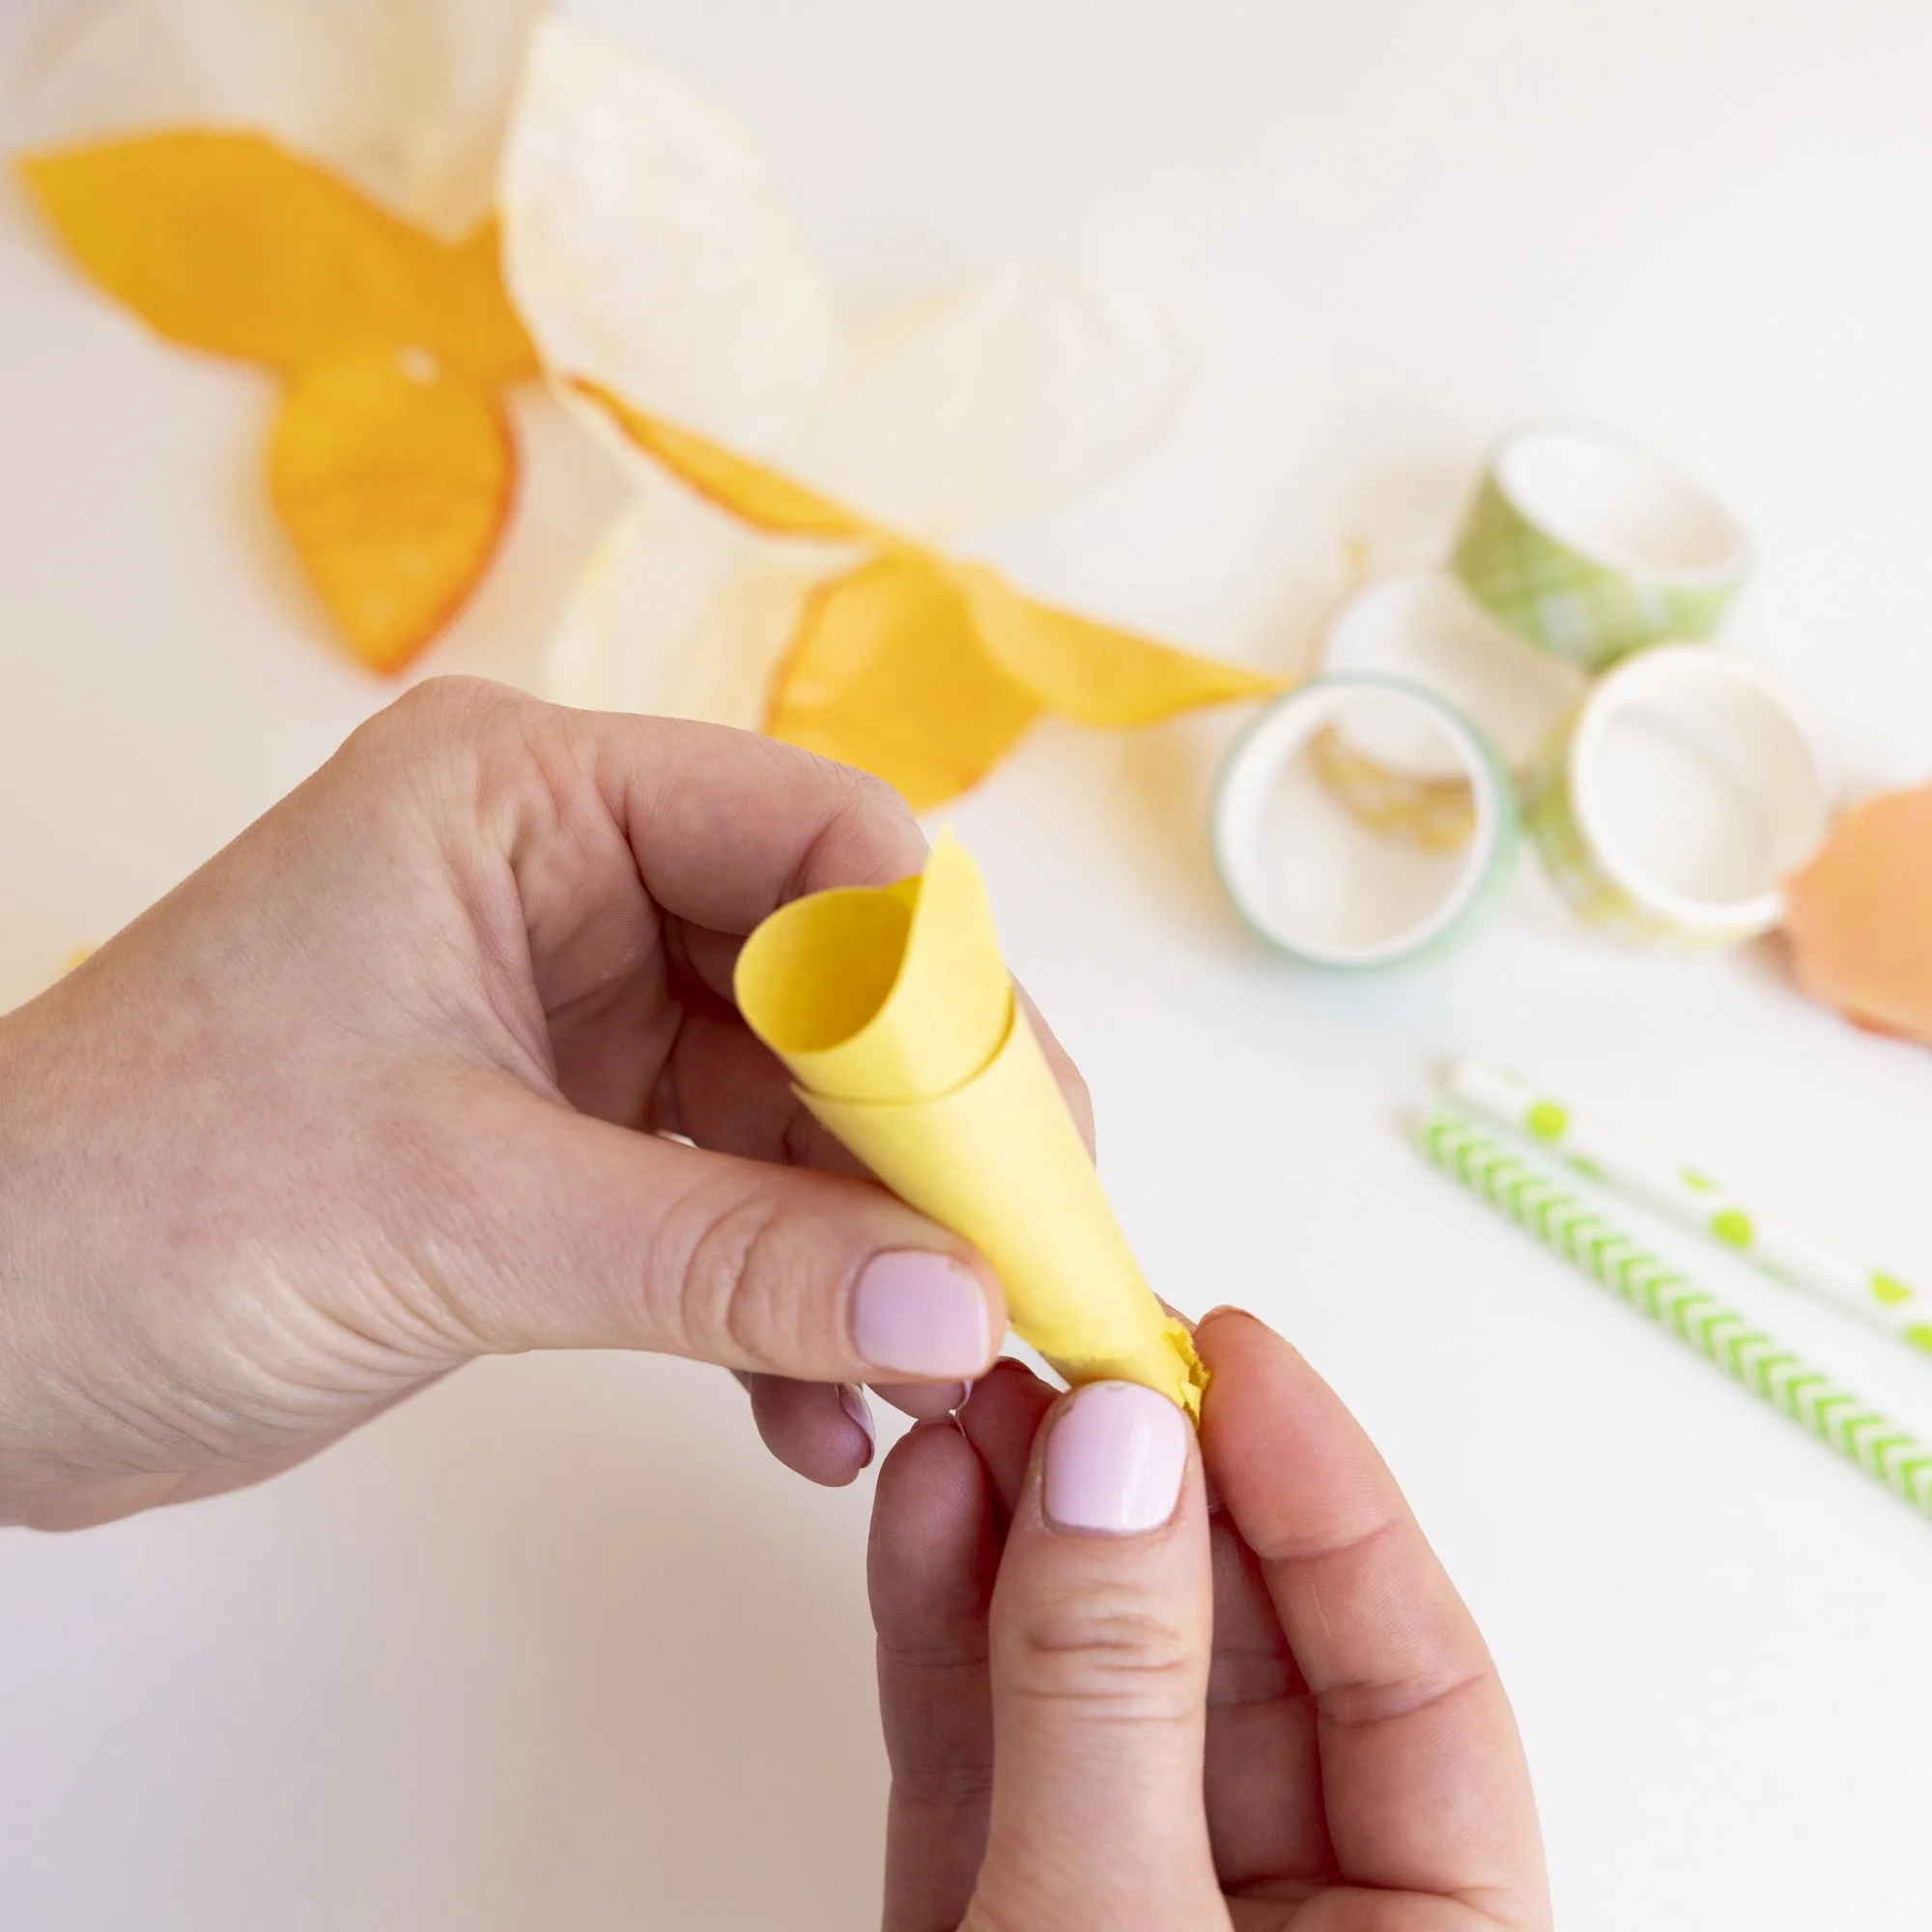
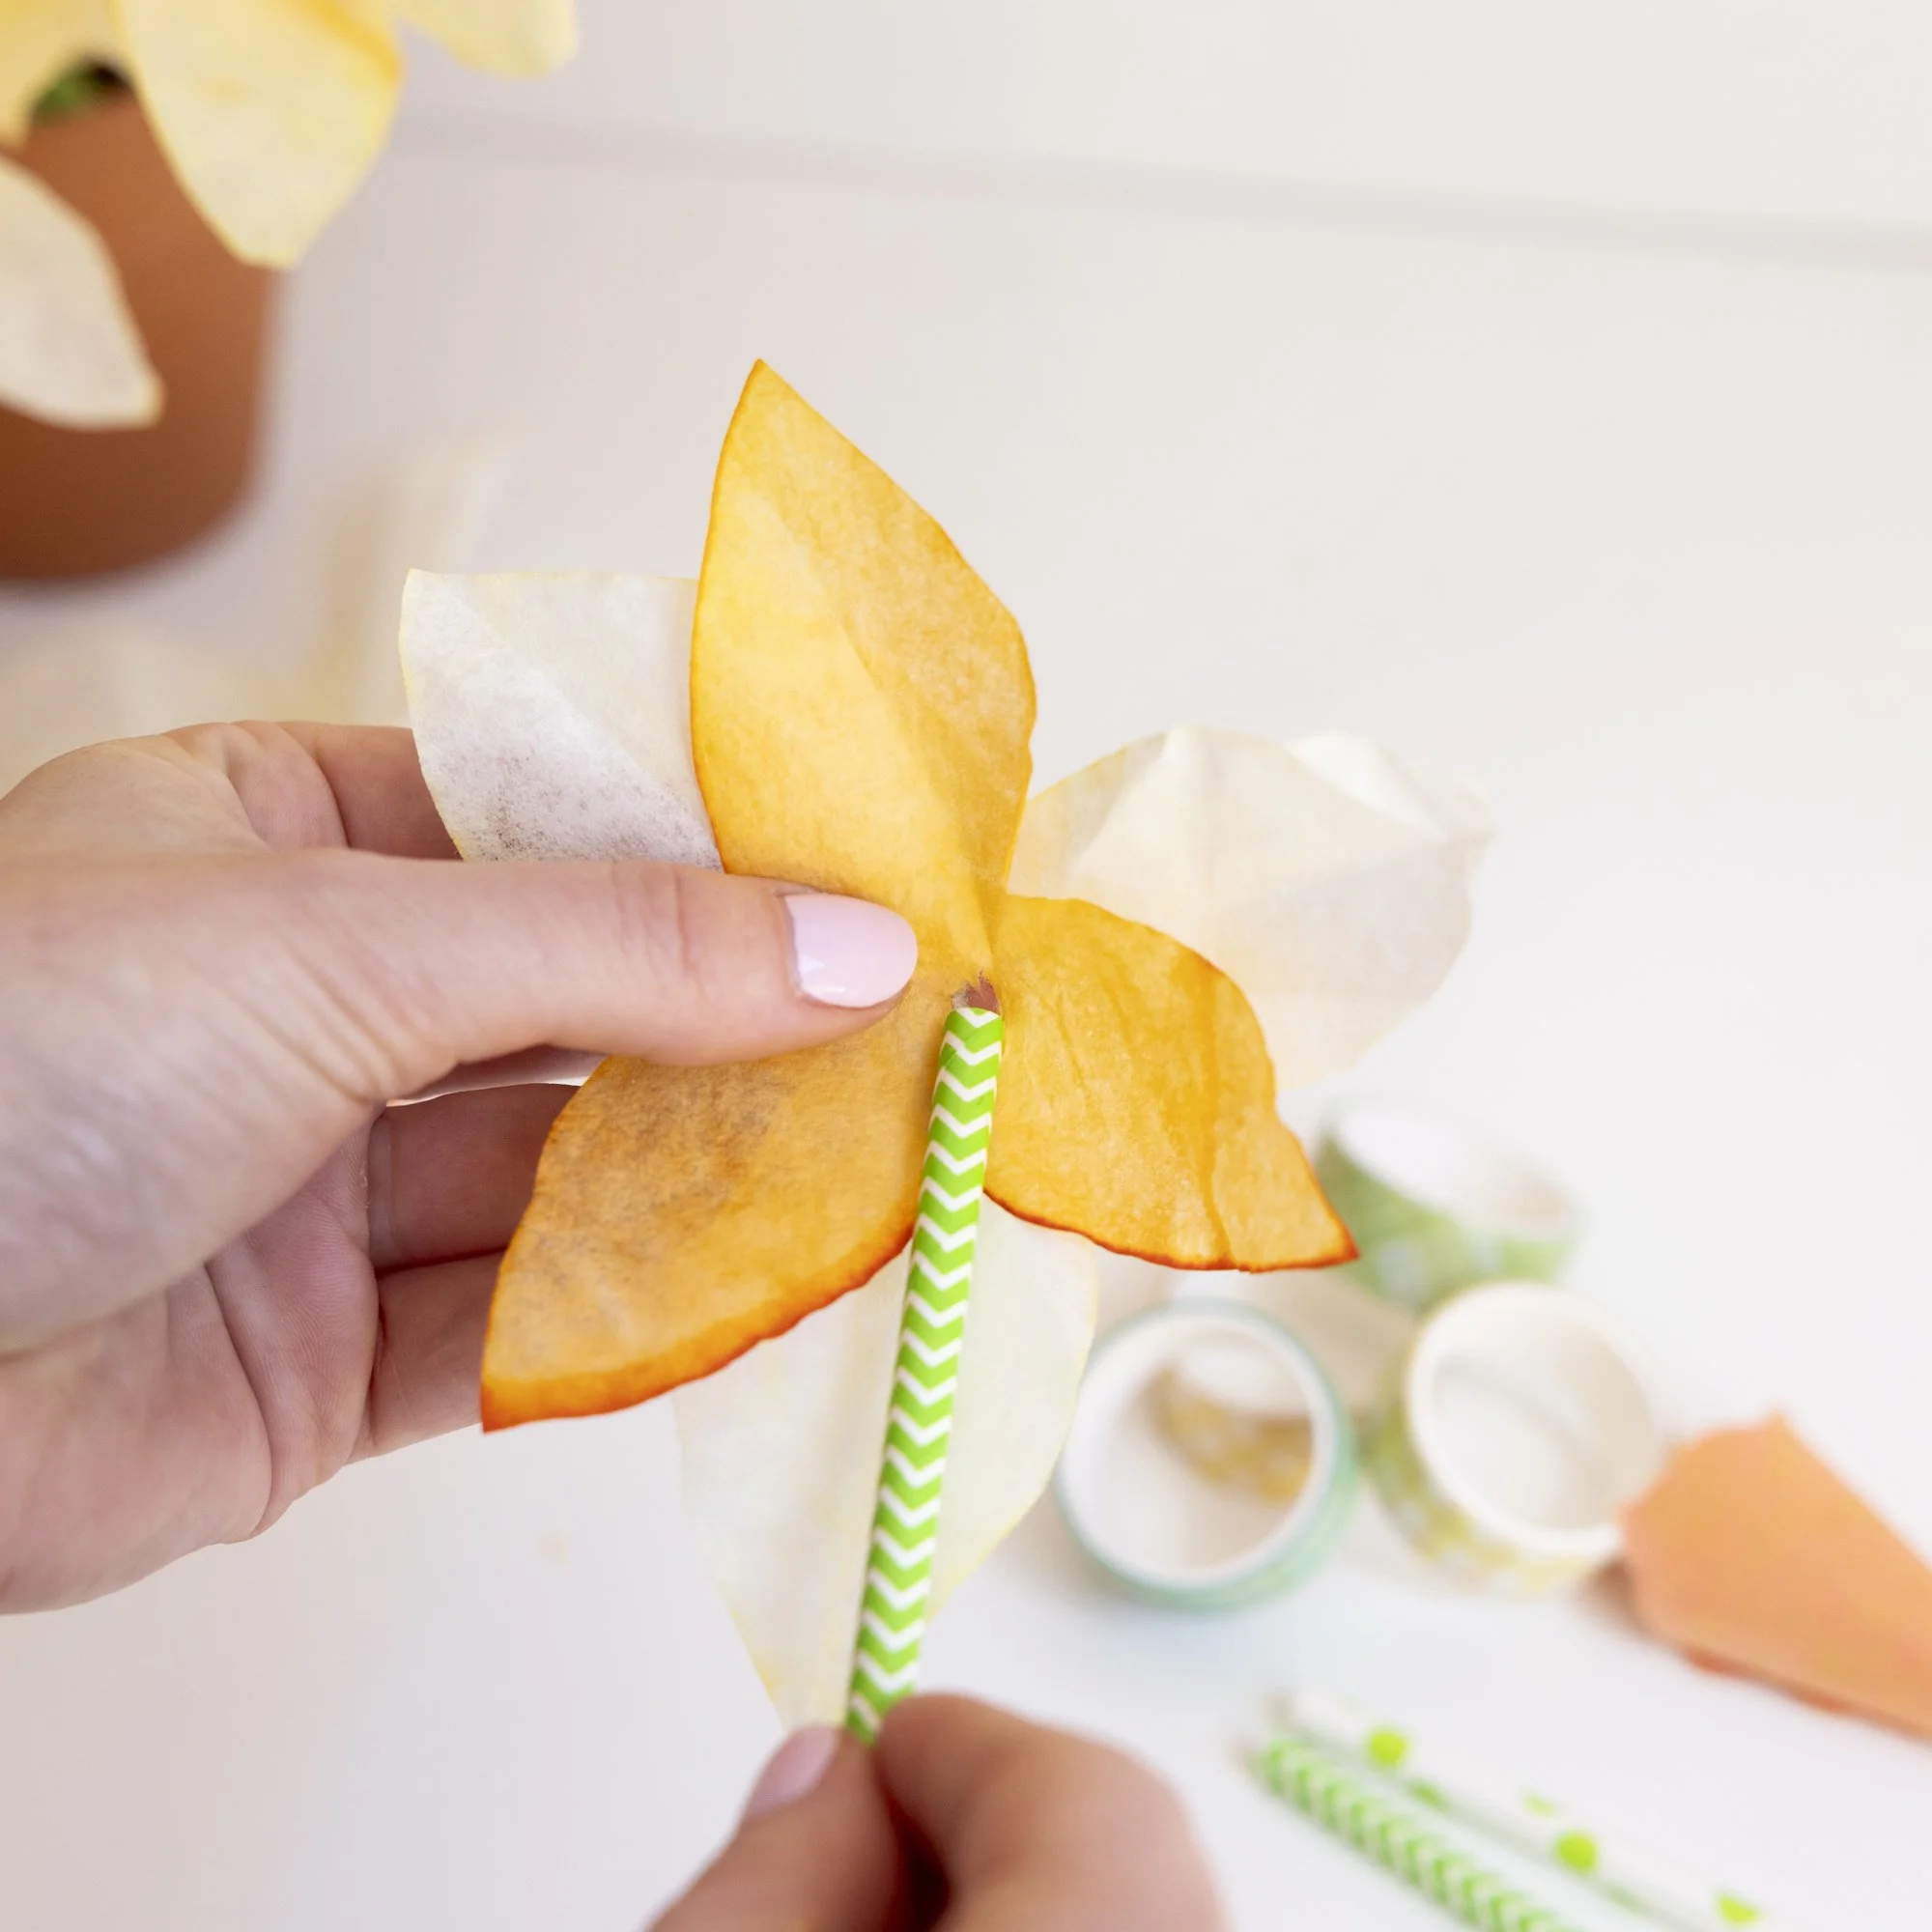
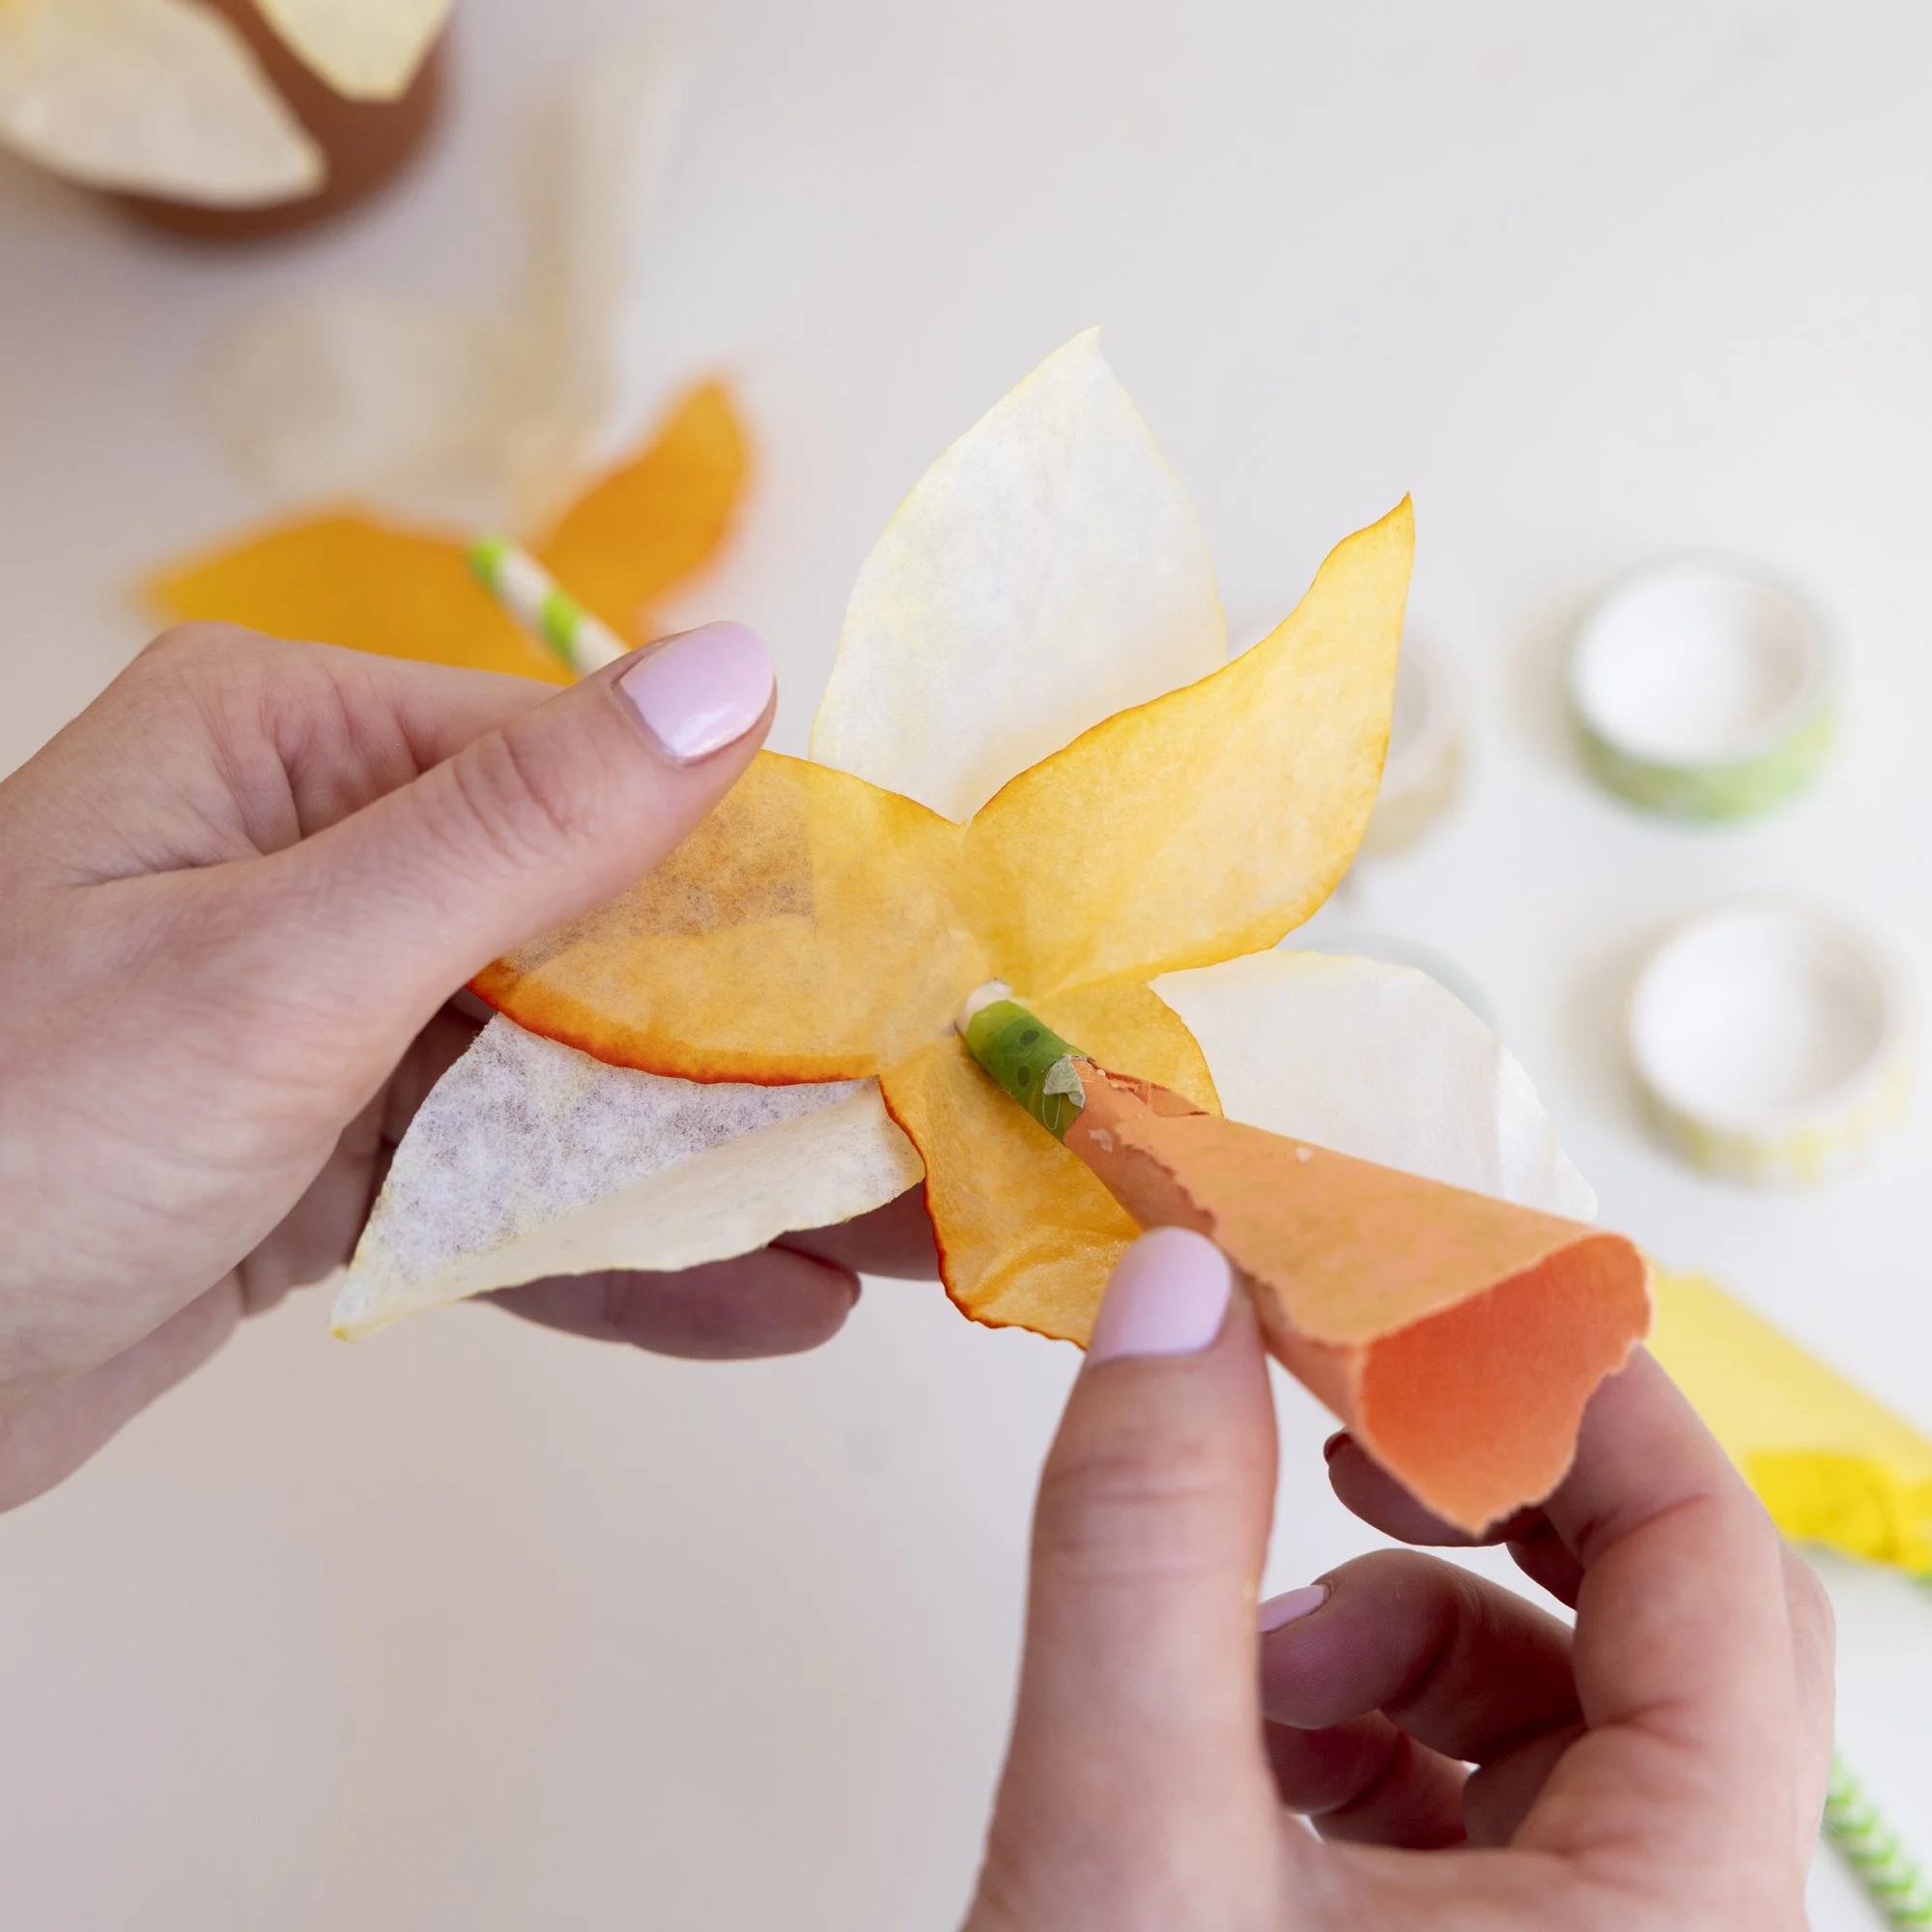
4. Poke a straw size hole through your paper petals. Then push the straw through the paper petals so they surround the daffodil cone.
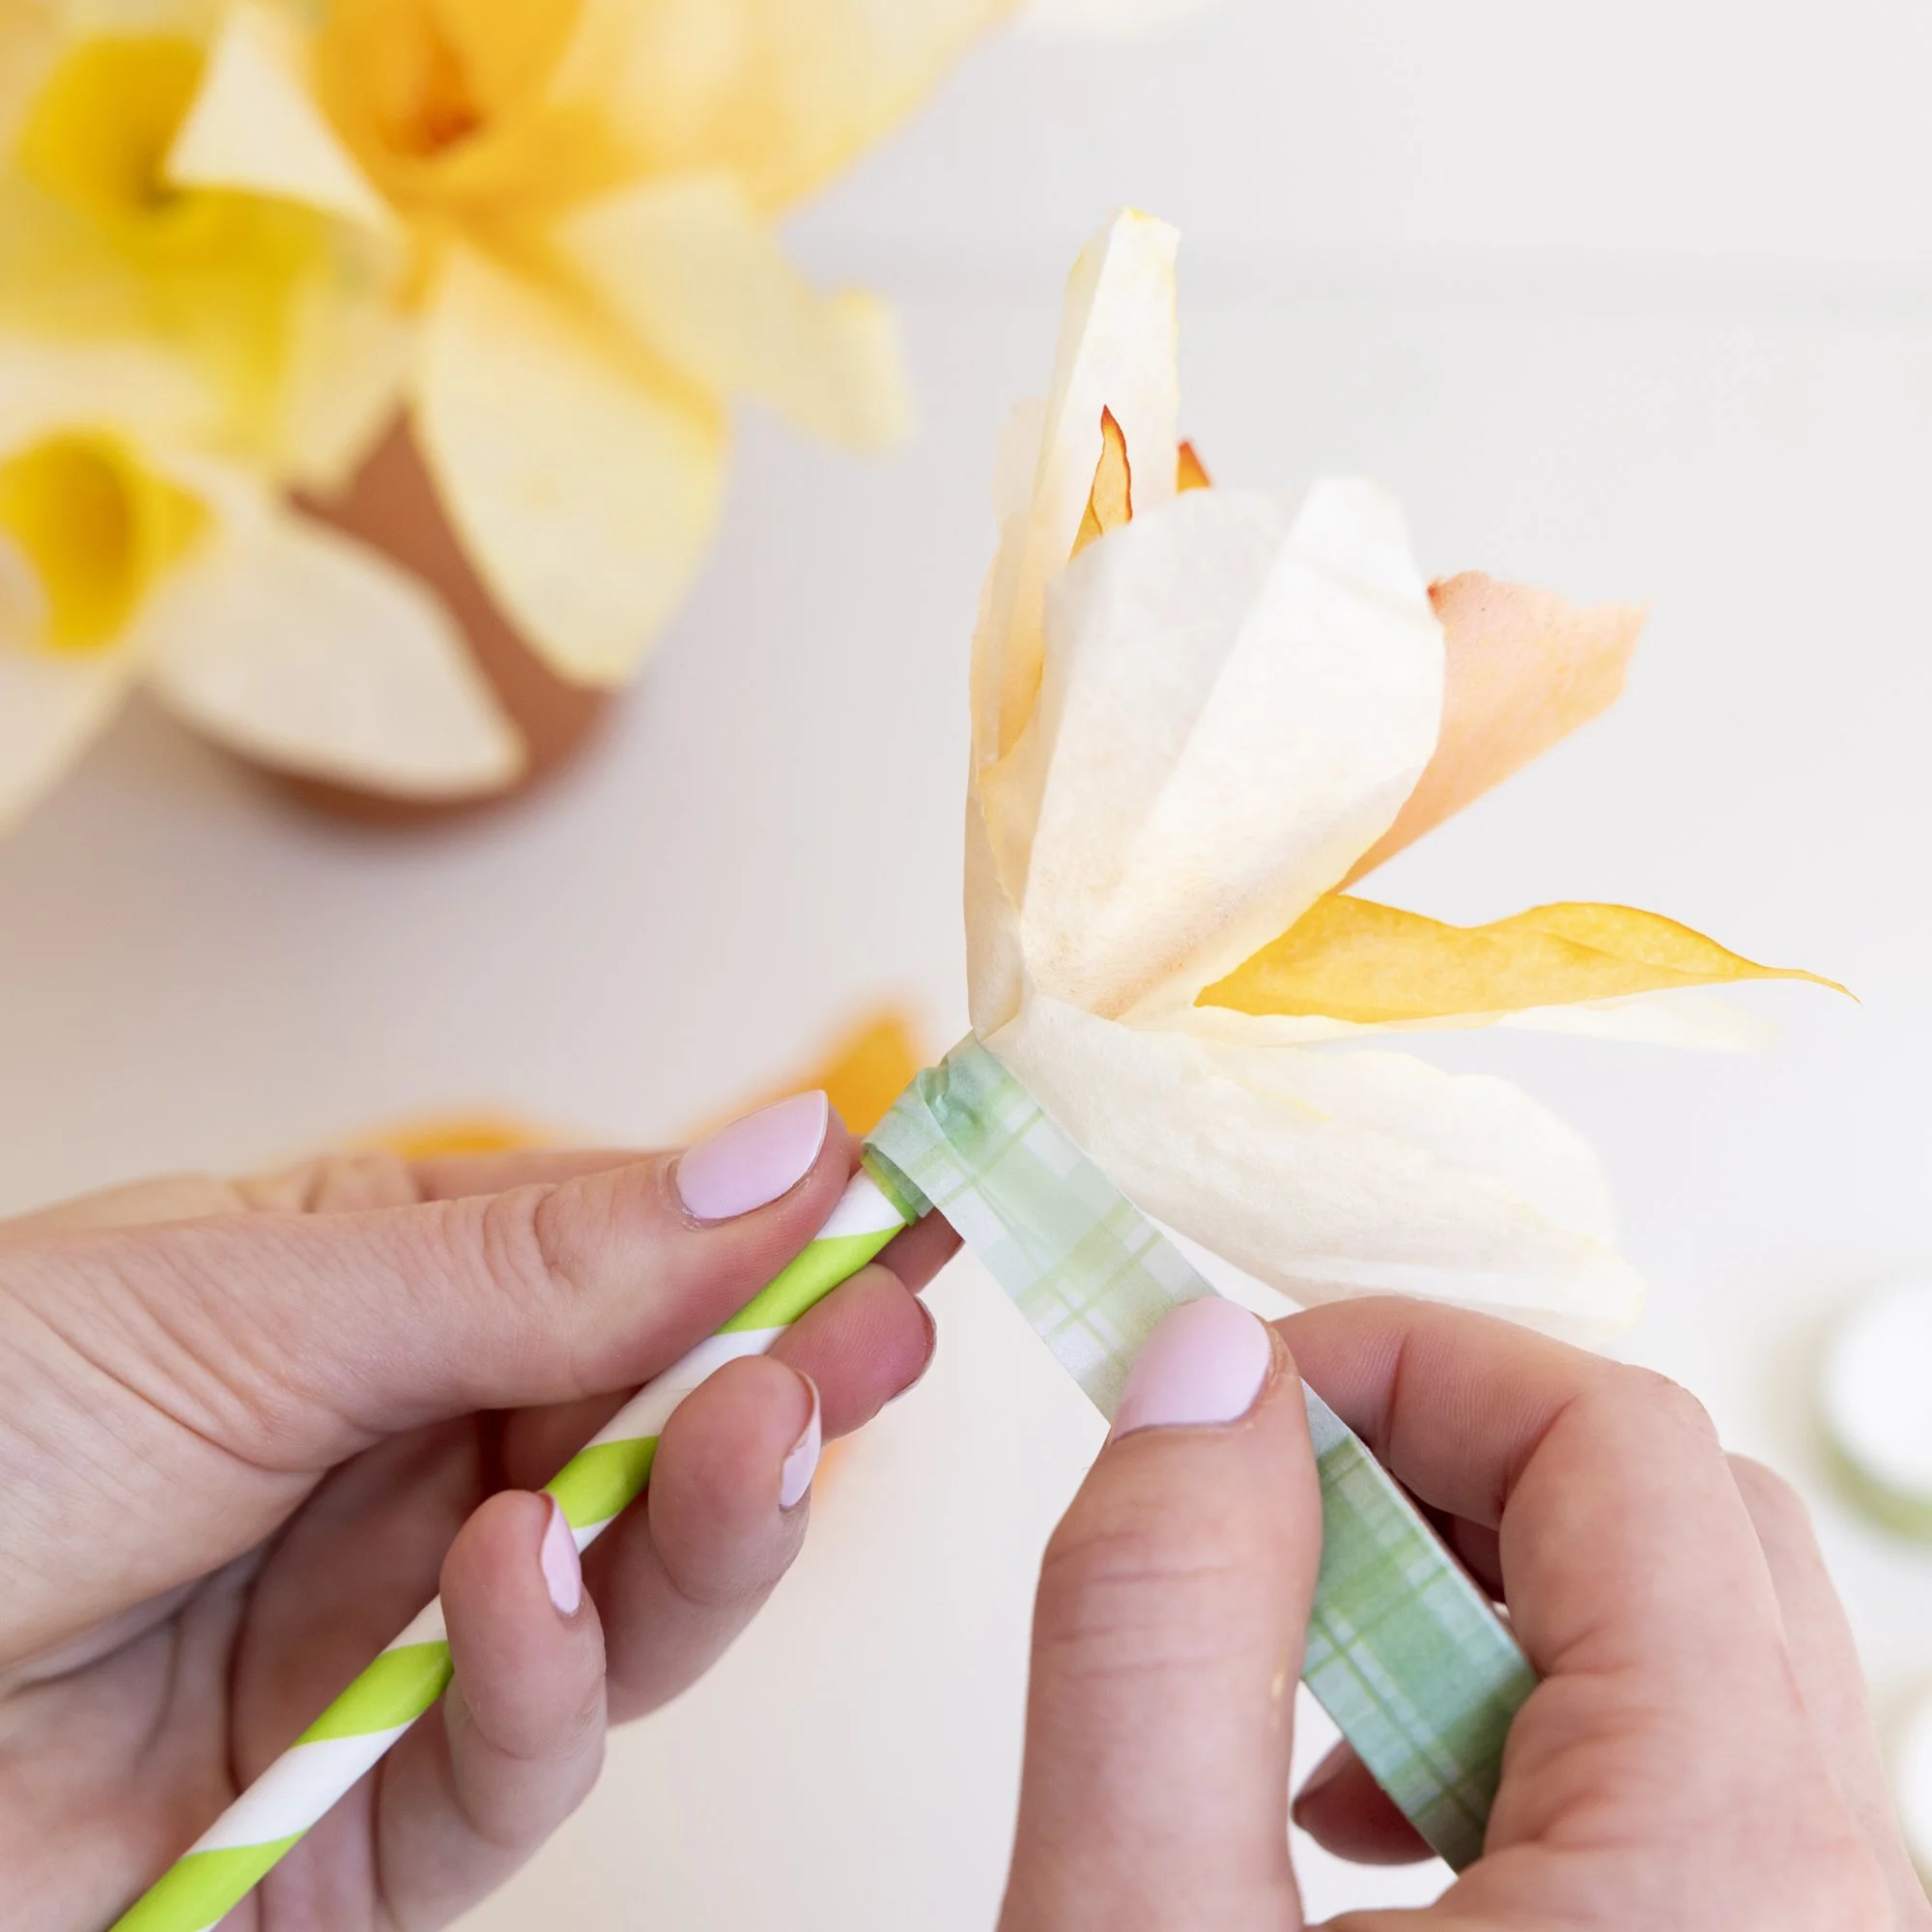
5. Arrange your petals in a star shape and gently press the center onto the top of a paper straw. Use a small piece of tape or washi tape to secure the petals in place and create the base of your daffodil bloom.