DIY Cardboard Cactus Craft
DIY Cardboard Cactus Craft!
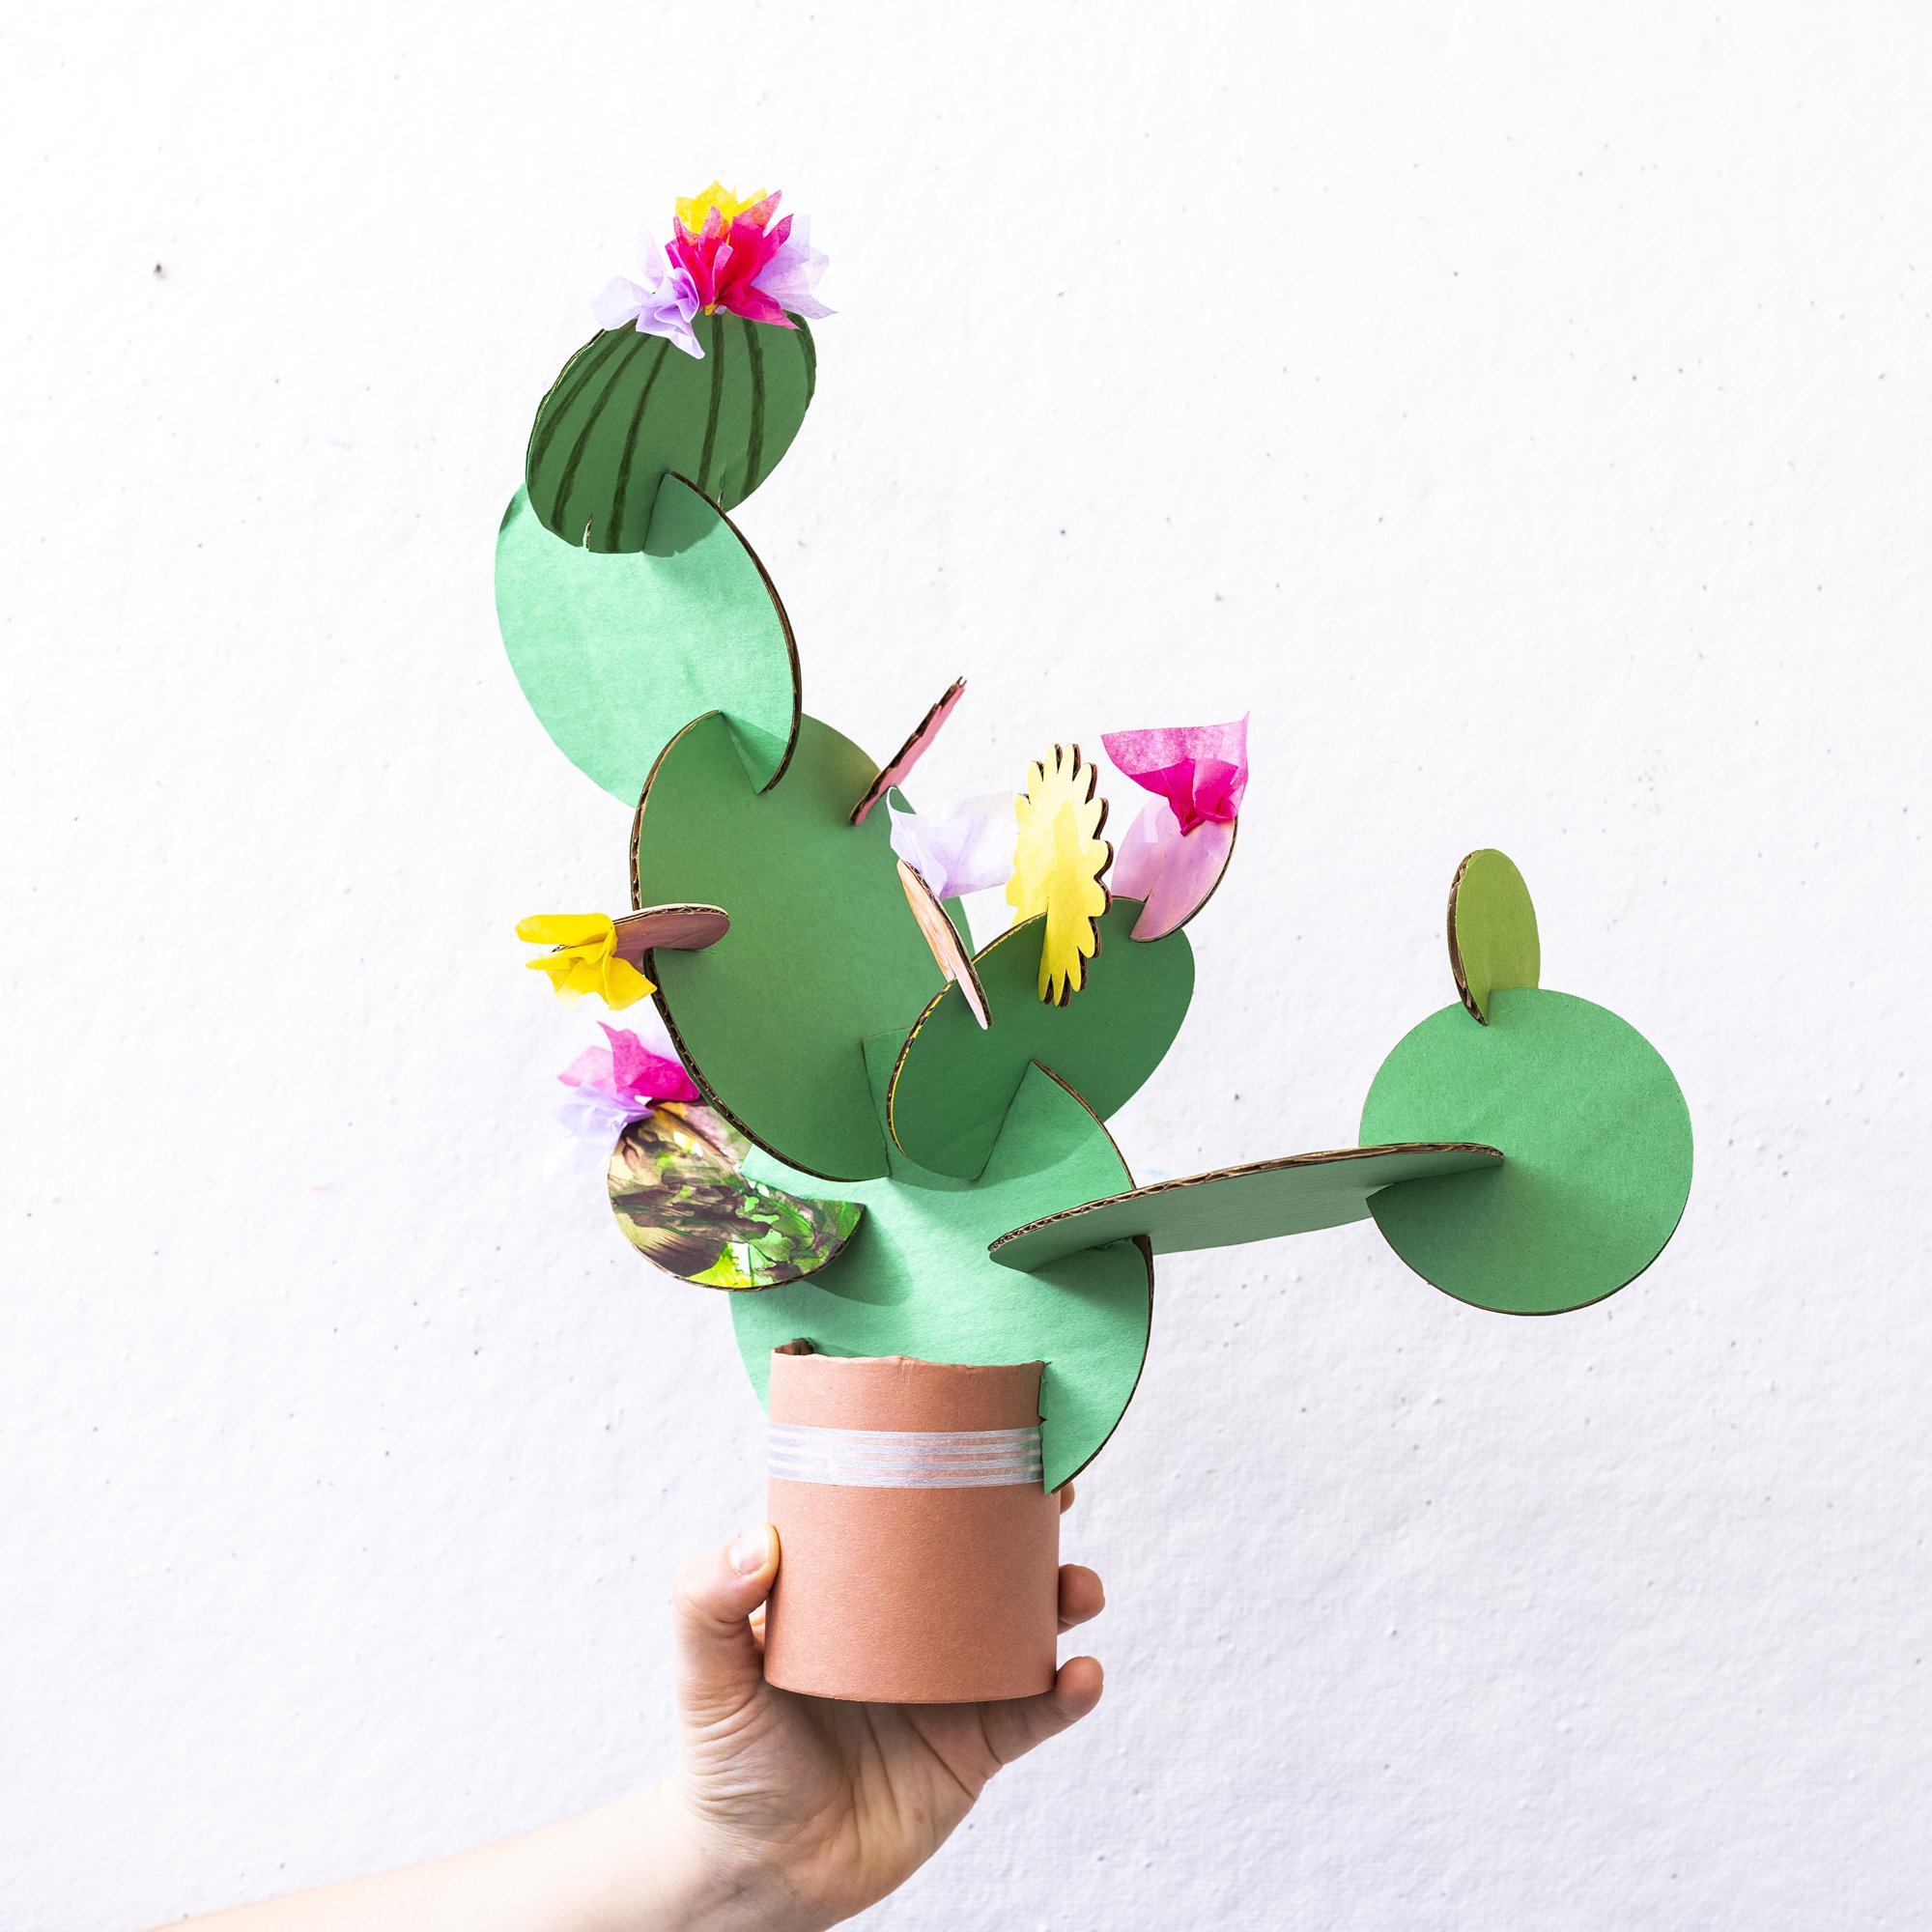
Need a craft to entertain your little artist(s) at home this summer? Let’s build a maintenance-free cactus sculpture using recycled materials!
Materials
Cardboard tubes cut into 3.5” segments (larger tubes from paper rolls are best, but also include smaller rolls from toilet paper/paper towels cut to 2.5” segments)
Strips of construction paper 3.5” tall and 2.5” tall (to wrap tubes)
Cardboard circles and ovals (various sizes 1”-5.5” diameters)
Recycled artwork and construction paper in shades of green, cut into circles and ovals (to cover cardboard)
Cardboard cut flowers
Construction paper cut into flowers
Washi tape
Glue sticks
Colored pencils
Paint sticks
Tissue paper squares and scraps
Let’s get started!
Steps
1. Choose a cardboard tube that will be the pot. Begin decorating it by wrapping and gluing construction paper around it. You can add extra decoration with paint sticks, colored pencils, and washi tape.
2. Next, choose some cardboard circles and ovals to decorate as the cactus segments.
3. Glue green paper to the cardboard or just decorate with paint sticks. Artists can add additional textures and details using colored pencils.
4. We recommend caregivers demonstrate first, begin by cutting two slits at the bottom of the first cactus segment and sliding it onto the tube.
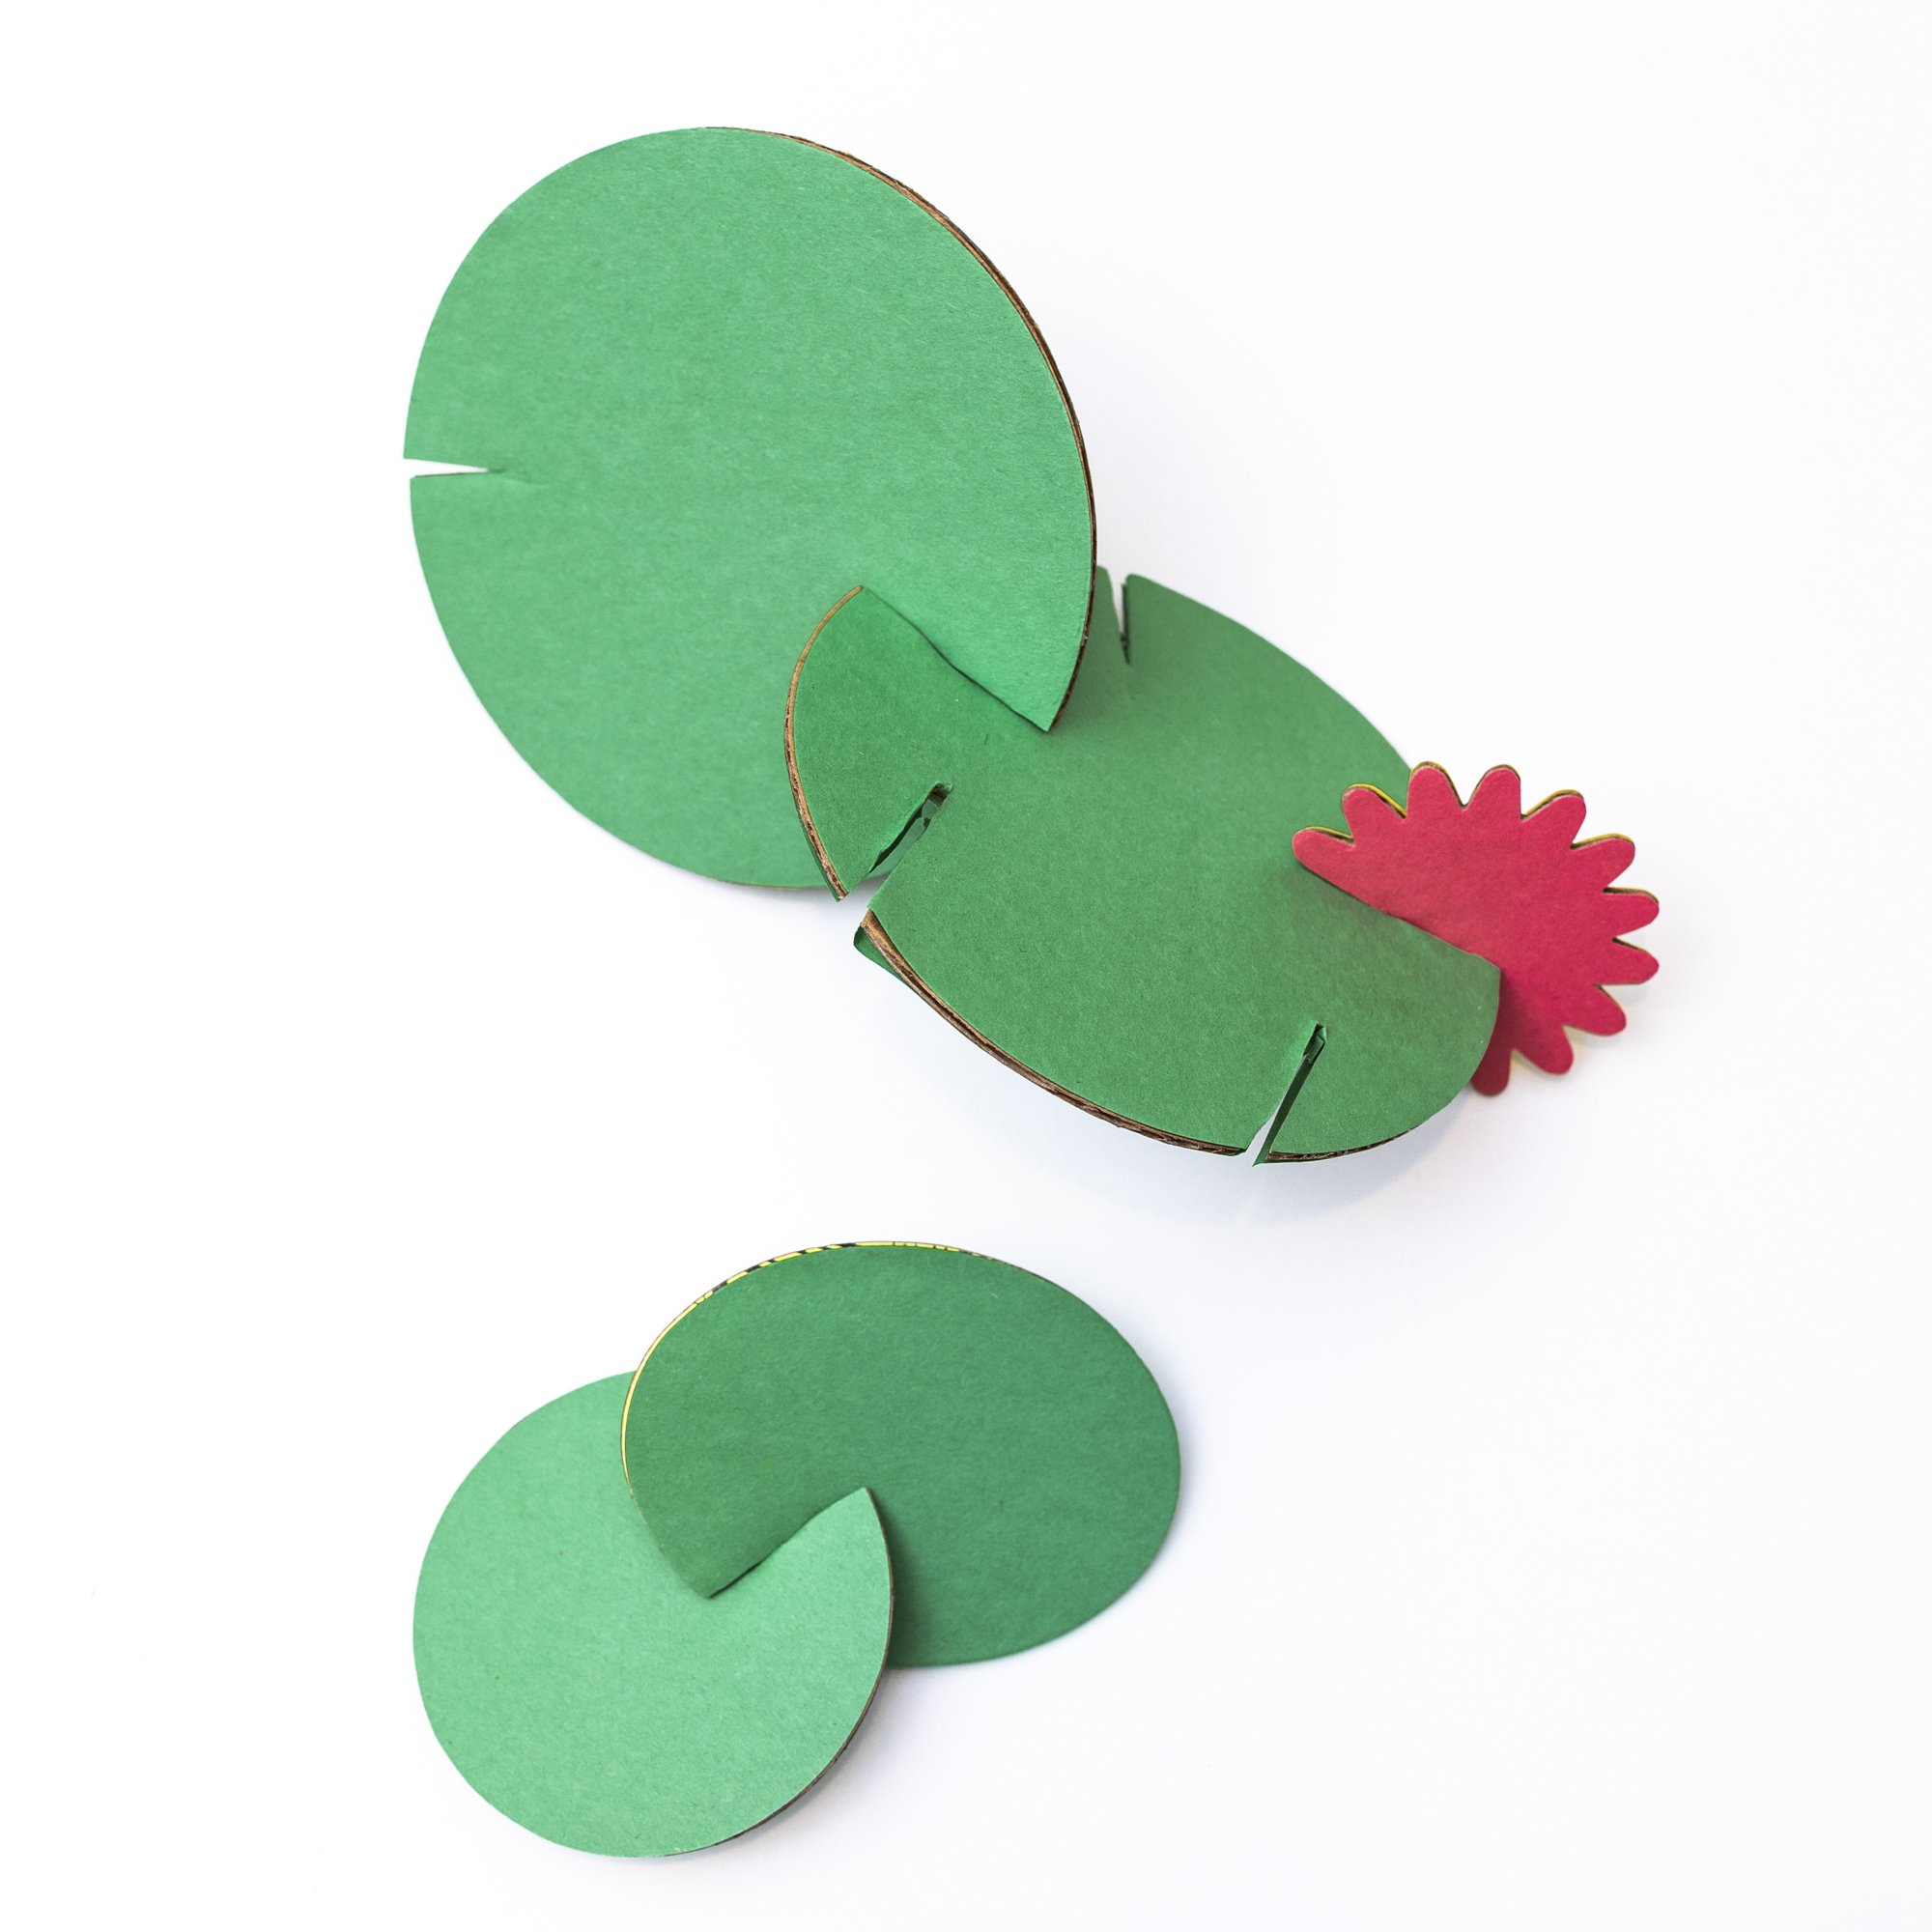
5. Attach cactus segments by cutting narrow triangular slits in the two pieces you would like to connect and sliding them together.
6. Get creative with how you choose to assemble the cactus! Encourage little artists to rotate their sculptures to add to the 3D composition from all sides.
7. Choose some cardboard flowers to decorate and repeat the connecting process to add the shapes to their cactus sculptures.
8. Bunch up tissue paper pieces and stick them with a glue stick as textural flowers.
9. Add additional embellishments with paint sticks, colored pencils, and washi tape.


