Winter Wonderland
Winter Wonderland
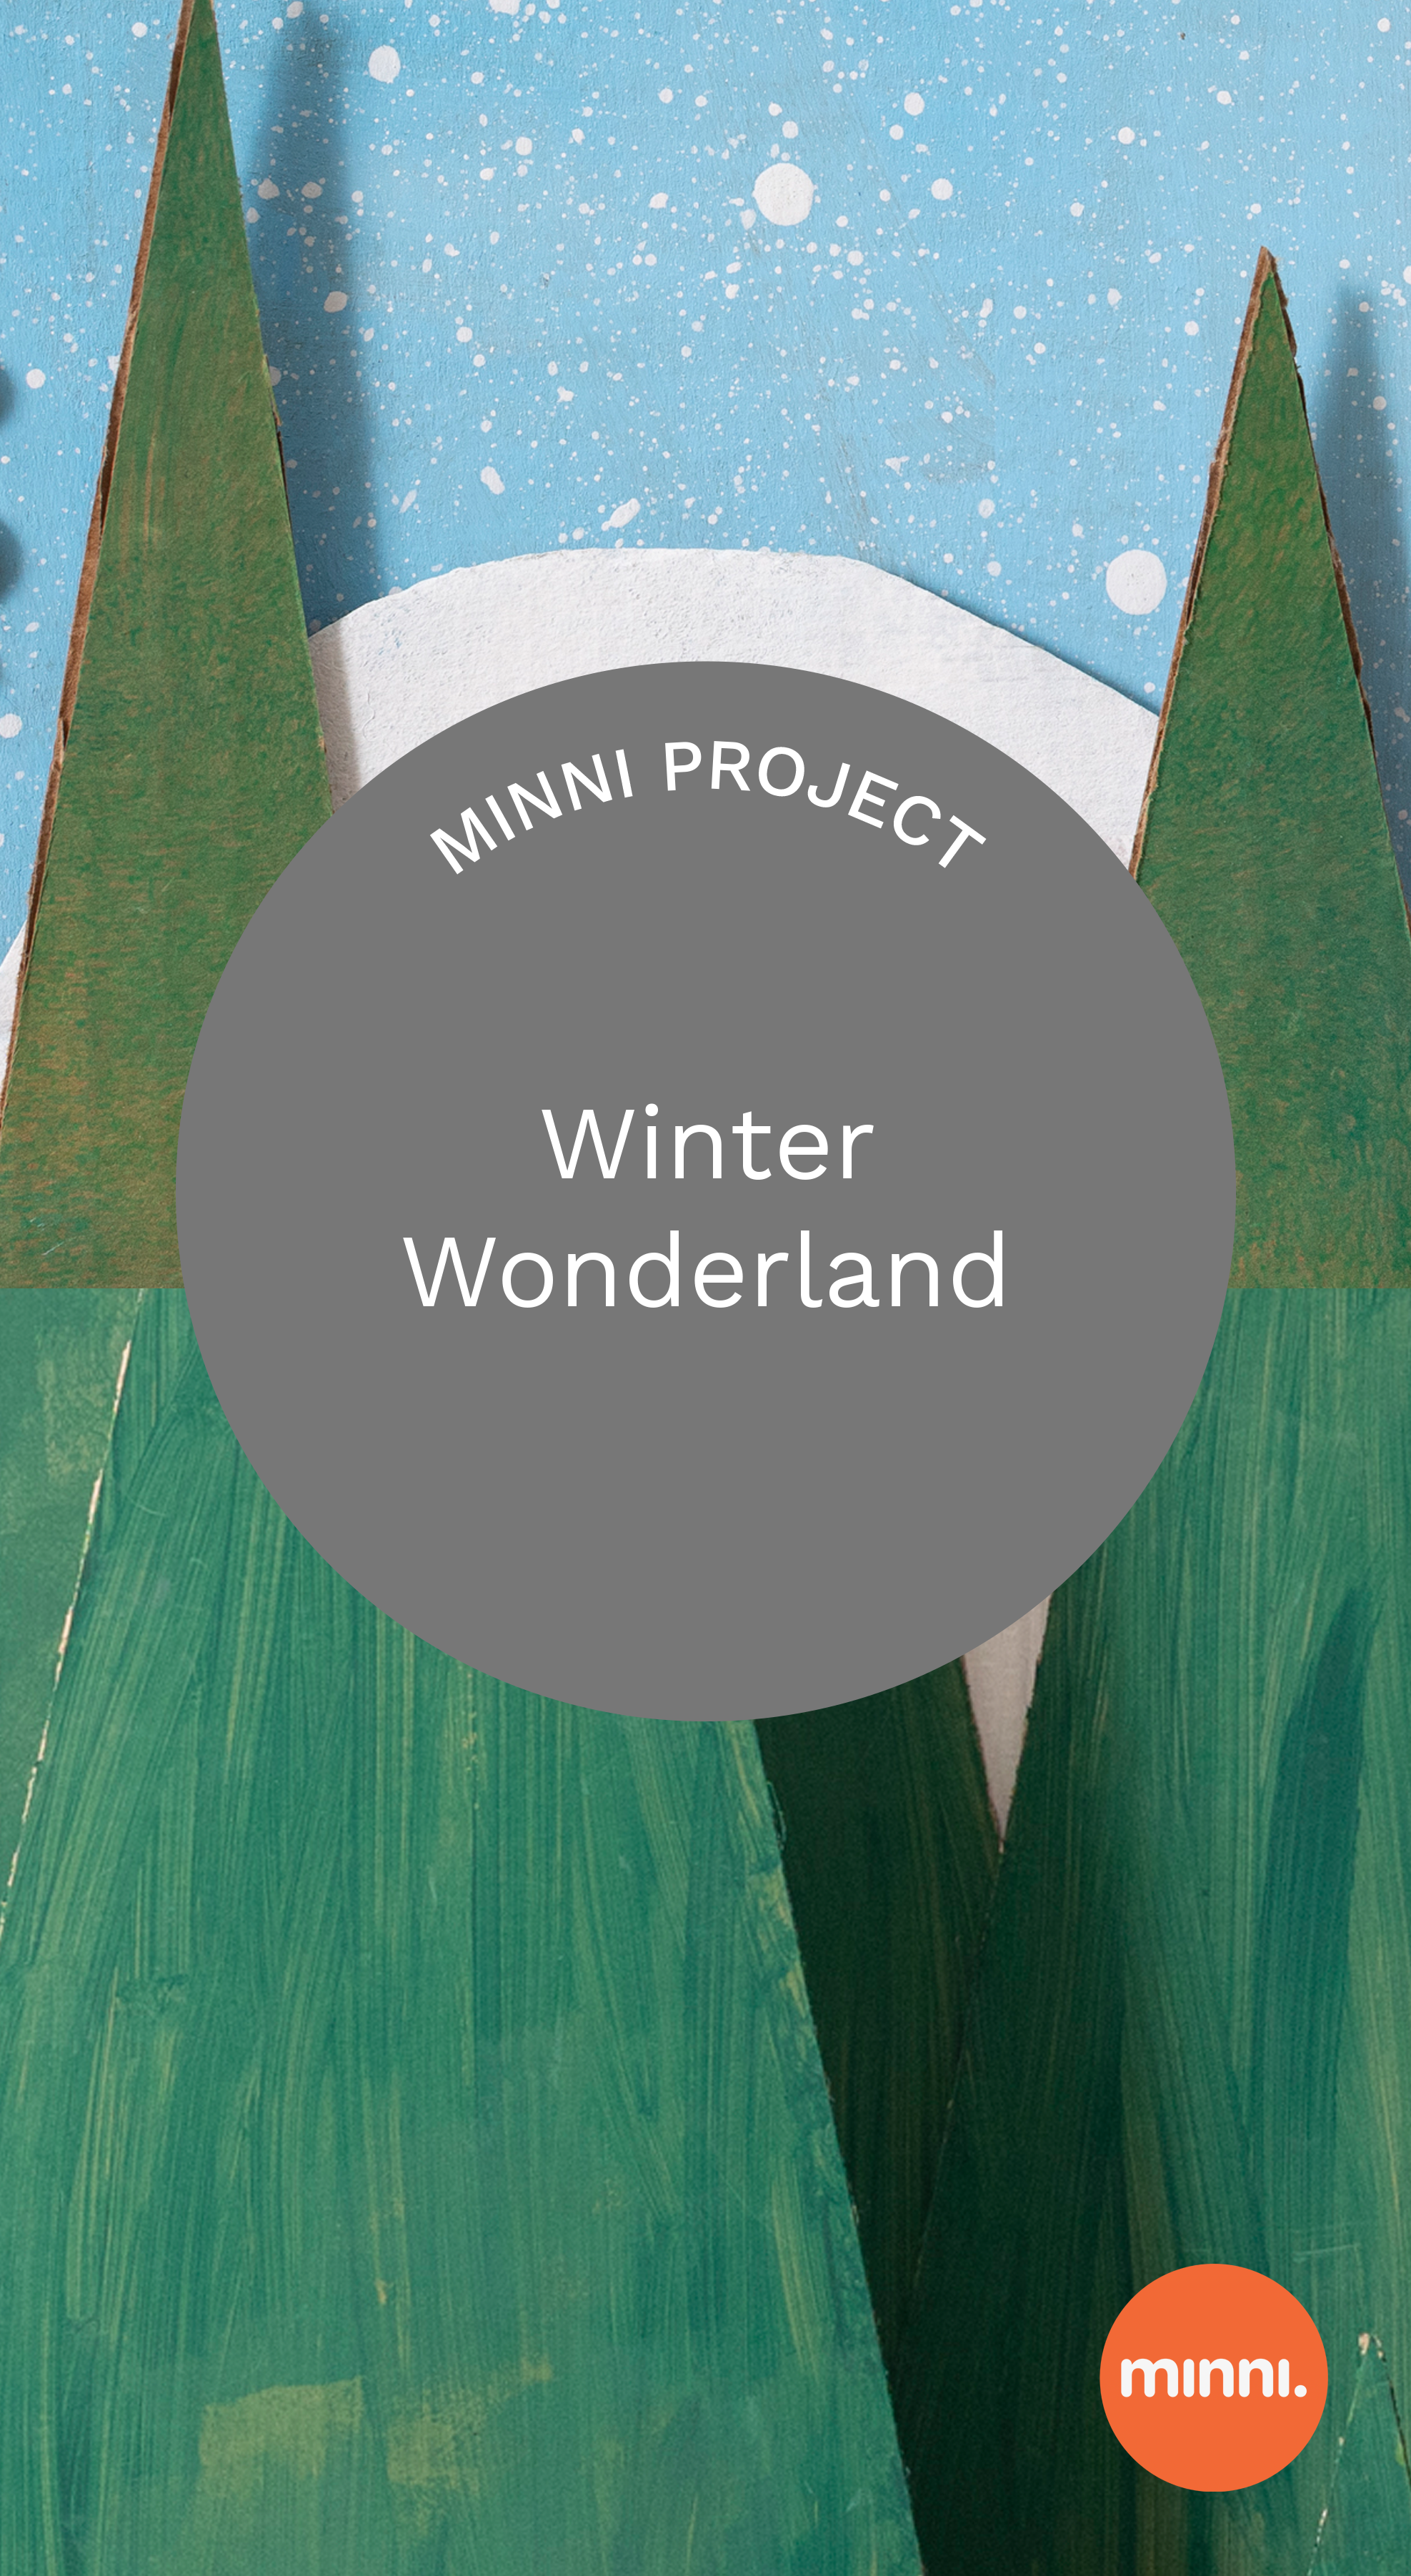
Create your own winter wonderland diorama using just recycled cardboard and paint! Put simple shapes together to create a landscape, then add texture by using some special painting techniques!
This project is best for ages 4+, but can be adapted for little ones too.
Materials for Winter Wonderland
Cardboard Square (approximately 12 x 12”)
Cardboard semi circles in several sizes
Cardboard triangles in several sizes
Tempera paint (white, blue, and yellow)
Paint brushes, water cup, paper towel or rag, 3 mixing palette (like a bowl or plate)
Optional: sponges, cotton balls, qtips
Extra cardboard scraps
Masking tape
Optional: hot glue
Let’s get started!
Steps for Winter Wonderland
1. Mix your colors! Mix green by adding a little blue to yellow and mix light blue by combining white and blue.
2. Cut out cardboard triangles and small rectangular pieces (approximately 1.5 x 0.5”)
3. Paint the square piece of cardboard light blue. This will be your background. HINT: Sometimes cardboard curls when it’s painted. To prevent this try painting both sides!
4. Paint the triangles green to make pine trees.
5. Paint the semi circles white to make snowy mountains or hills.
6. Add some texture! Use a sponge to dab more layers of green paint onto the trees.
7. Cotton balls or q-tips dipped into white paint can create snowy textures on the mountains and background. Or try splatter painting!
6. Let everything dry. Then, use cardboard scraps and masking tape to attach the pieces, or use hot glue (ask a grown up for help!)
8. Optional: Pose your favorite action figures or little treasures in your scene and have a photoshoot!
9. Love your winter scene? This idea can be scaled up to make a life-sized stage for make believe, putting on plays, or taking one of a kind photos!


