St. Patrick's Day Paper Quills

 
20.3.3St.Pattys_PaperQuill_7.jpg


Celebrate St. Patrick’s Day with simple materials and every shade of green!

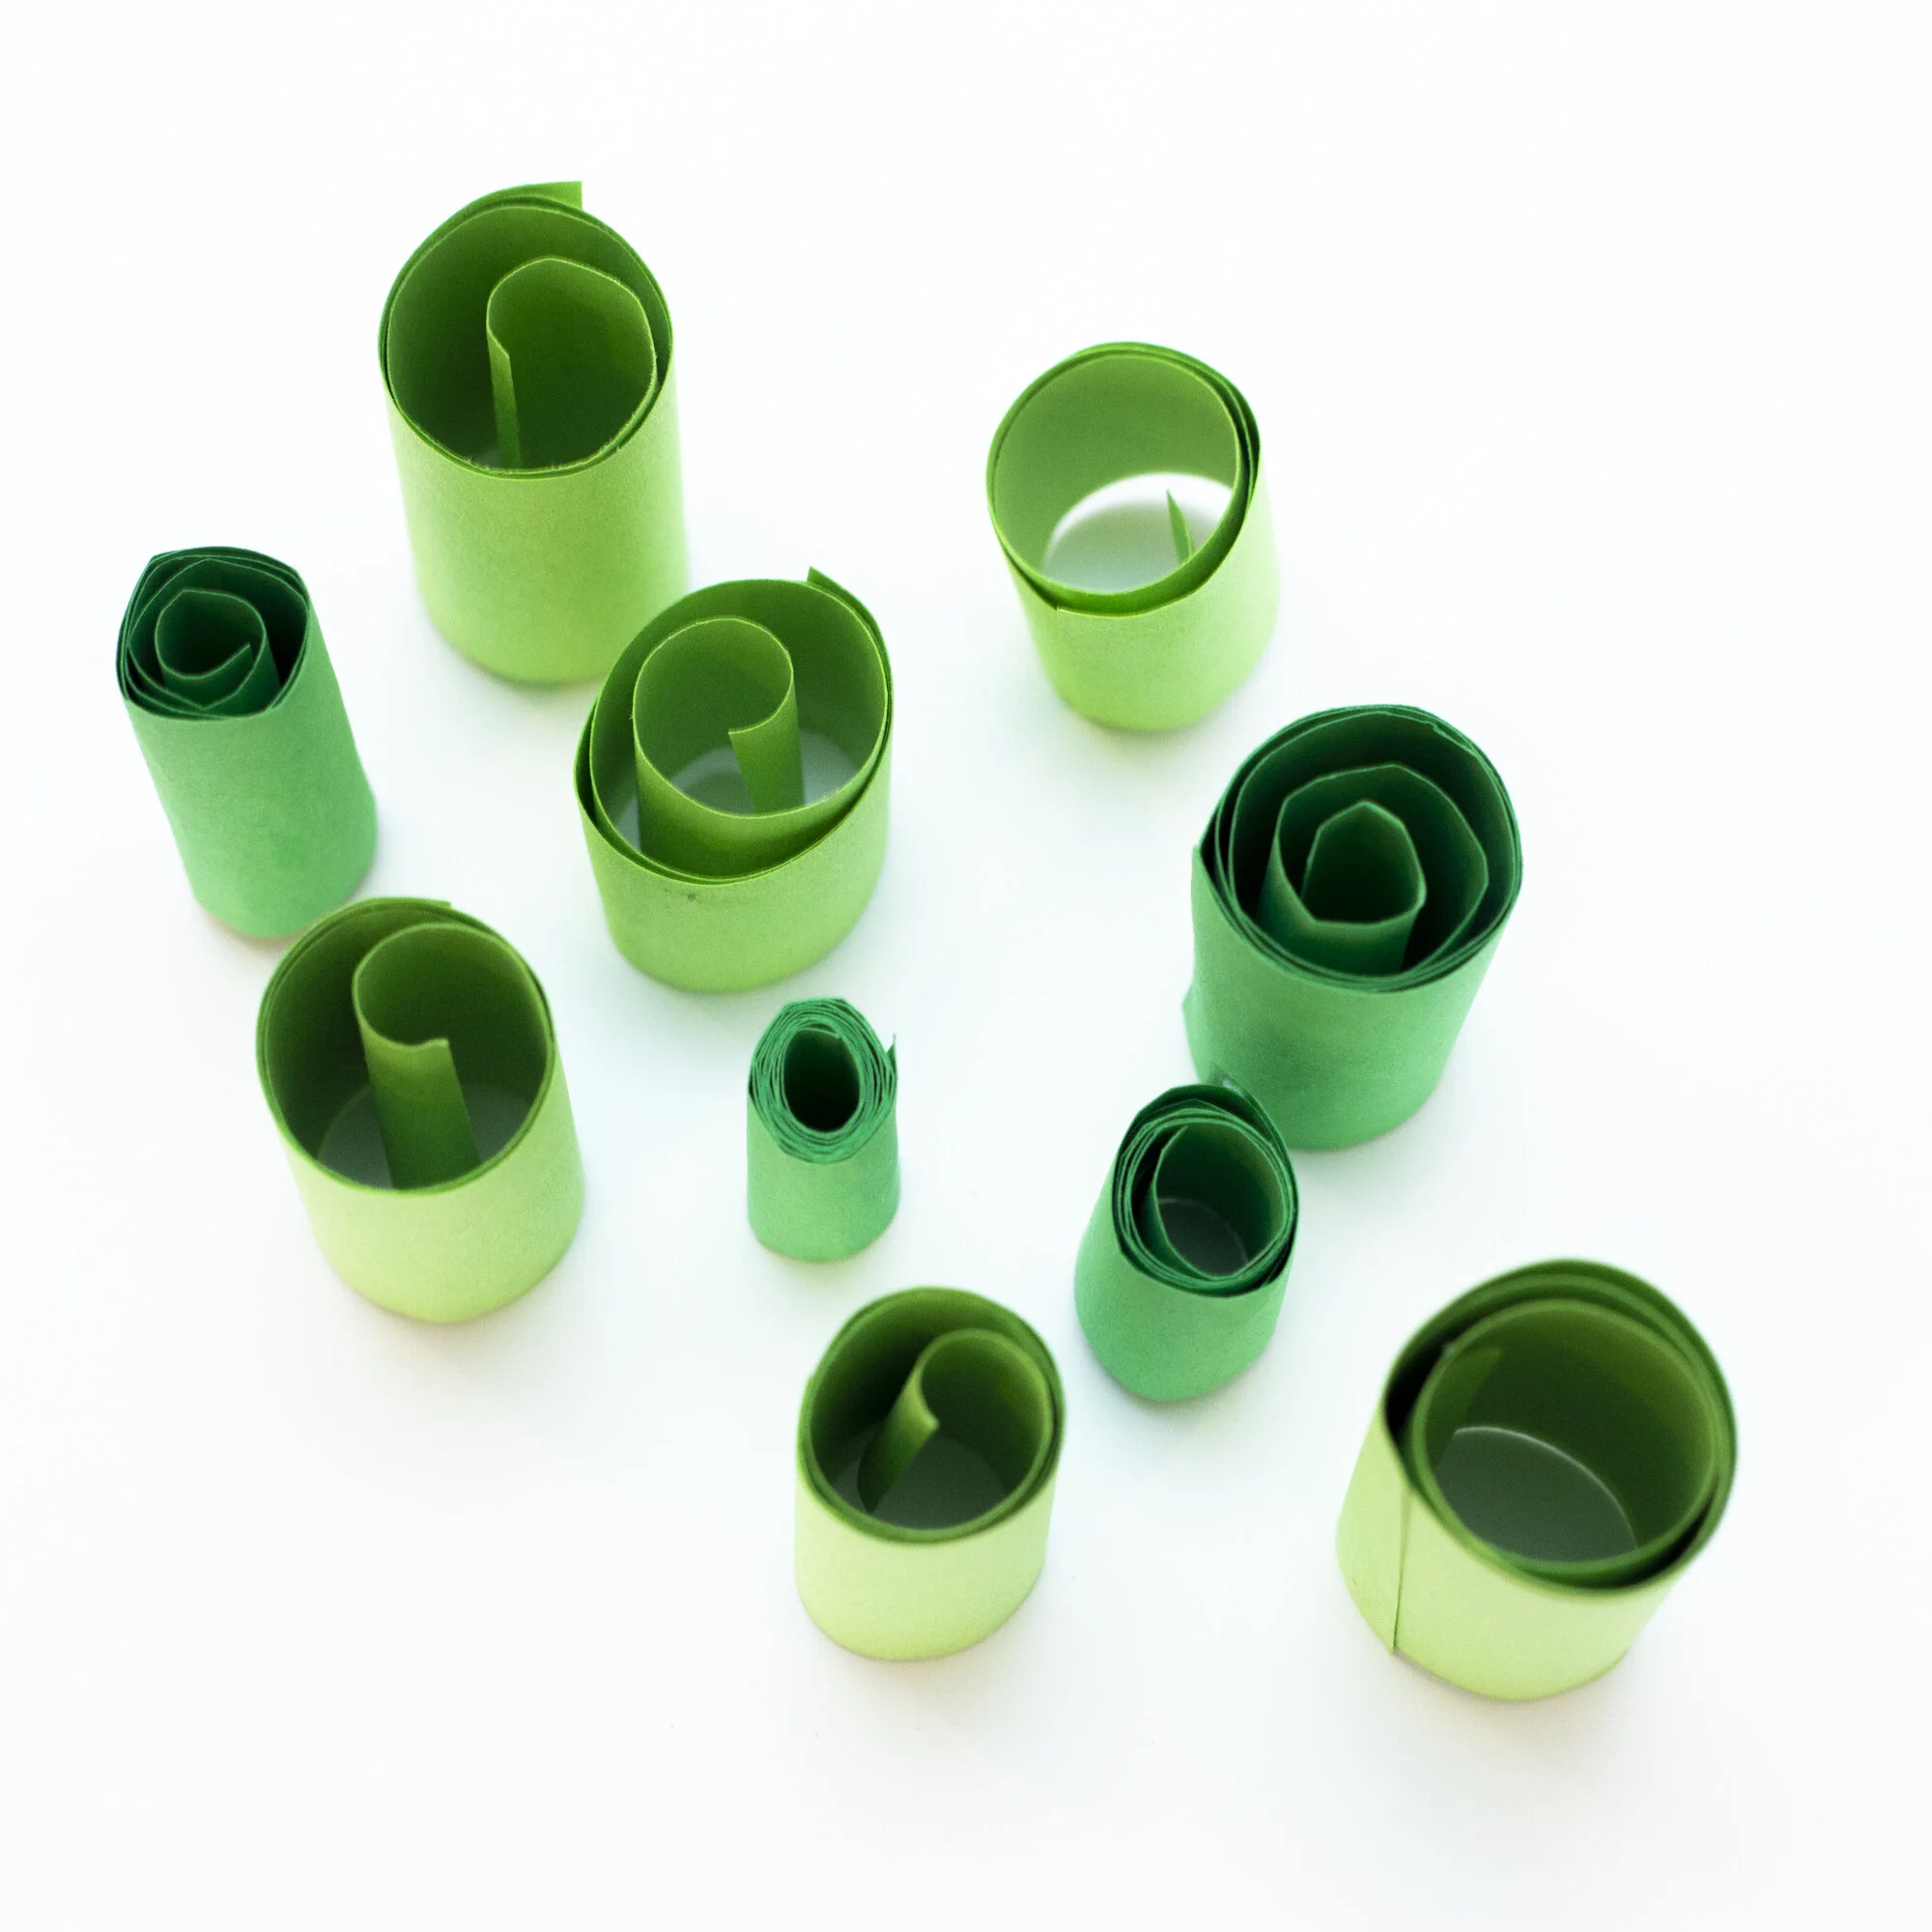
At Minni, March is all about green. Celebrate the color that has us excited for spring with paper quills, which is just a fancier phrase for coiled paper!

Project Materials

+ construction paper in various shades of green

+ cardboard or thick paper for base

+ scissors

+ paint brush, pencil or pen

+ Elmer’s glue or any kind of craft glue

Let’s get started!


20.3.3St.Pattys_PaperQuill_1.jpg
20.3.3St.Pattys_PaperQuill_2.jpg
 

1. Gather your green paper! Grab a variety of shades and encourage your little paper artist to describe each shade as “light” or “dark.” Begin cutting the paper into long strips.

TIP: Grownups may have to do the cutting. Invite your child to sort the strips into “long” and “short” piles while you cut!

 
20.3.3St.Pattys_PaperQuill_3.jpg
20.3.3St.Pattys_PaperQuill_5.jpg
 

2. To create a paper coil or quill, take the end of a strip and wrap around a paint brush, pencil or pen. If needed, guide your child’s hands as they wrap, or invite them to hold the pencil or paint brush while you wrap.

 
20.3.3St.Pattys_PaperQuill_4.jpg
20.3.3St.Pattys_PaperQuill_7.jpg
 

3. Next, invite your artist to arrange and glue the quills down to a cardboard or paper base. Little ones can create an abstract sculpture, while more experienced artists can form a shape! To form a shape, simply cut the base into the desired shape and fill with quills.

TIP: Create a clover with four heart shapes!


Happy creating! 💚