DIY Leaf Garland

DIY Fall Leaf Garland Craft!
Get outside with your little artist(s) and admire the foliage all around us! This craft is all about using the beauty of the outdoors as inspiration to design your very own leaf garland.
This craft can be adapted for all ages, we’ve included some additional instructions for those wanting to get crafty with toddlers.
Materials
Painted paper
Make sure both sides are colorful! We used recycled artwork with autumn leaf colors like green, yellow, orange, red, and some brown, but you could also use more imaginative colors! If you don’t have recycled artwork to use, we recommend experimenting with different painting methods such as printing with recyclables or using a tool you wouldn’t normally paint with
Pencils
Card stock or other stiff paper
Autumn leaves
Hole punch (we recommend using the smallest hole punch you have)
Fishing line or other invisible string
Let’s get started!
Steps
1. Start by going on a walk to collect the leaves that we will be tracing. Try to choose leaves that aren’t too dry so they do not fall apart too quickly.
Some engaging and educational questions to ask along your walk: How many different shapes can you find? Can you name the trees they fell from?
If you can’t go outside, try looking up reference images of leaves instead.

Example of painted paper
2. If you only found dried or crunchy leaves that can’t be traced multiple times, we recommend you use a pencil to trace the different leaf shapes on card stock to create a leaf stencil. However, if you were able to collect many different leaves, you can skip this step and trace the leaves directly onto your painted paper.
3. This step is only for those using a leaf stencil. Next, support from a grown-up may be necessary, carefully cut the leaf-shaped stencils out of the card stock.


4. This step is only for those using a leaf stencil. Place your card stock stencils on your dry painted paper and trace the leaf shapes. Try to carefully place the stencils so you can cut out as many leaves as possible from the same sheet of paper. You can re-use the same leaf shape many times, or try to use as many unique leaves as possible.
5. When you have filled your painted pieces of paper with drawn leaf shapes, carefully cut them out with a grown-up’s help.
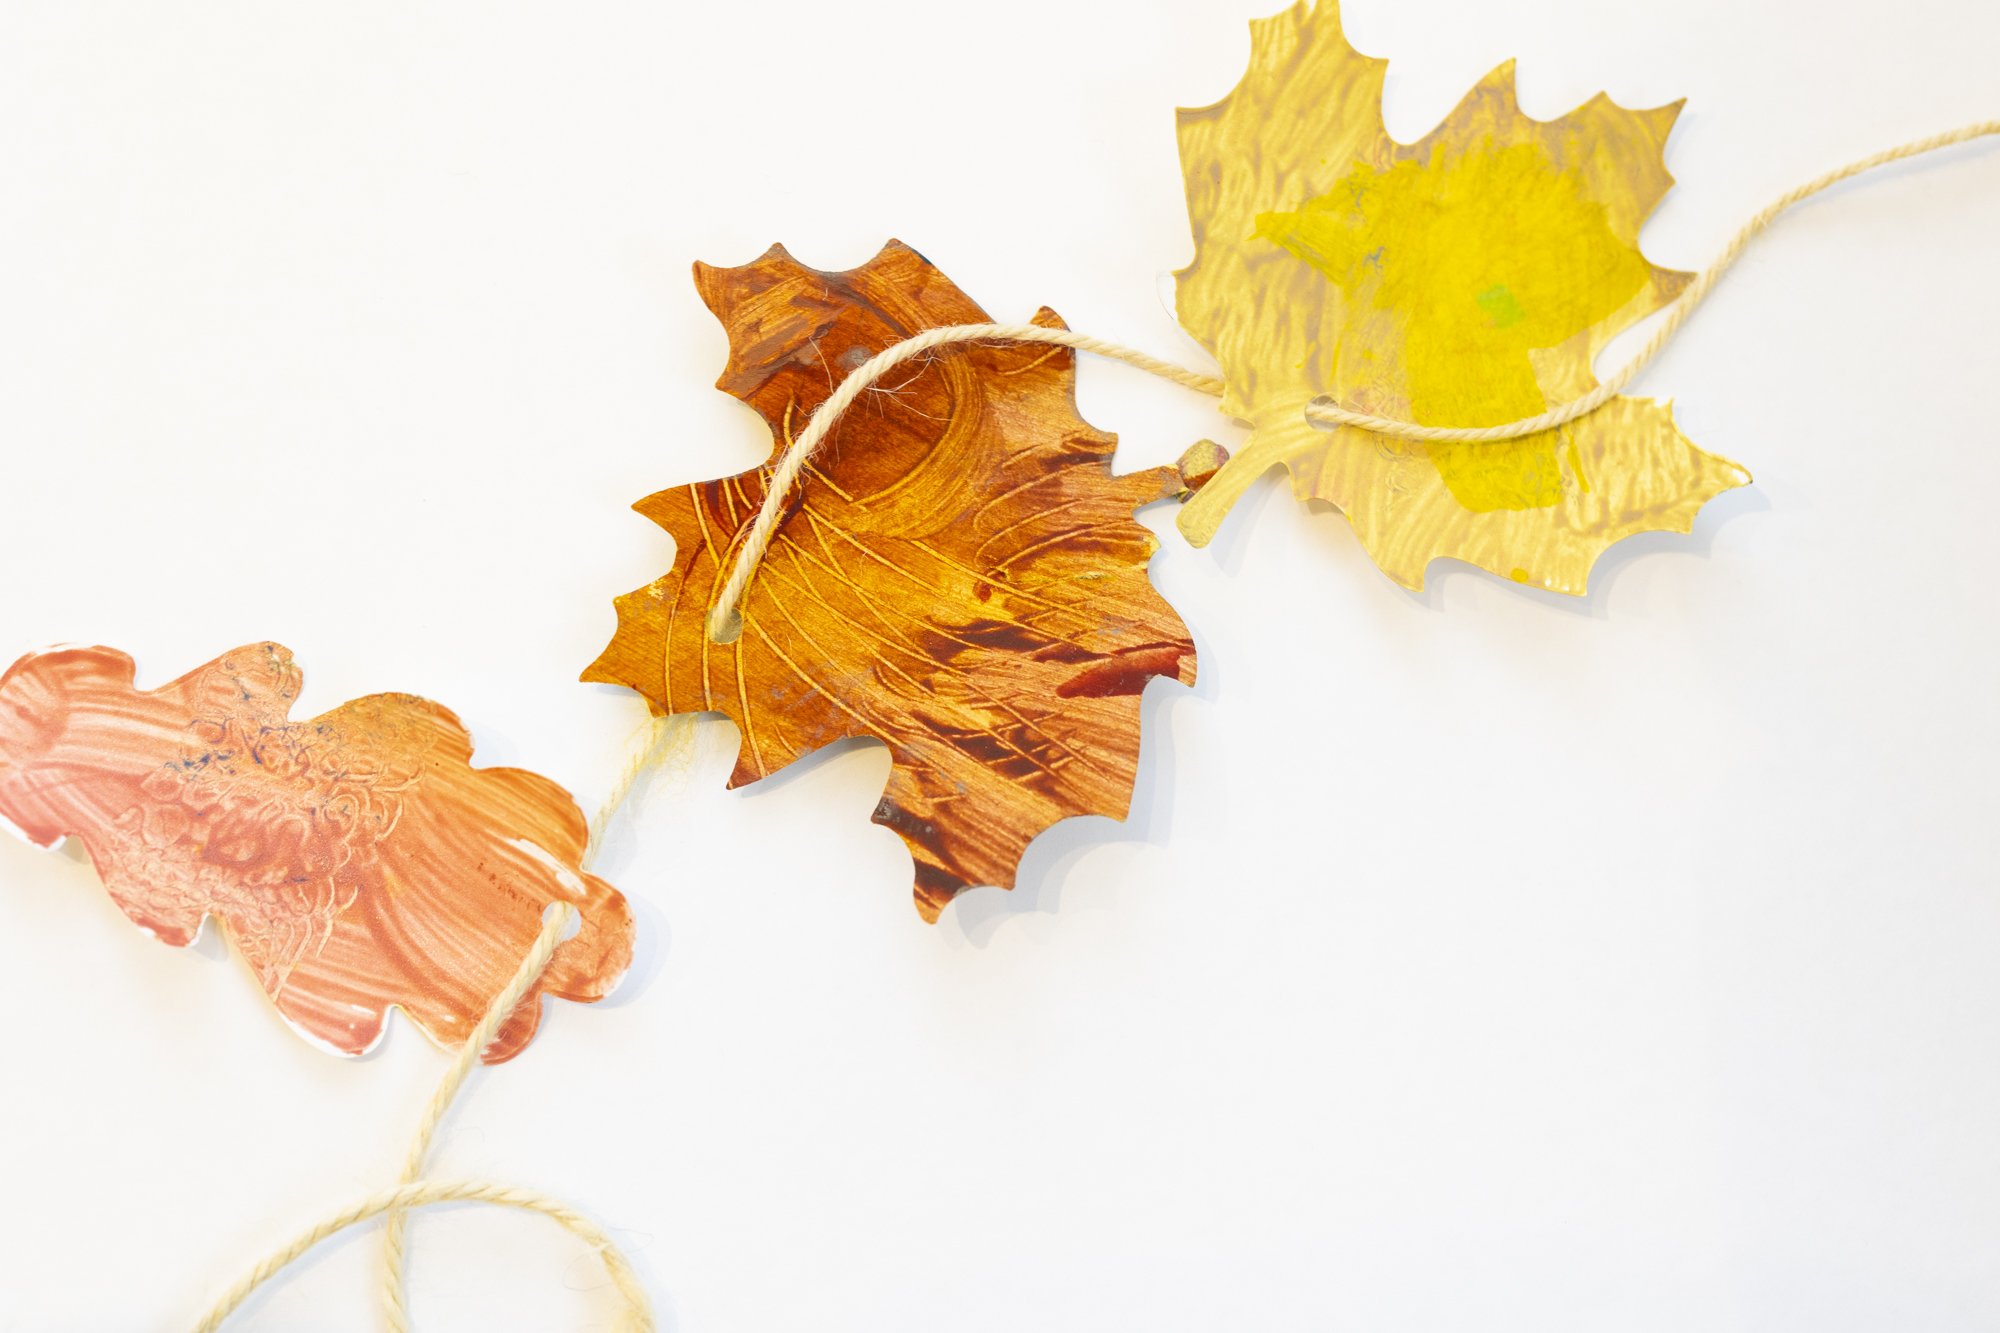
6. Finally, make a hole near the edge or stem of each leaf and string them on your fishing line. If you want your leaves to stay in place, tie them in place as you string them.
Toddler Adaptation:
Yarn
Plastic yarn sewing needle
Beads
Hole punch (standard size)
1. To make this activity more toddler friendly, use a standard size hole punch to make holes in the leaves, then pre-thread yarn in the plastic needle.
2. Invite your little artist to string a leaf onto the yarn followed by 10-12 bead, then another leaf.
3. Repeat this process of alternating leaves and 10-12 beads until you have filled your garland!
