DIY Texture Stamps

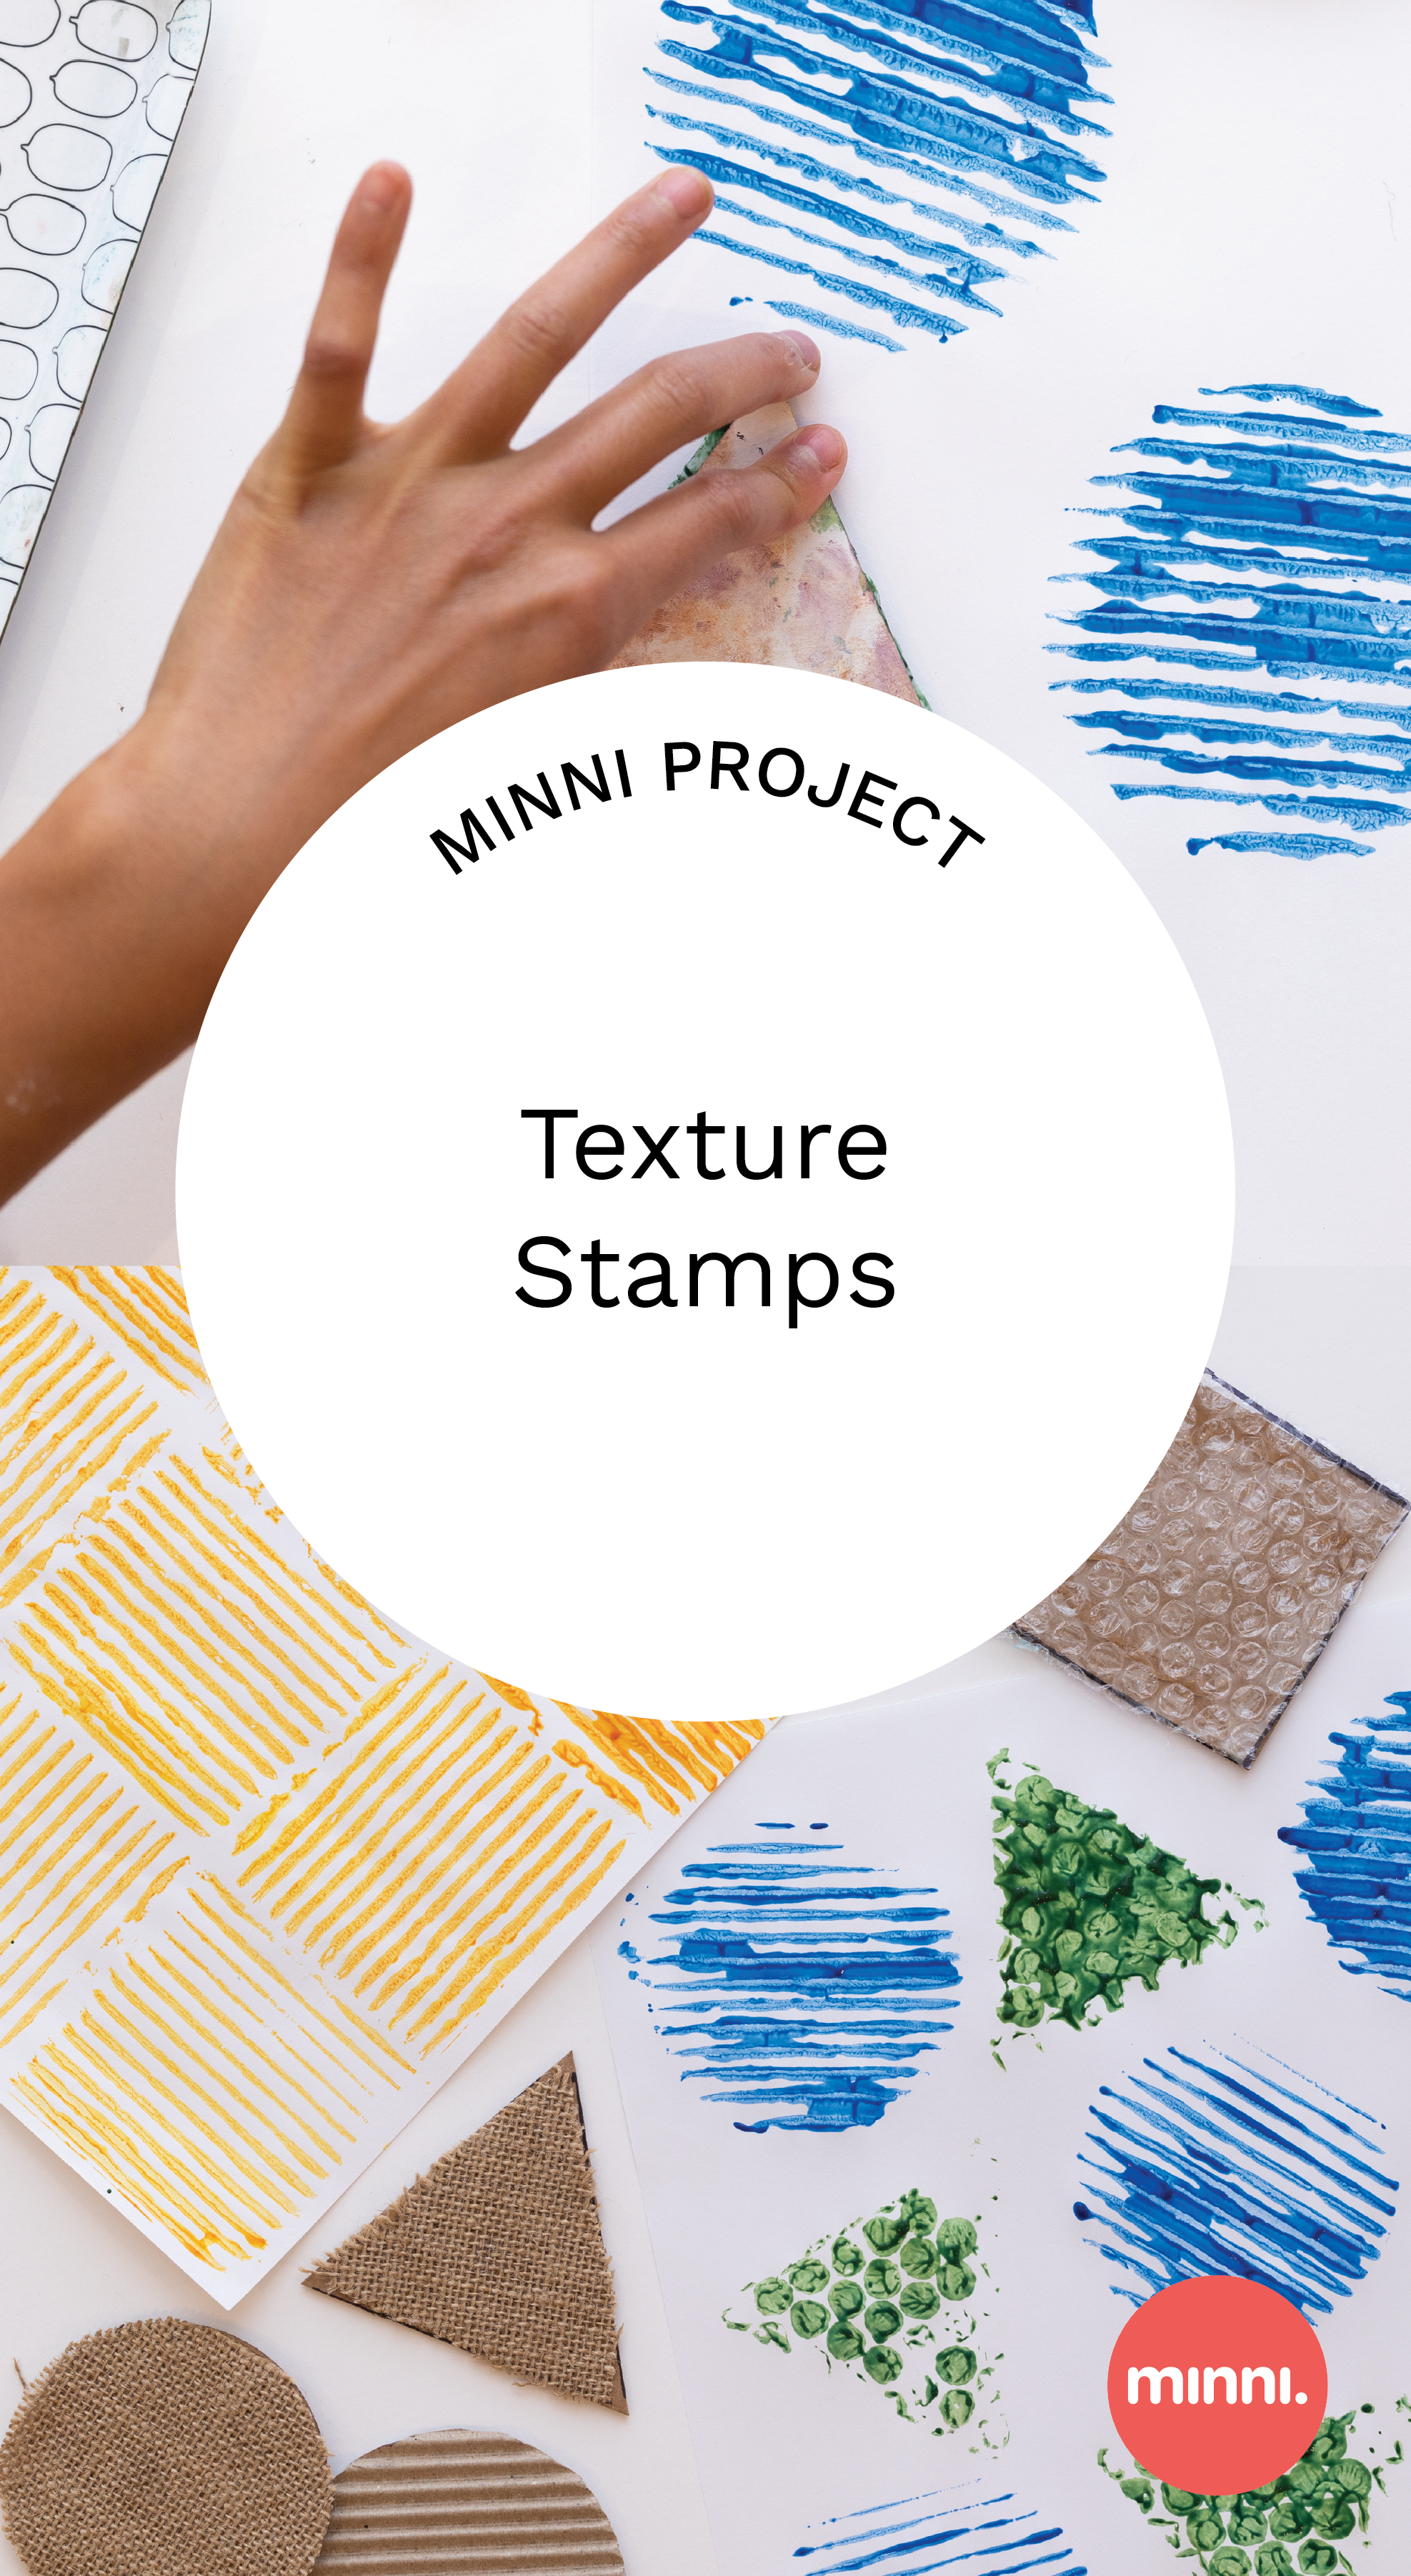
Texture Stamps
Follow these simple steps to make your own texture stamps! This project is great for all ages and can be adapted to use a variety of recycled materials.
Materials
Cardboard scraps cut into shapes
Assorted textured materials and recyclables (like bubble wrap, corrugated cardboard, or burlap)
Scissors
Glue (any glue will work, but hot glue works best)
Washable paint
Paintbrush
Paper
Optional: bottle corks, hot glue gun
Steps
1. Texture is the way a surface feels when it is touched. Rough, smooth, and bumpy are all types of textures. Cut the textured materials to fit the cardboard shapes and glue down. Let dry if needed.
2. Optional: Glue a bottle cork to the back of each shape to make a handle.

3. Use a paintbrush to spread a thin, even layer of paint onto the textured surface.
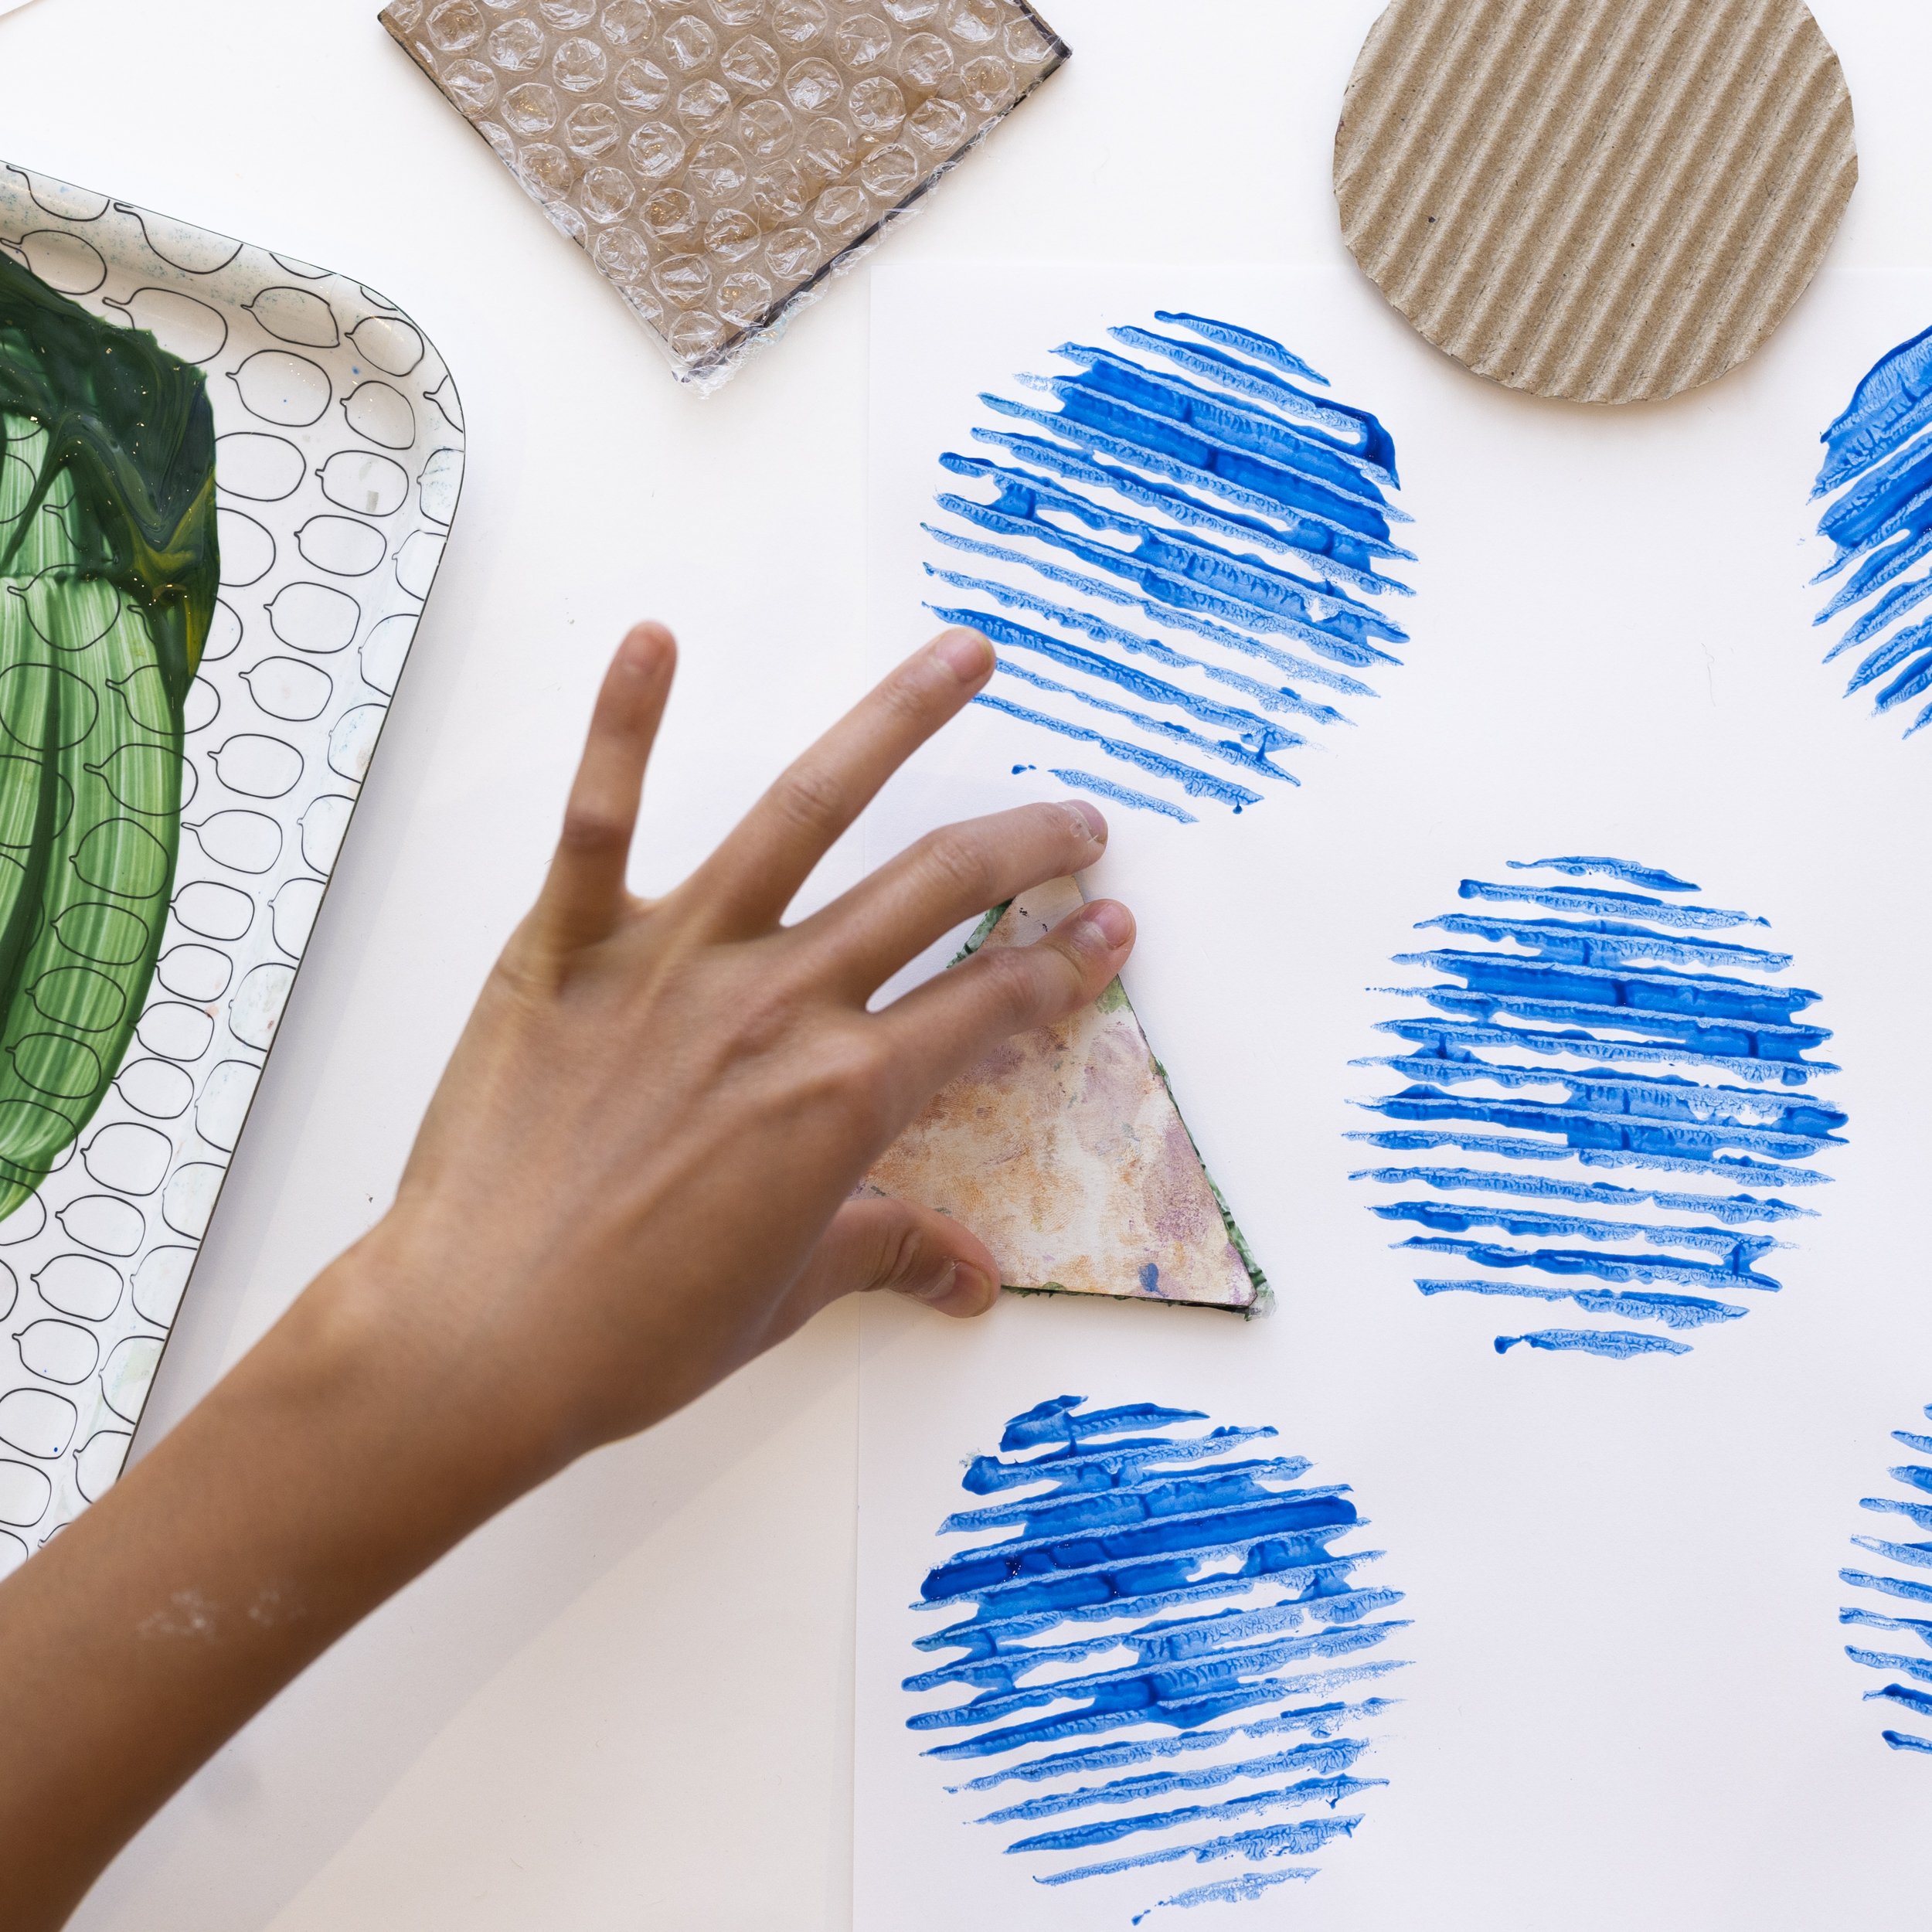
4. Press down onto a piece of paper to make a print!

5. For an extra challenge, mix and match different shapes and textures to make a pattern. A pattern is made by repeating shapes or designs