Leaf Printing - Minni Projects At Home
Embrace the autumn weather and get outdoors! This project will have you FALLing for bright colors and intricate patterns. Collect a variety of leaves and let’s get printing to make this colorful masterpiece!
Materials
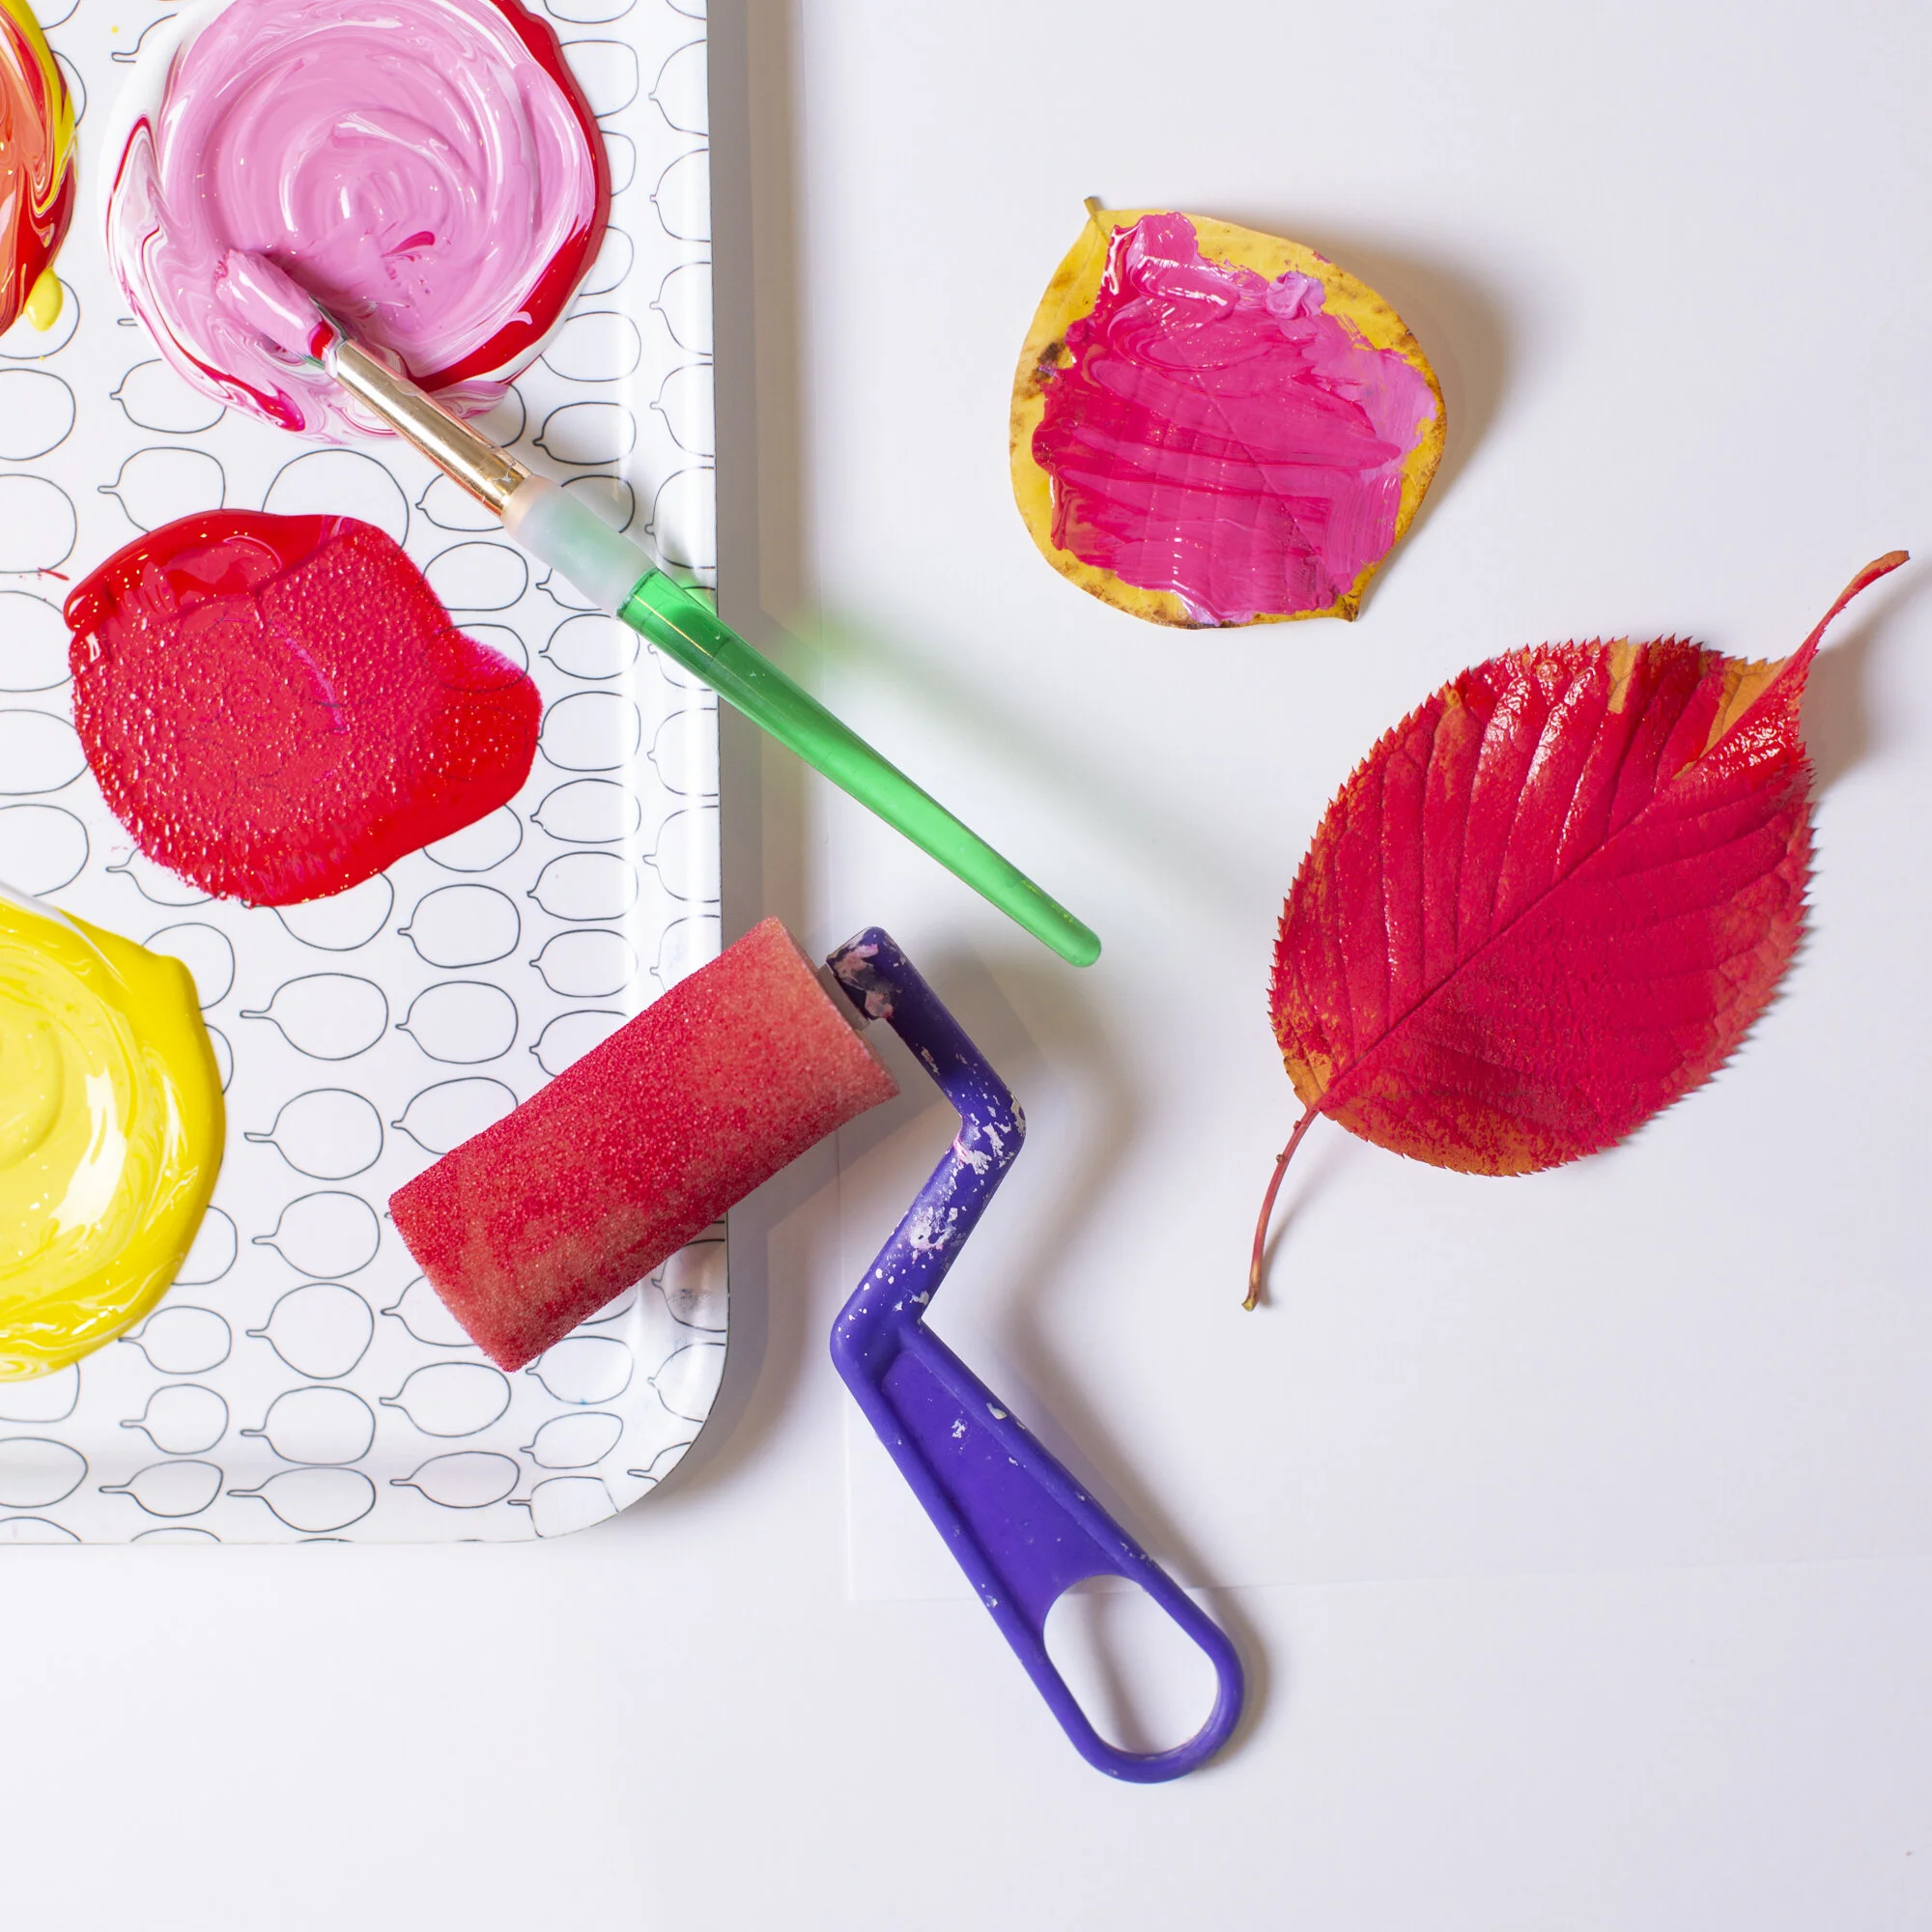
Falls leaves collected from outside — the more shapes and colors, the better!
A couple sheets of white paper
Wax paper —Thin printer paper is a great alternative
Tempera paint in red, yellow and white
Paint palette, tray or even an egg carton
Paint brushes
Spoon
Cup of water
Optional: Foam rollers, brayers and washi tape
Make sure to cover your work surface and have plenty of paper towels nearby for messes! Let’s get started!
Steps
1. Go outside and collect 3–6 fall leaves from a variety of different trees.
2. Time to get messy with paint! Place the leaves in front of you and name the colors that you see. Touch the leaves and try to describe the textures you feel.
3. Next, mix a few paint colors inspired by fall leaves, such as orange, dark yellow, or even bright pink! Experiment with mixing a variety of shades together to see what you get.
4. Now its time to paint the leaves. Gently coat your first leaf with an even layer of paint. Try not to add too much paint — this will make the printing process a little more challenging!
Pro Tip: Use a foam roller or brayer to achieve a smoother paint application and even color gradients.
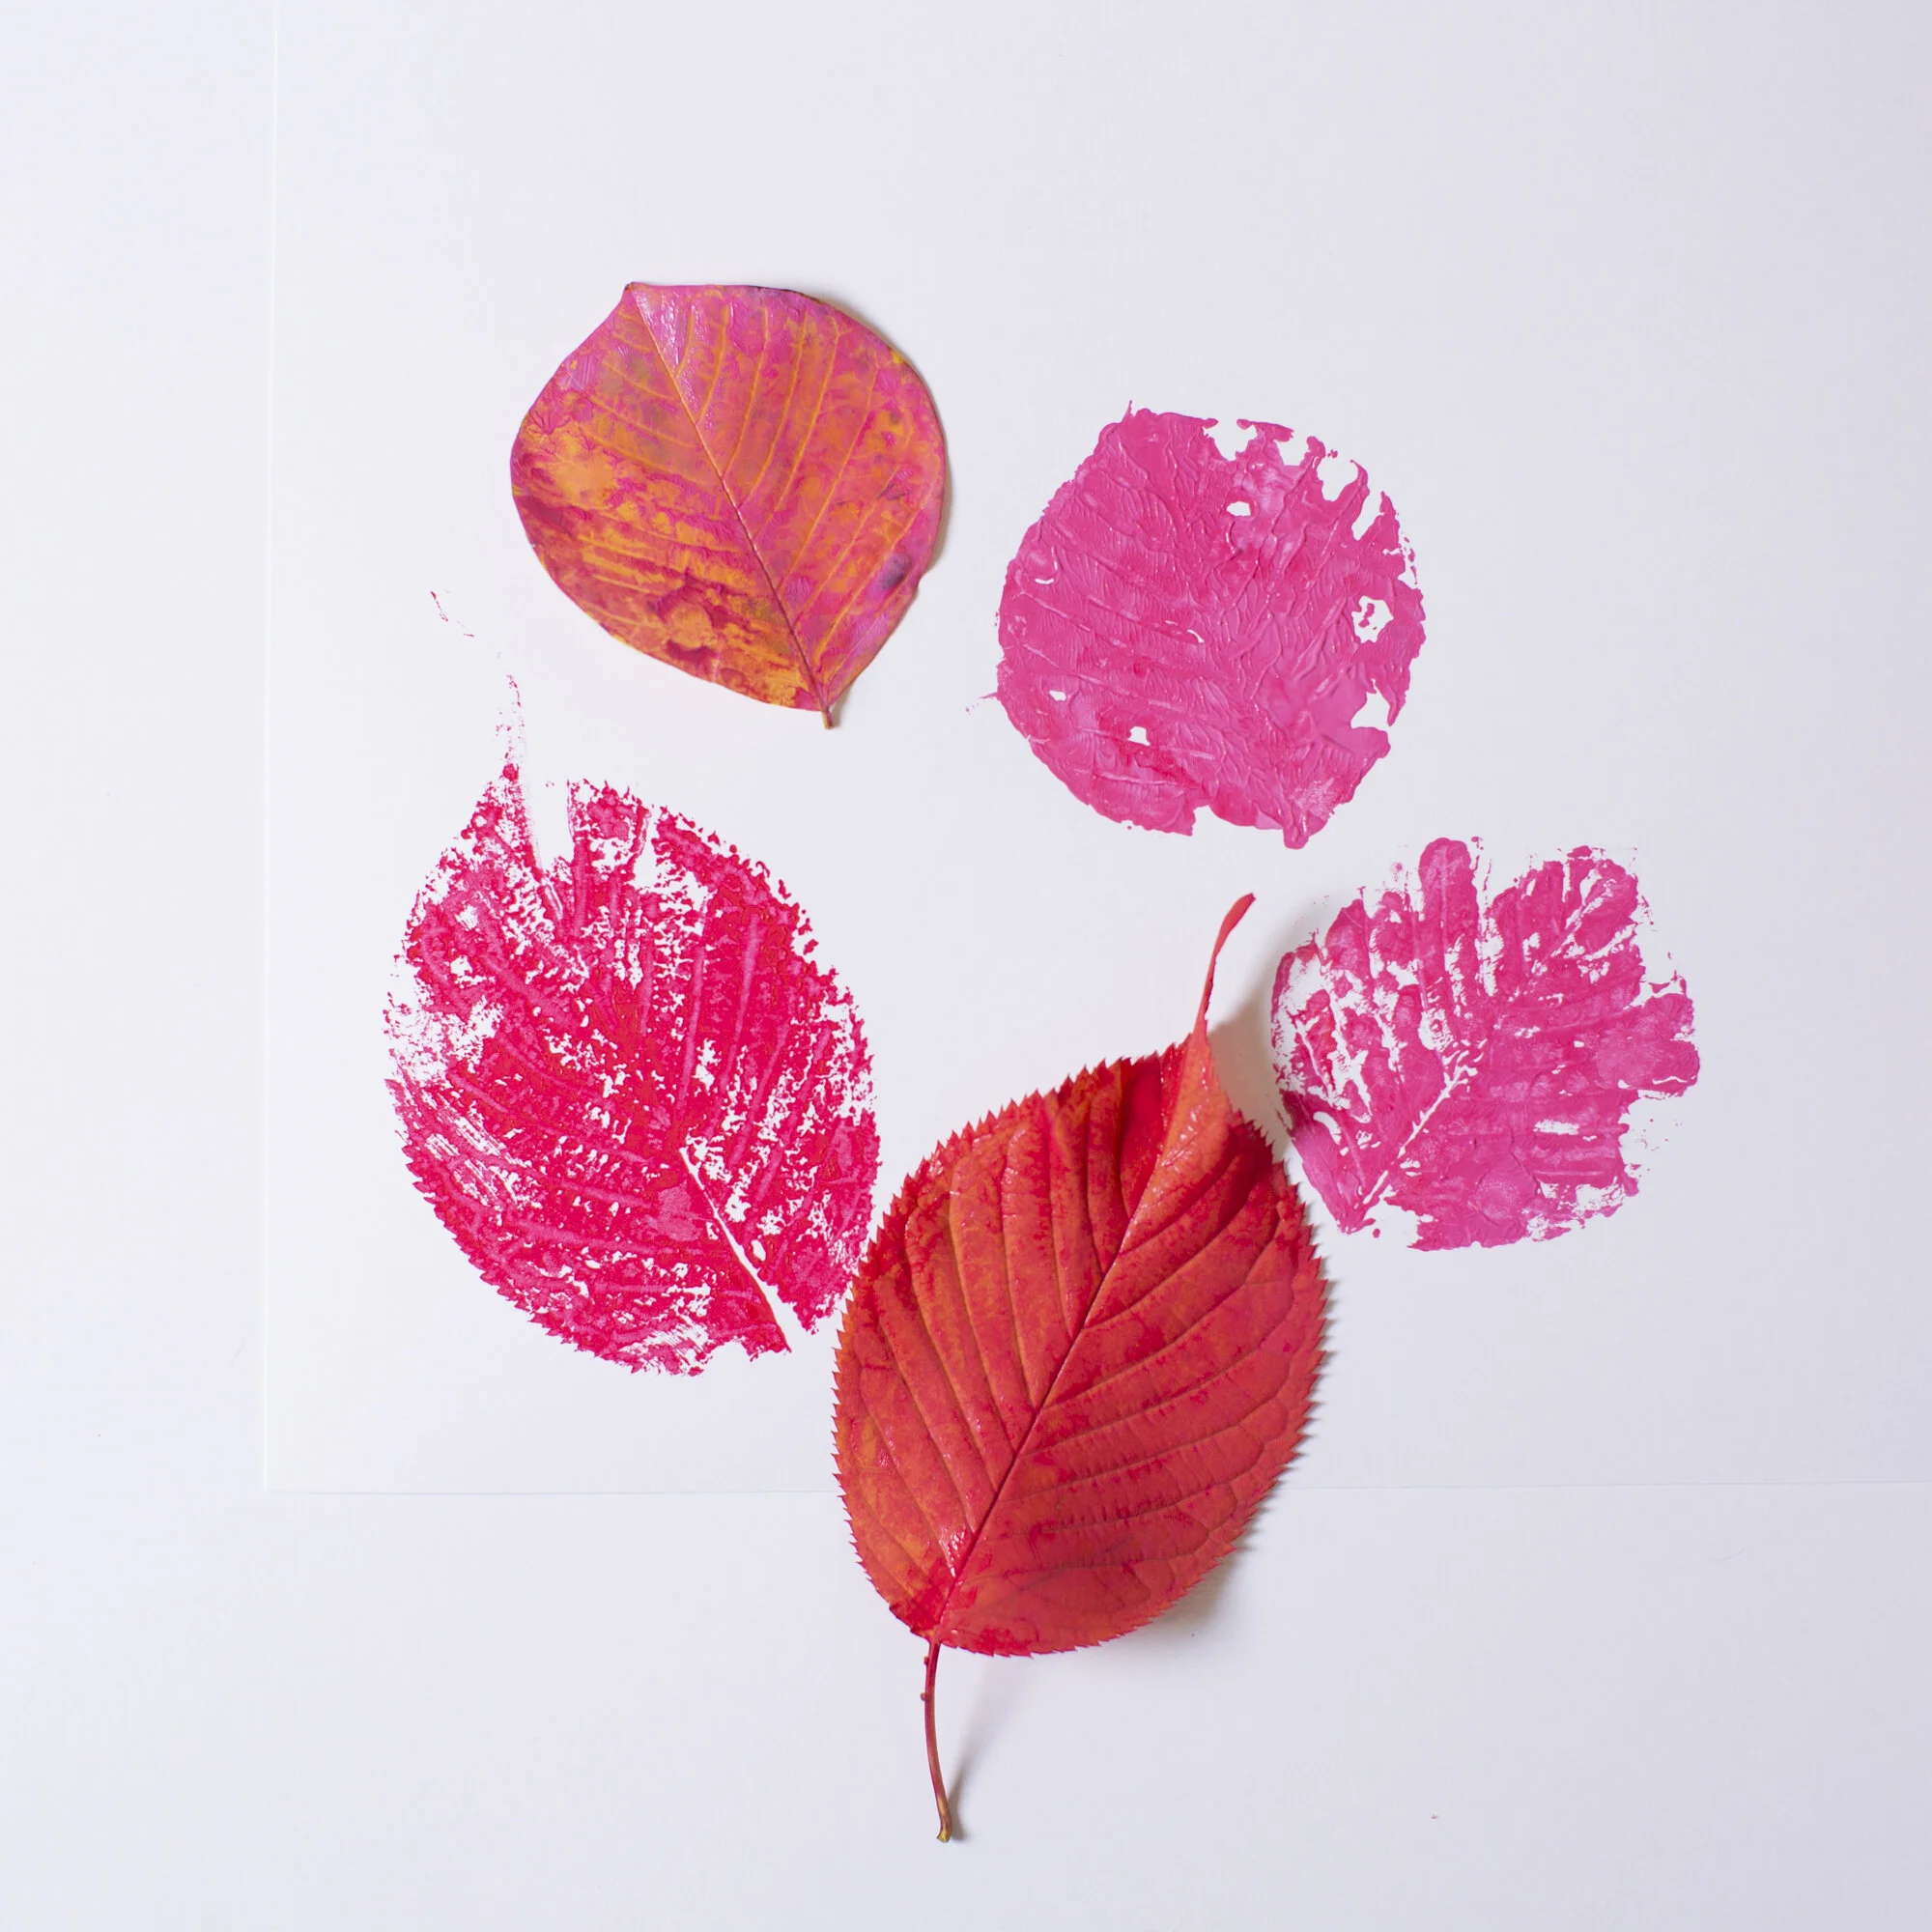
5. Take your leaf and place the painted side down on a piece of paper. Place a piece of wax paper or printer paper over the clean side of the leaf. Use a spoon to gently rub the leaf beneath the wax paper. This will transfer the paint onto the paper beneath the leaf.
Pro tip: Secure the wax paper or printer paper to your work surface with washi tape so it doesn’t move around too much.
6. Carefully lift the wax paper or printer paper and the leaf to reveal a bright leaf print! Repeat this process to fill the entire paper.


