DIY Wooden Beaded Keychain

DIY Wooden Beaded Keychain!
Want to do a creative activity at home that is colorful, easy, and useful? This project is for you!
Keychains can be used for some many things and can be fun decorations for your kiddos to add to their backpacks. Customize the keychain by tying items to the bottom, maybe it’s the first letter of your name, or a discoball, or a pom-pom! There’s no wrong way to make a keychain!
Follow along to try it out at home.
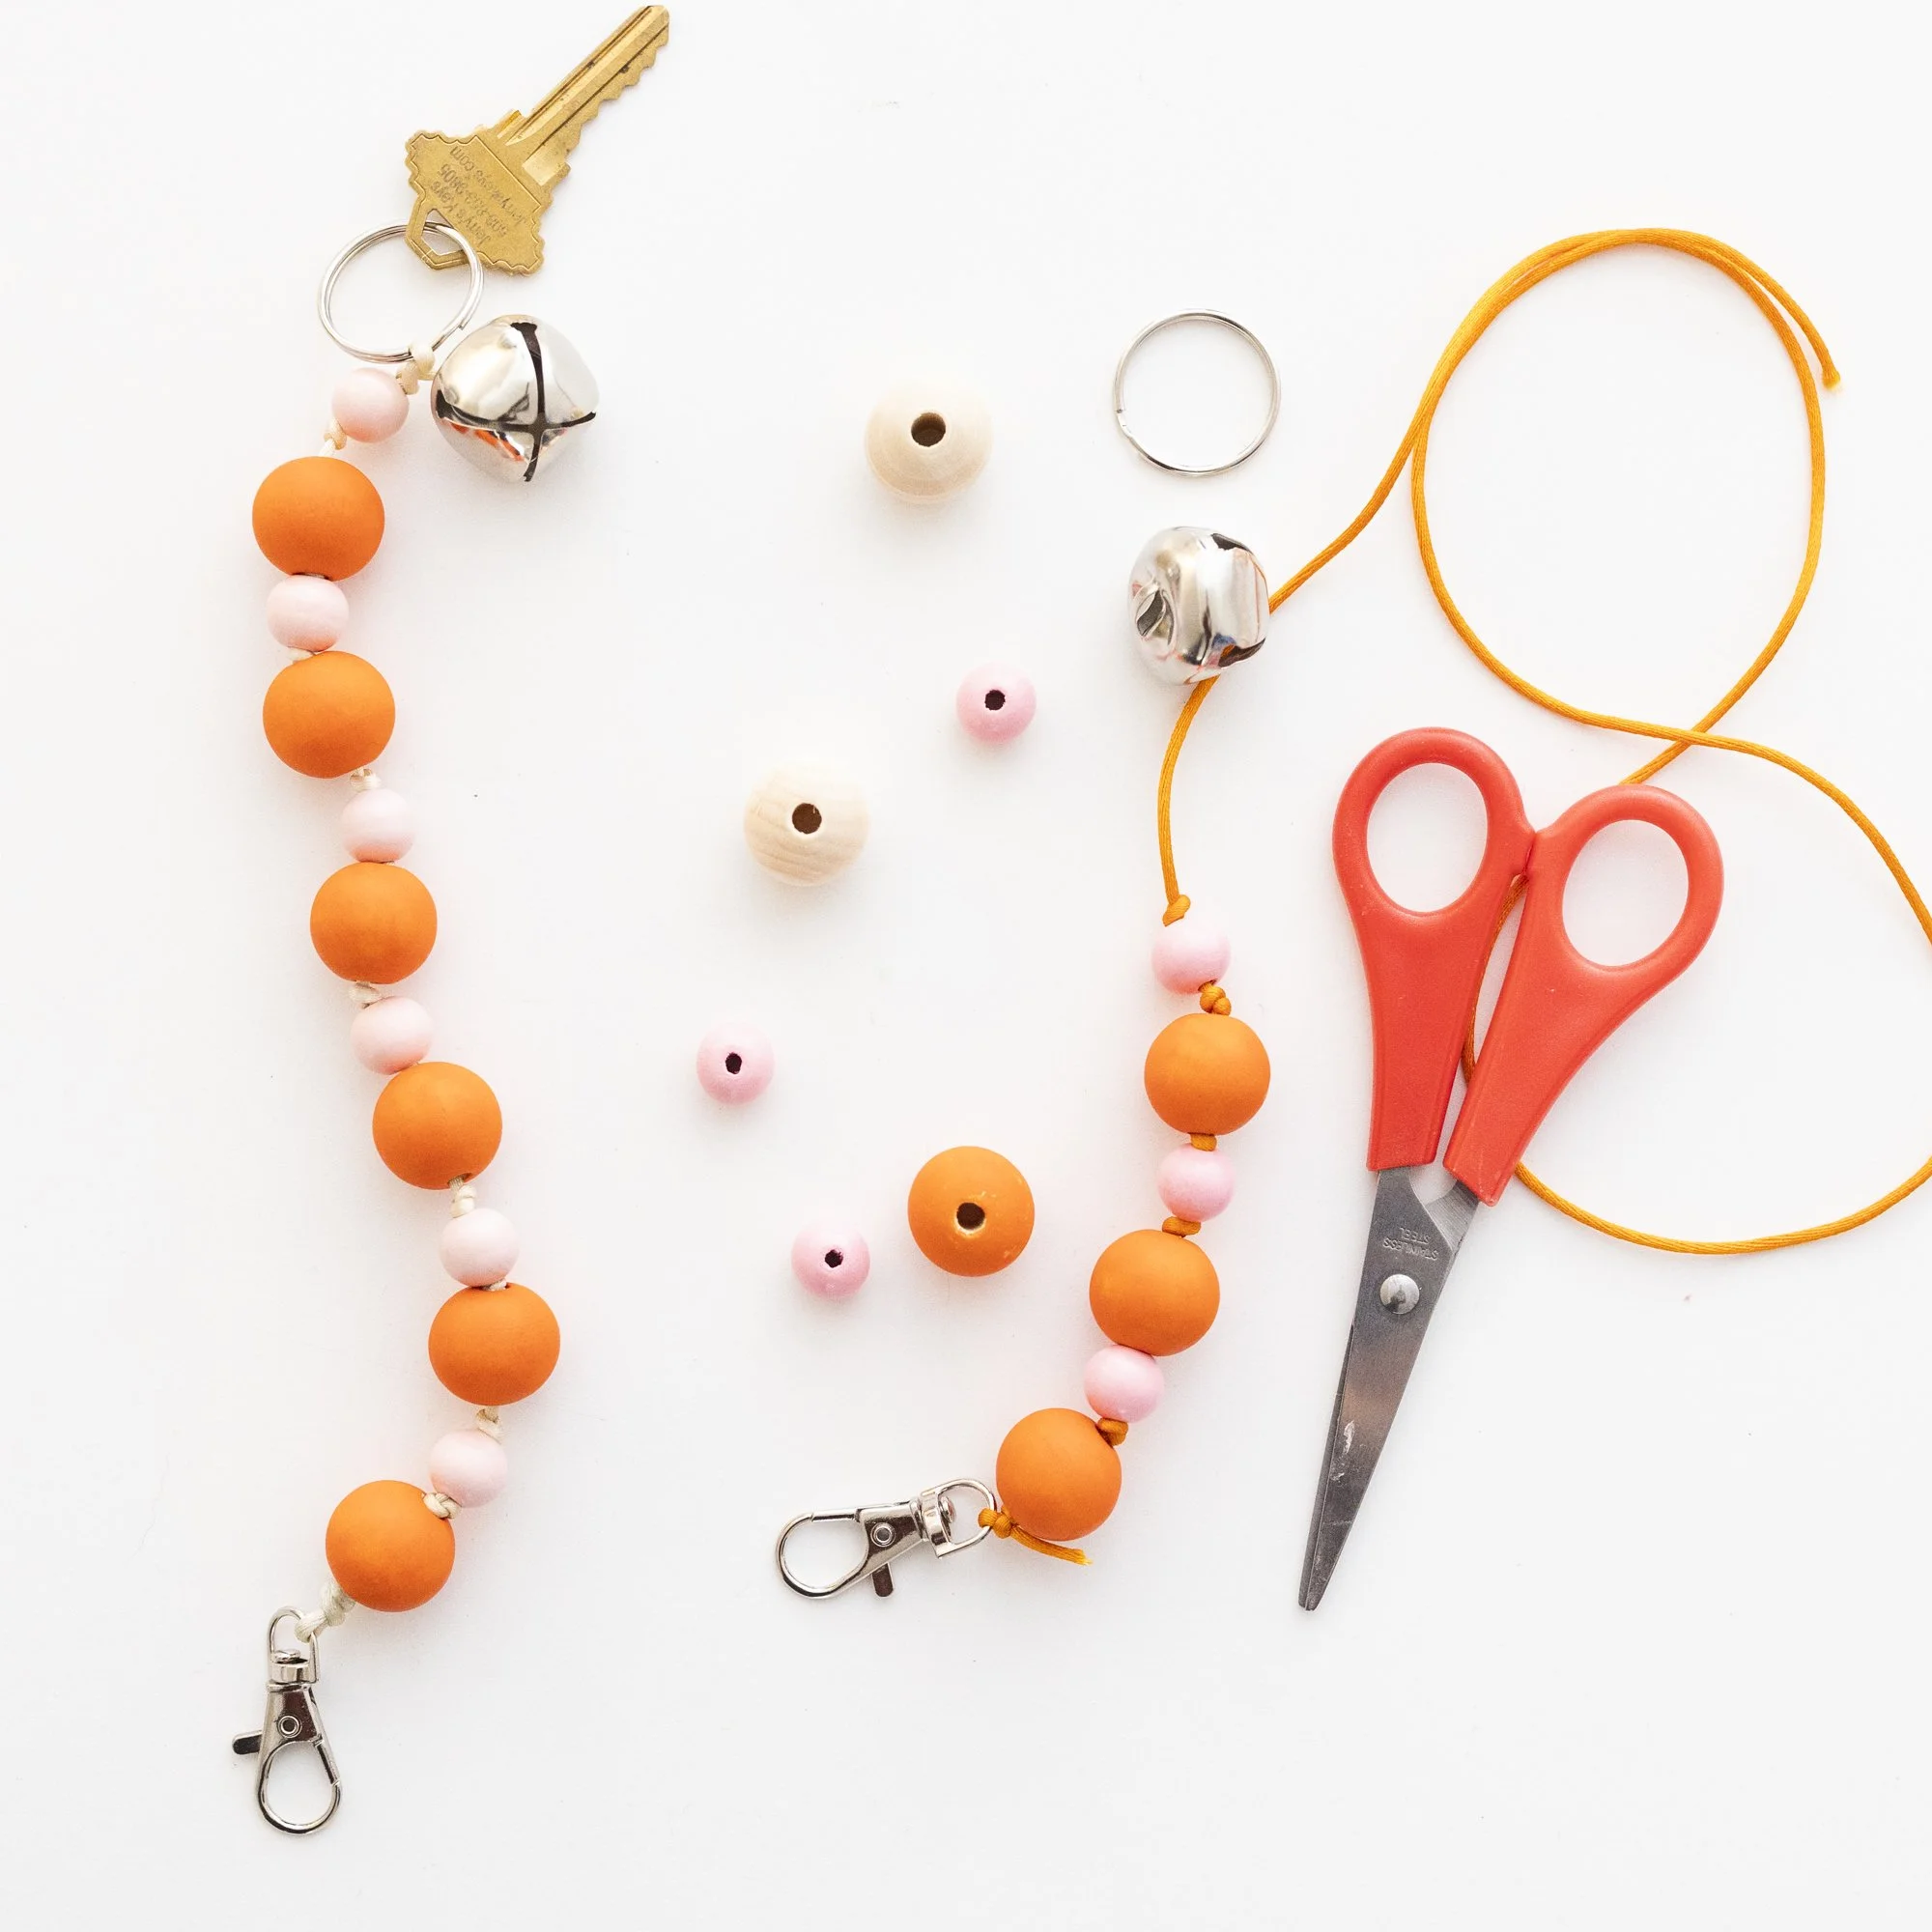
Materials:
String
Keychain clasps/hardware
Scissors
Wood beads large and small (you can also purchase painted wooden beads, if desired)
Paint or markers (I used acrylic paint, but this is permanent)
Paint brush and cotton swabs (optional)
Let’s get started!
Steps
1. Begin planning out a pattern. We chose to alternate two colors, using large and small beads, but what other patterns can you create?

2. If you would like, color on your wood bead with markers or paint them. You can put a cotton swag through the middle to easily hold them while you paint.

3. Cut string to about 16”.
4. Tie one end of the string to the keychain clasp.


5. Begin stringing beads, following the pattern design you came up with. If you would like, tie knots between each bead as a spacer.


6. When you have reached the length you would like, we did about 10” to easily fit on and off your wrist, tie it securely to a key ring, then trim the excess.